Stitch To Add Texture

 Adding texture to your slow stitching projects

If you've seen my work at a show you'll already know that I'm all about the texture of a project. I love to use natural fibres and threads to build up a range of texture. I thought I'd share some images to inspire you to take the plunge and add some freestyle stitches to your projects.  

The first thing I usually add to my work is a layer of cotton wadding (batting) to the reverse of the fabric I'm going to be stitching on. I baste this (large tacking stitches) with a brightly coloured thread so it's easy to spot when I'm ready to remove it. You may have some wadding left over from quilt projects, if not try your local quilt shop / online stockist.

Then it's time for the fun part, slow stitching and adding your personality to your work. I am no expert at embroidery, I simply draw and sketch with a needle and thread. I'm not looking for perfection and neat regular stitches, for me it's about the process. Enjoying the time it takes to stitch and seeing where the needle takes me. I don't plan my pieces before I start, I choose a couple of threads and dive in. 

If you're new to embroidery, here are a few tutorials to give you some guidance, The Spruce Crafts, Bluprint and  Gathered.
You may want to echo or work with the print, by filling in areas or recreating the print with stitch. Play with scale and repeat the stitch you're using, a simple cross stitch in different sizes can add real visual impact.

The distance between your stitches can make a statement too, by 'pairing' stitches together, leaving a gap and then another pair, an otherwise simple stitch creates an interesting repeat.


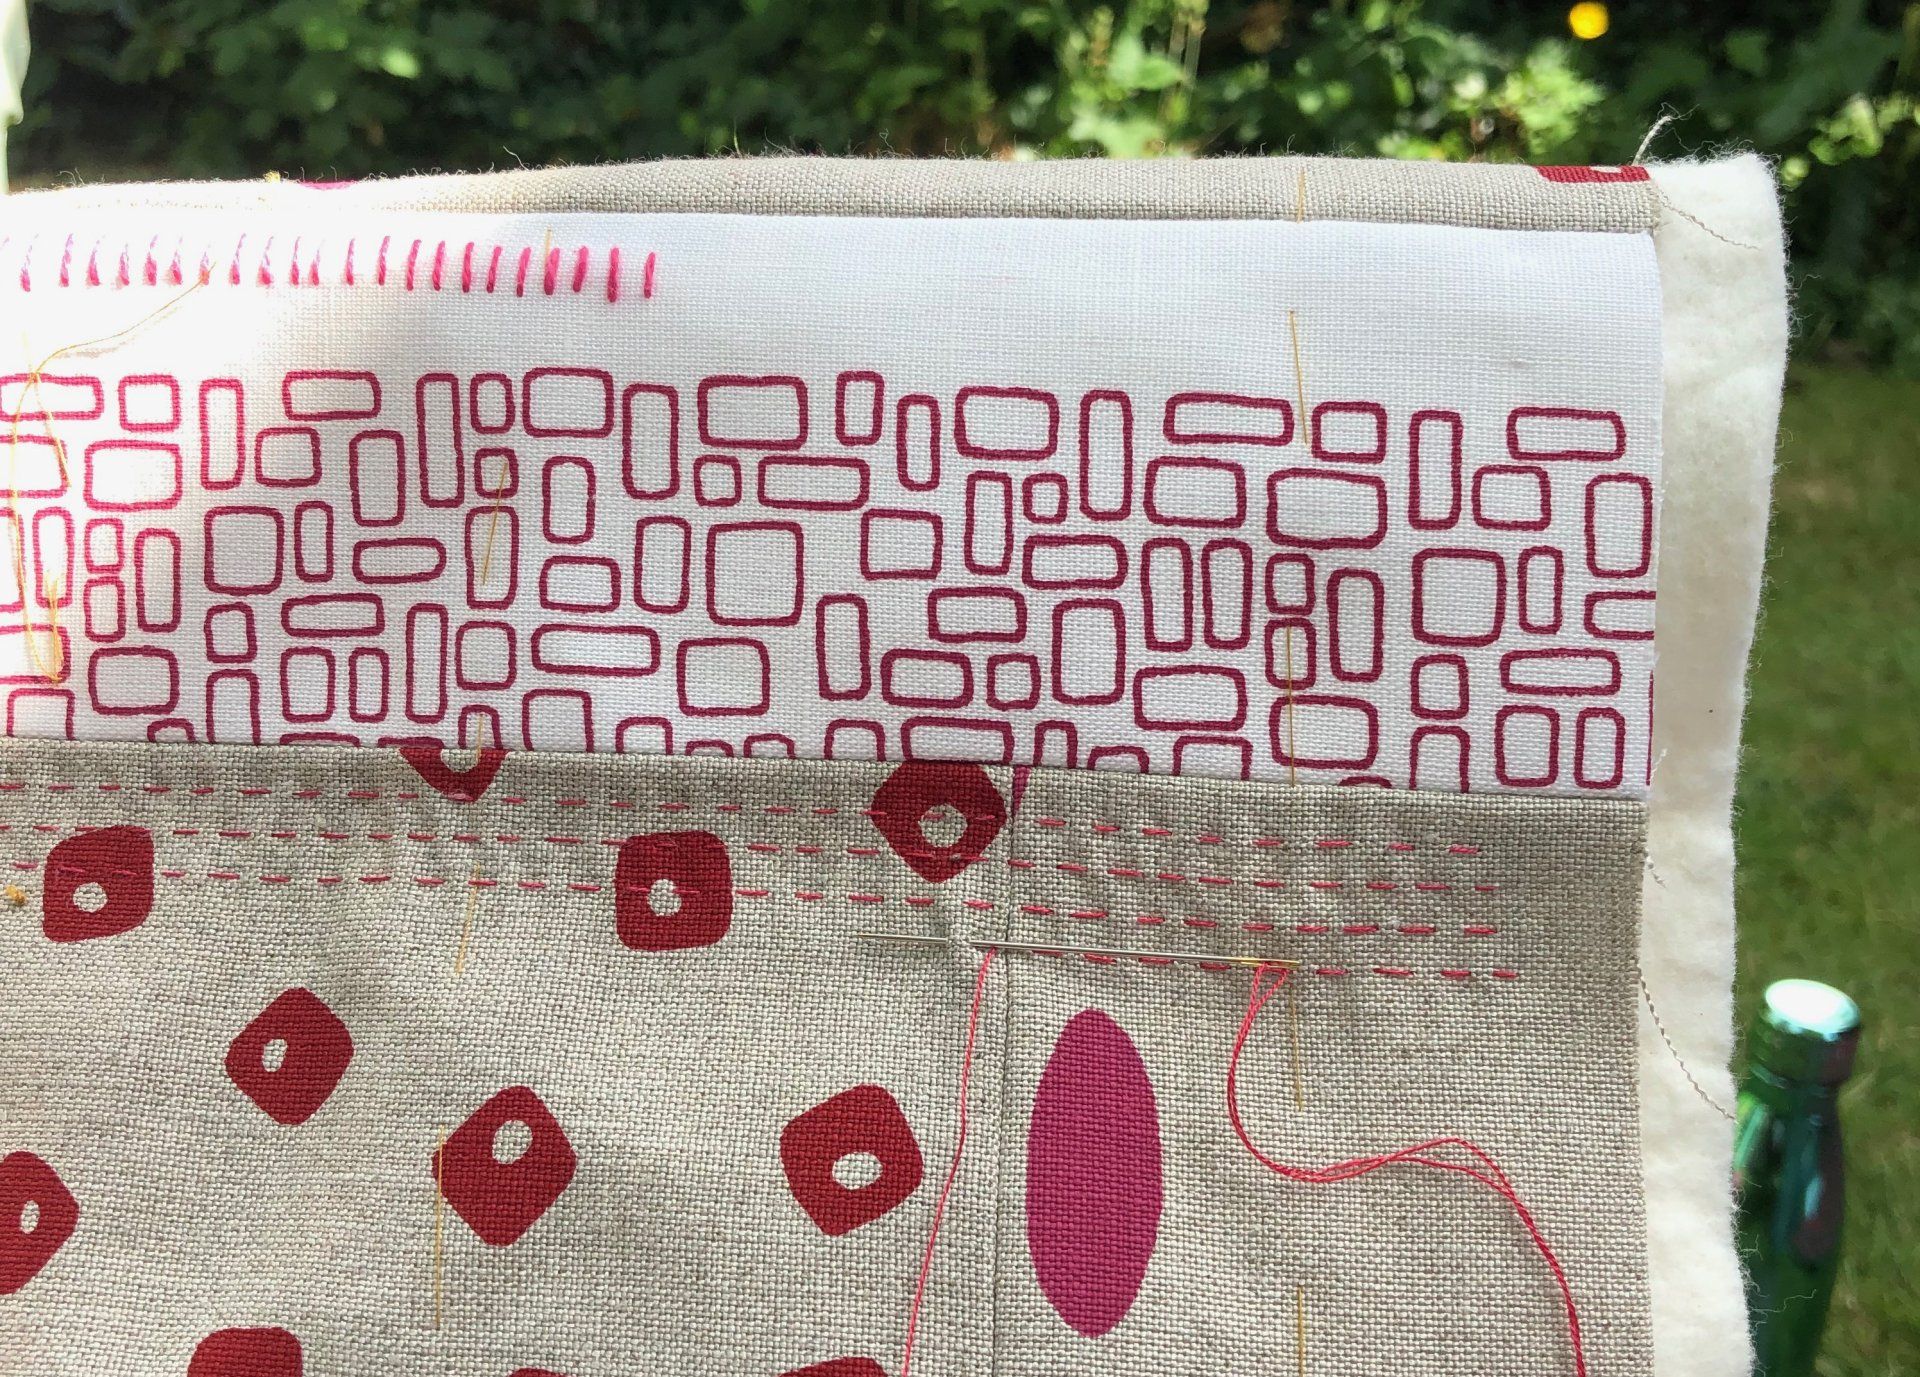
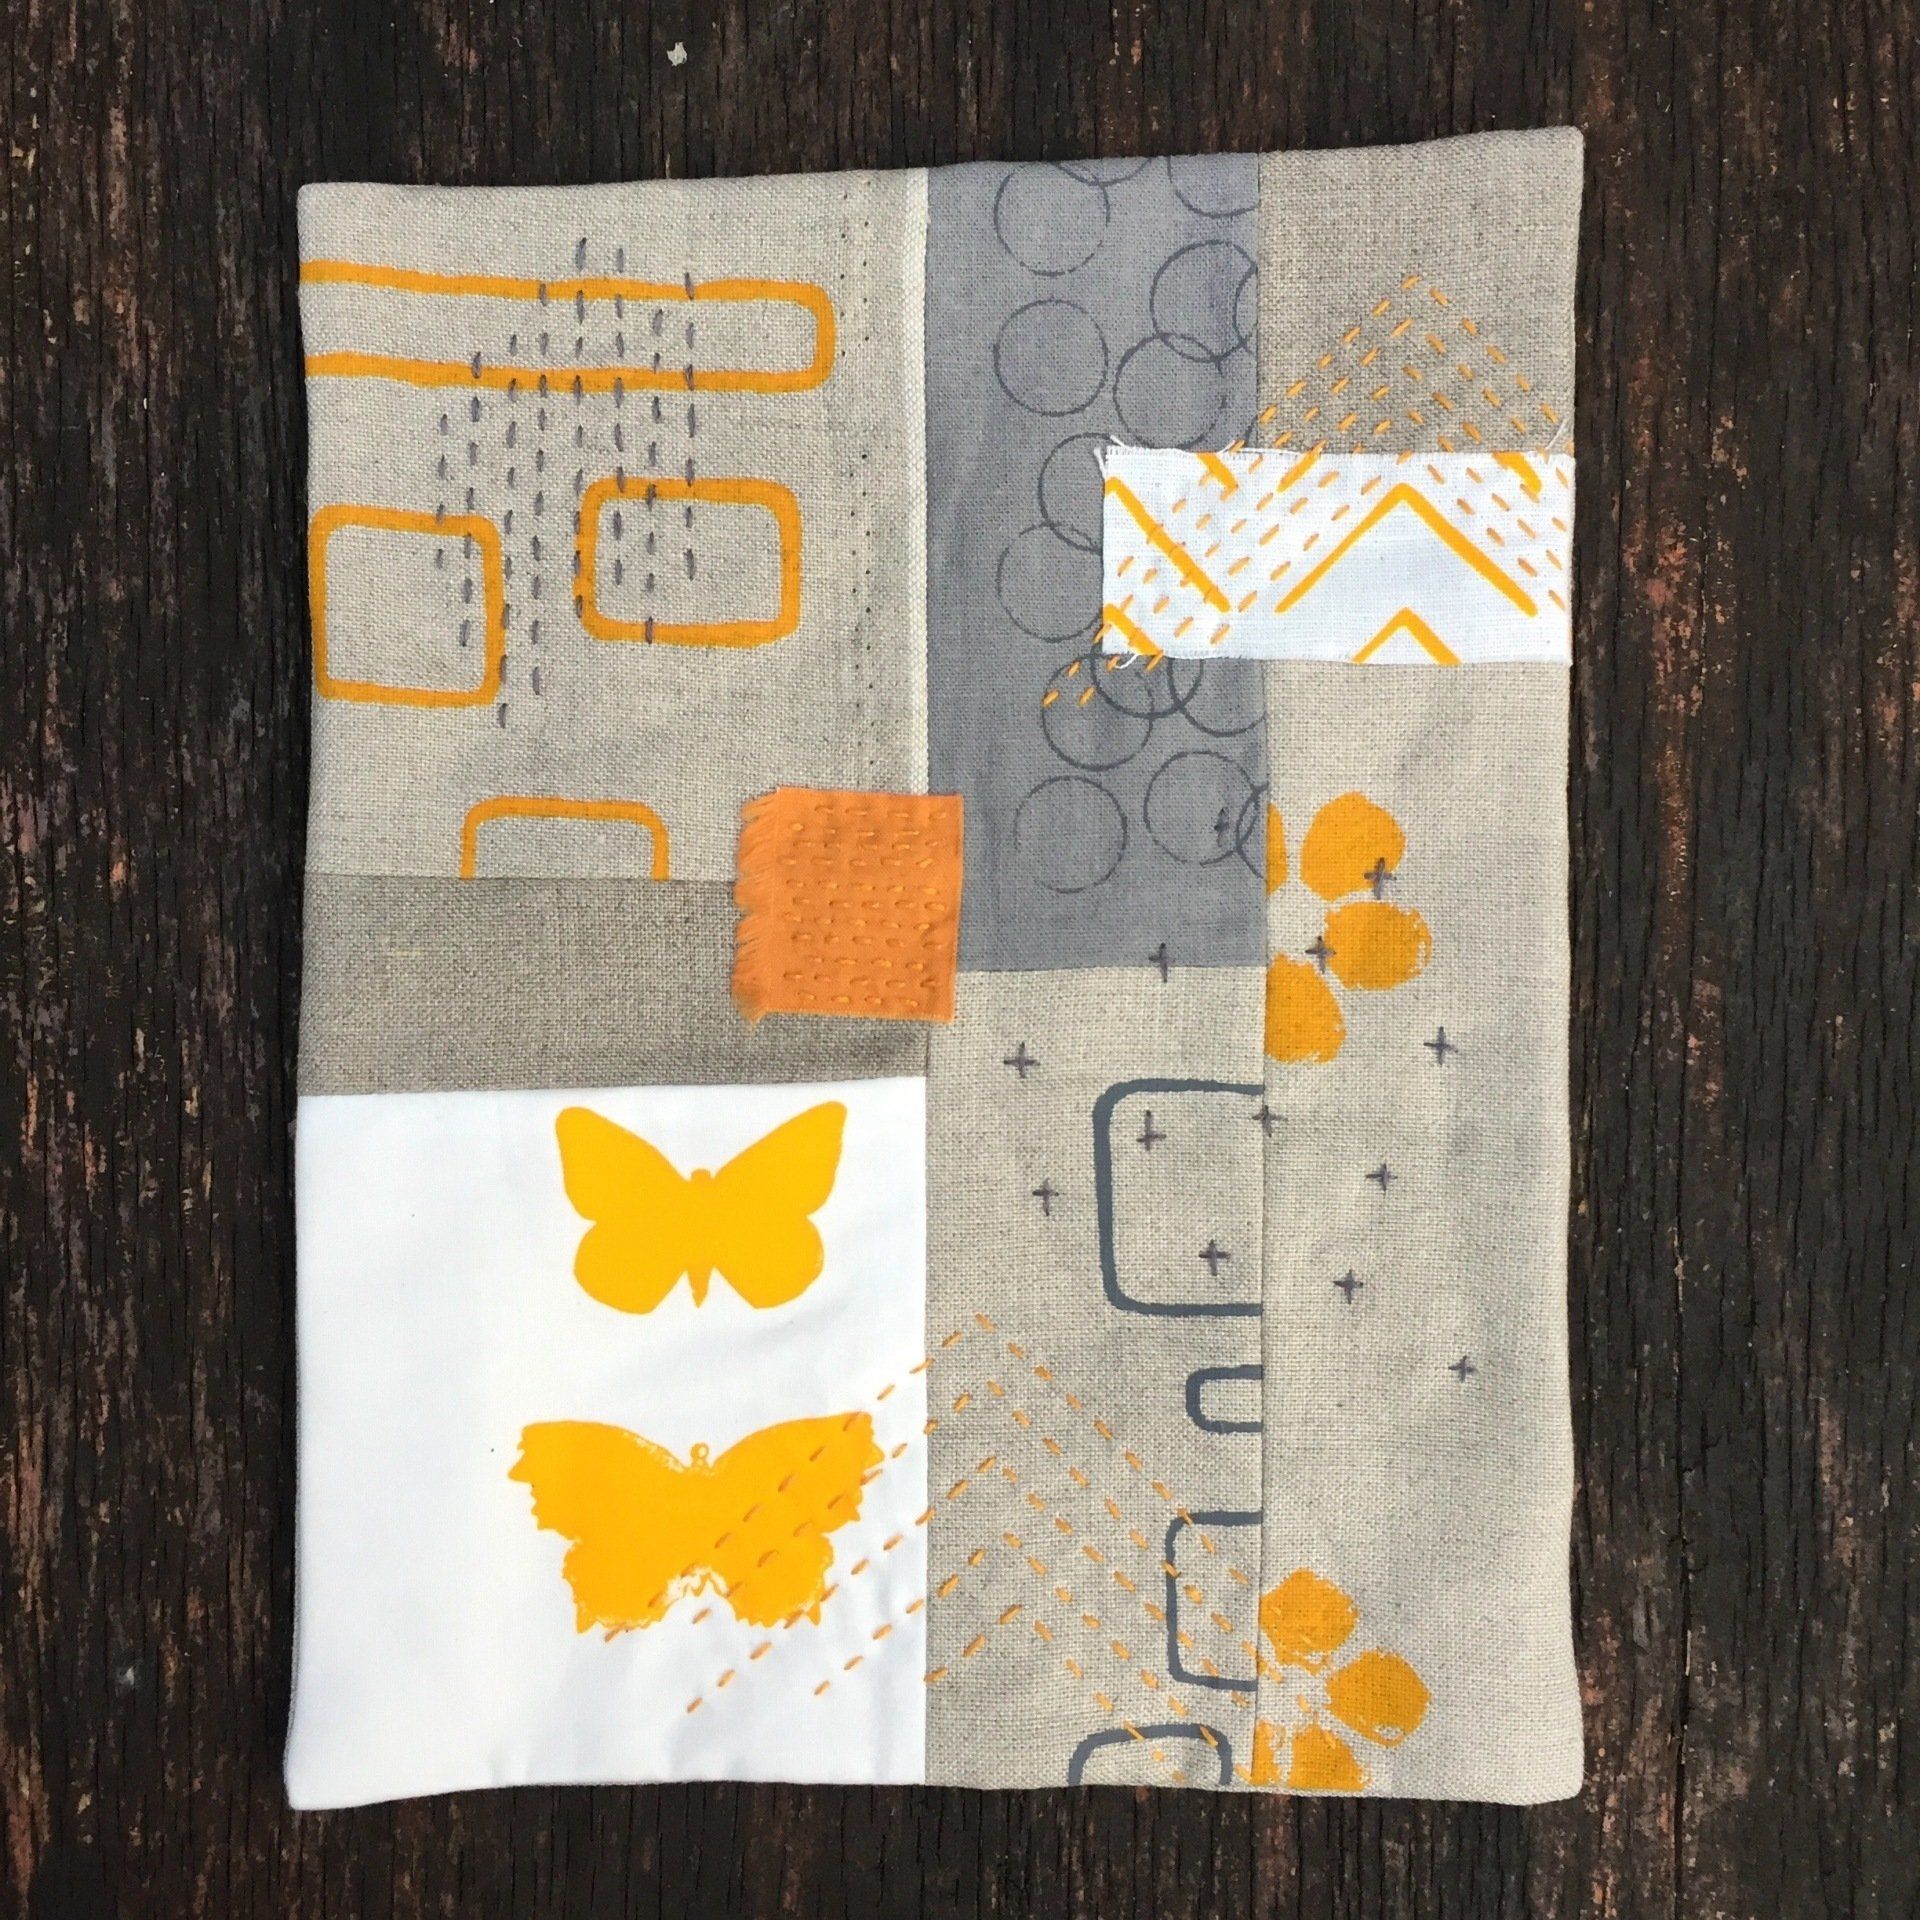
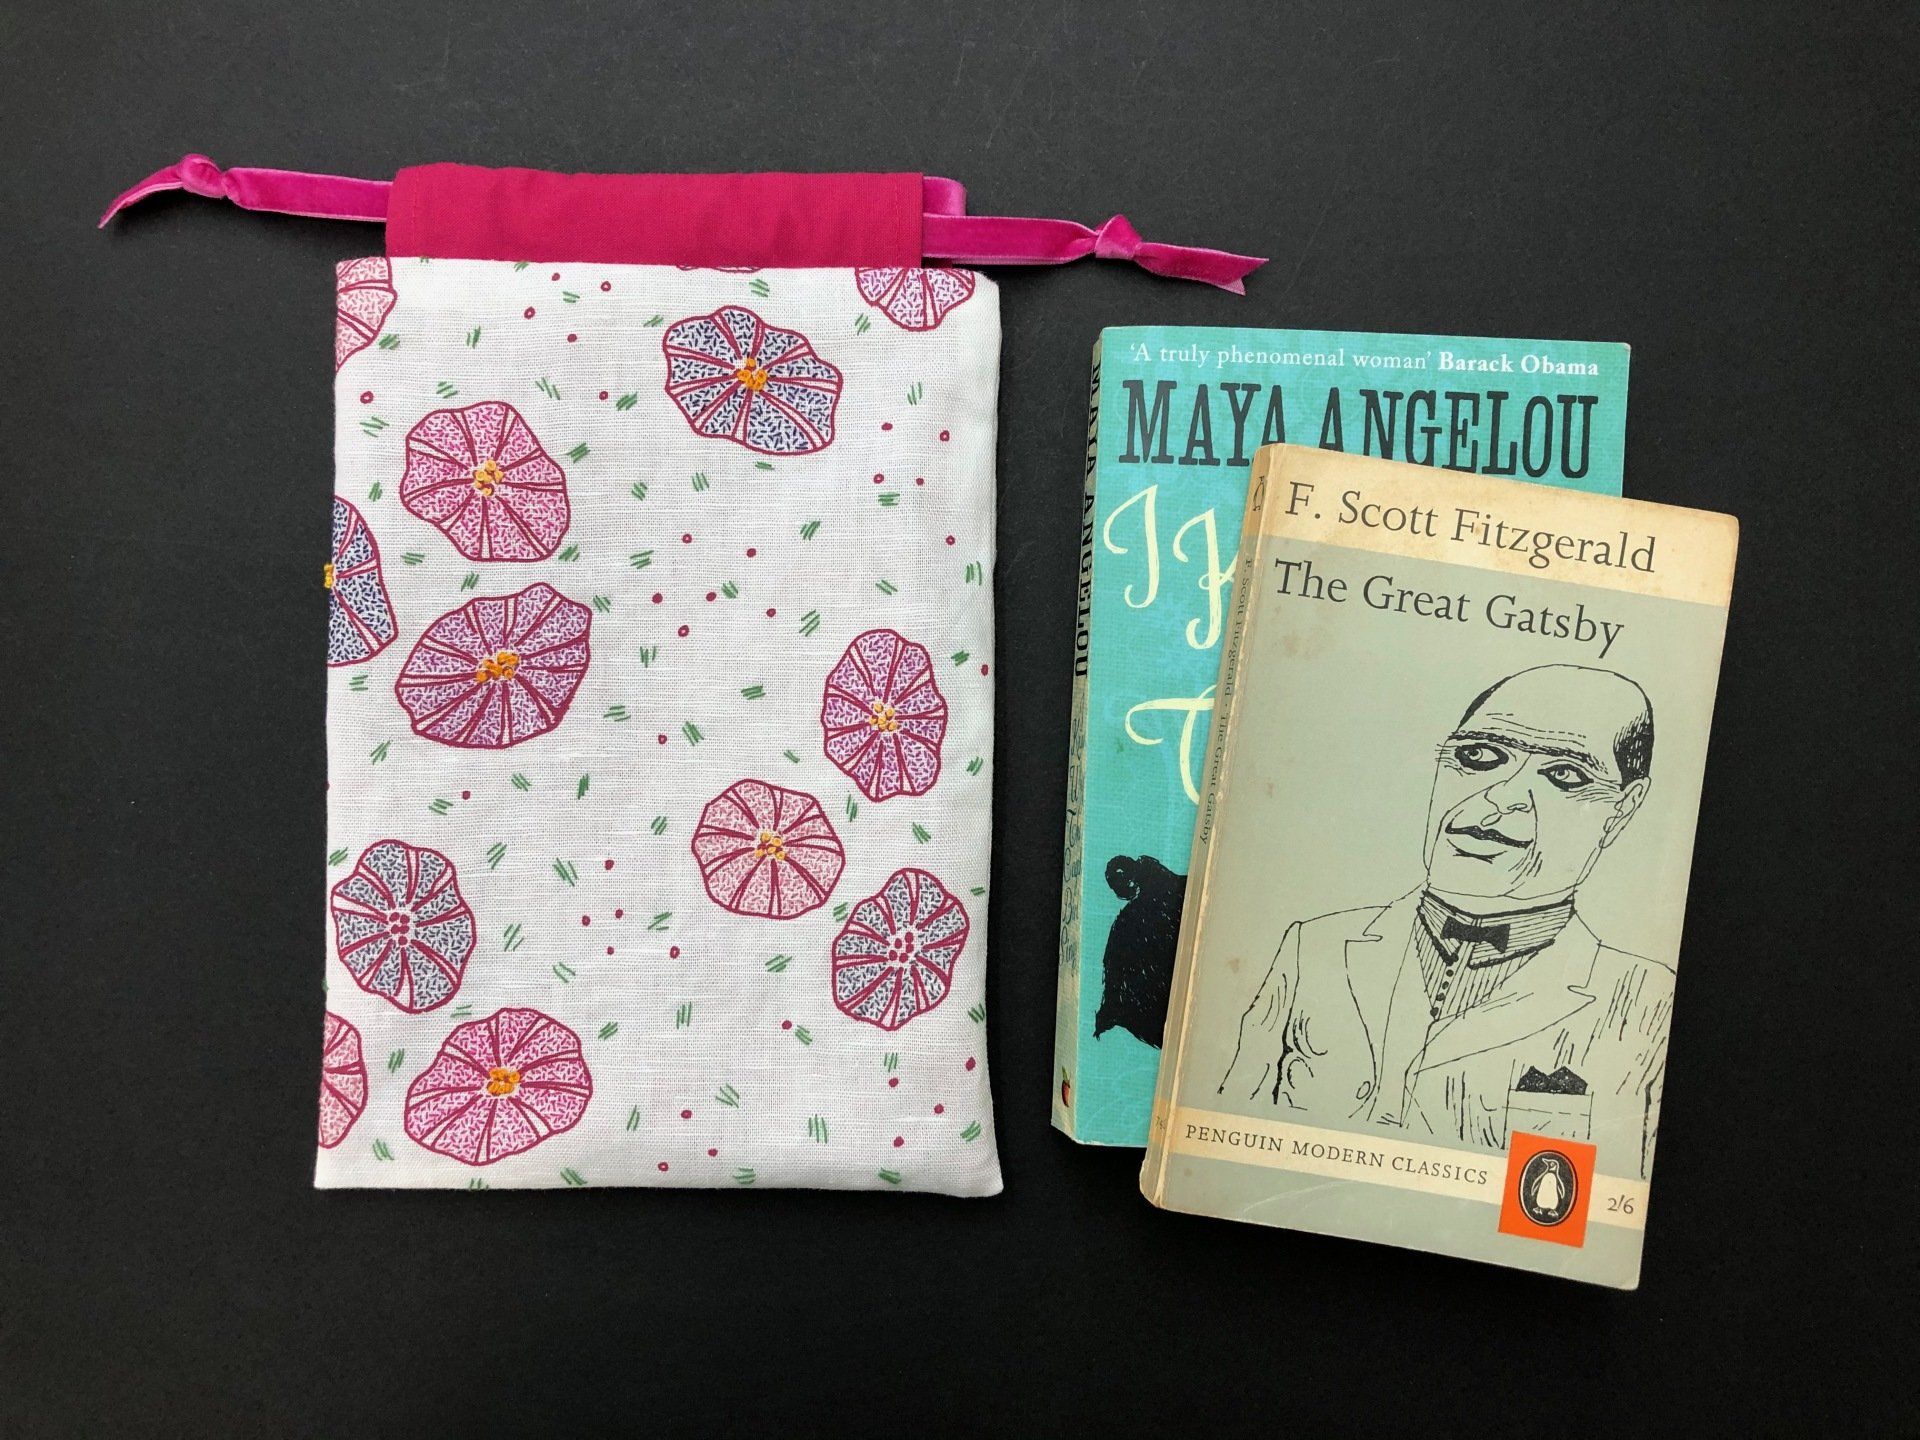
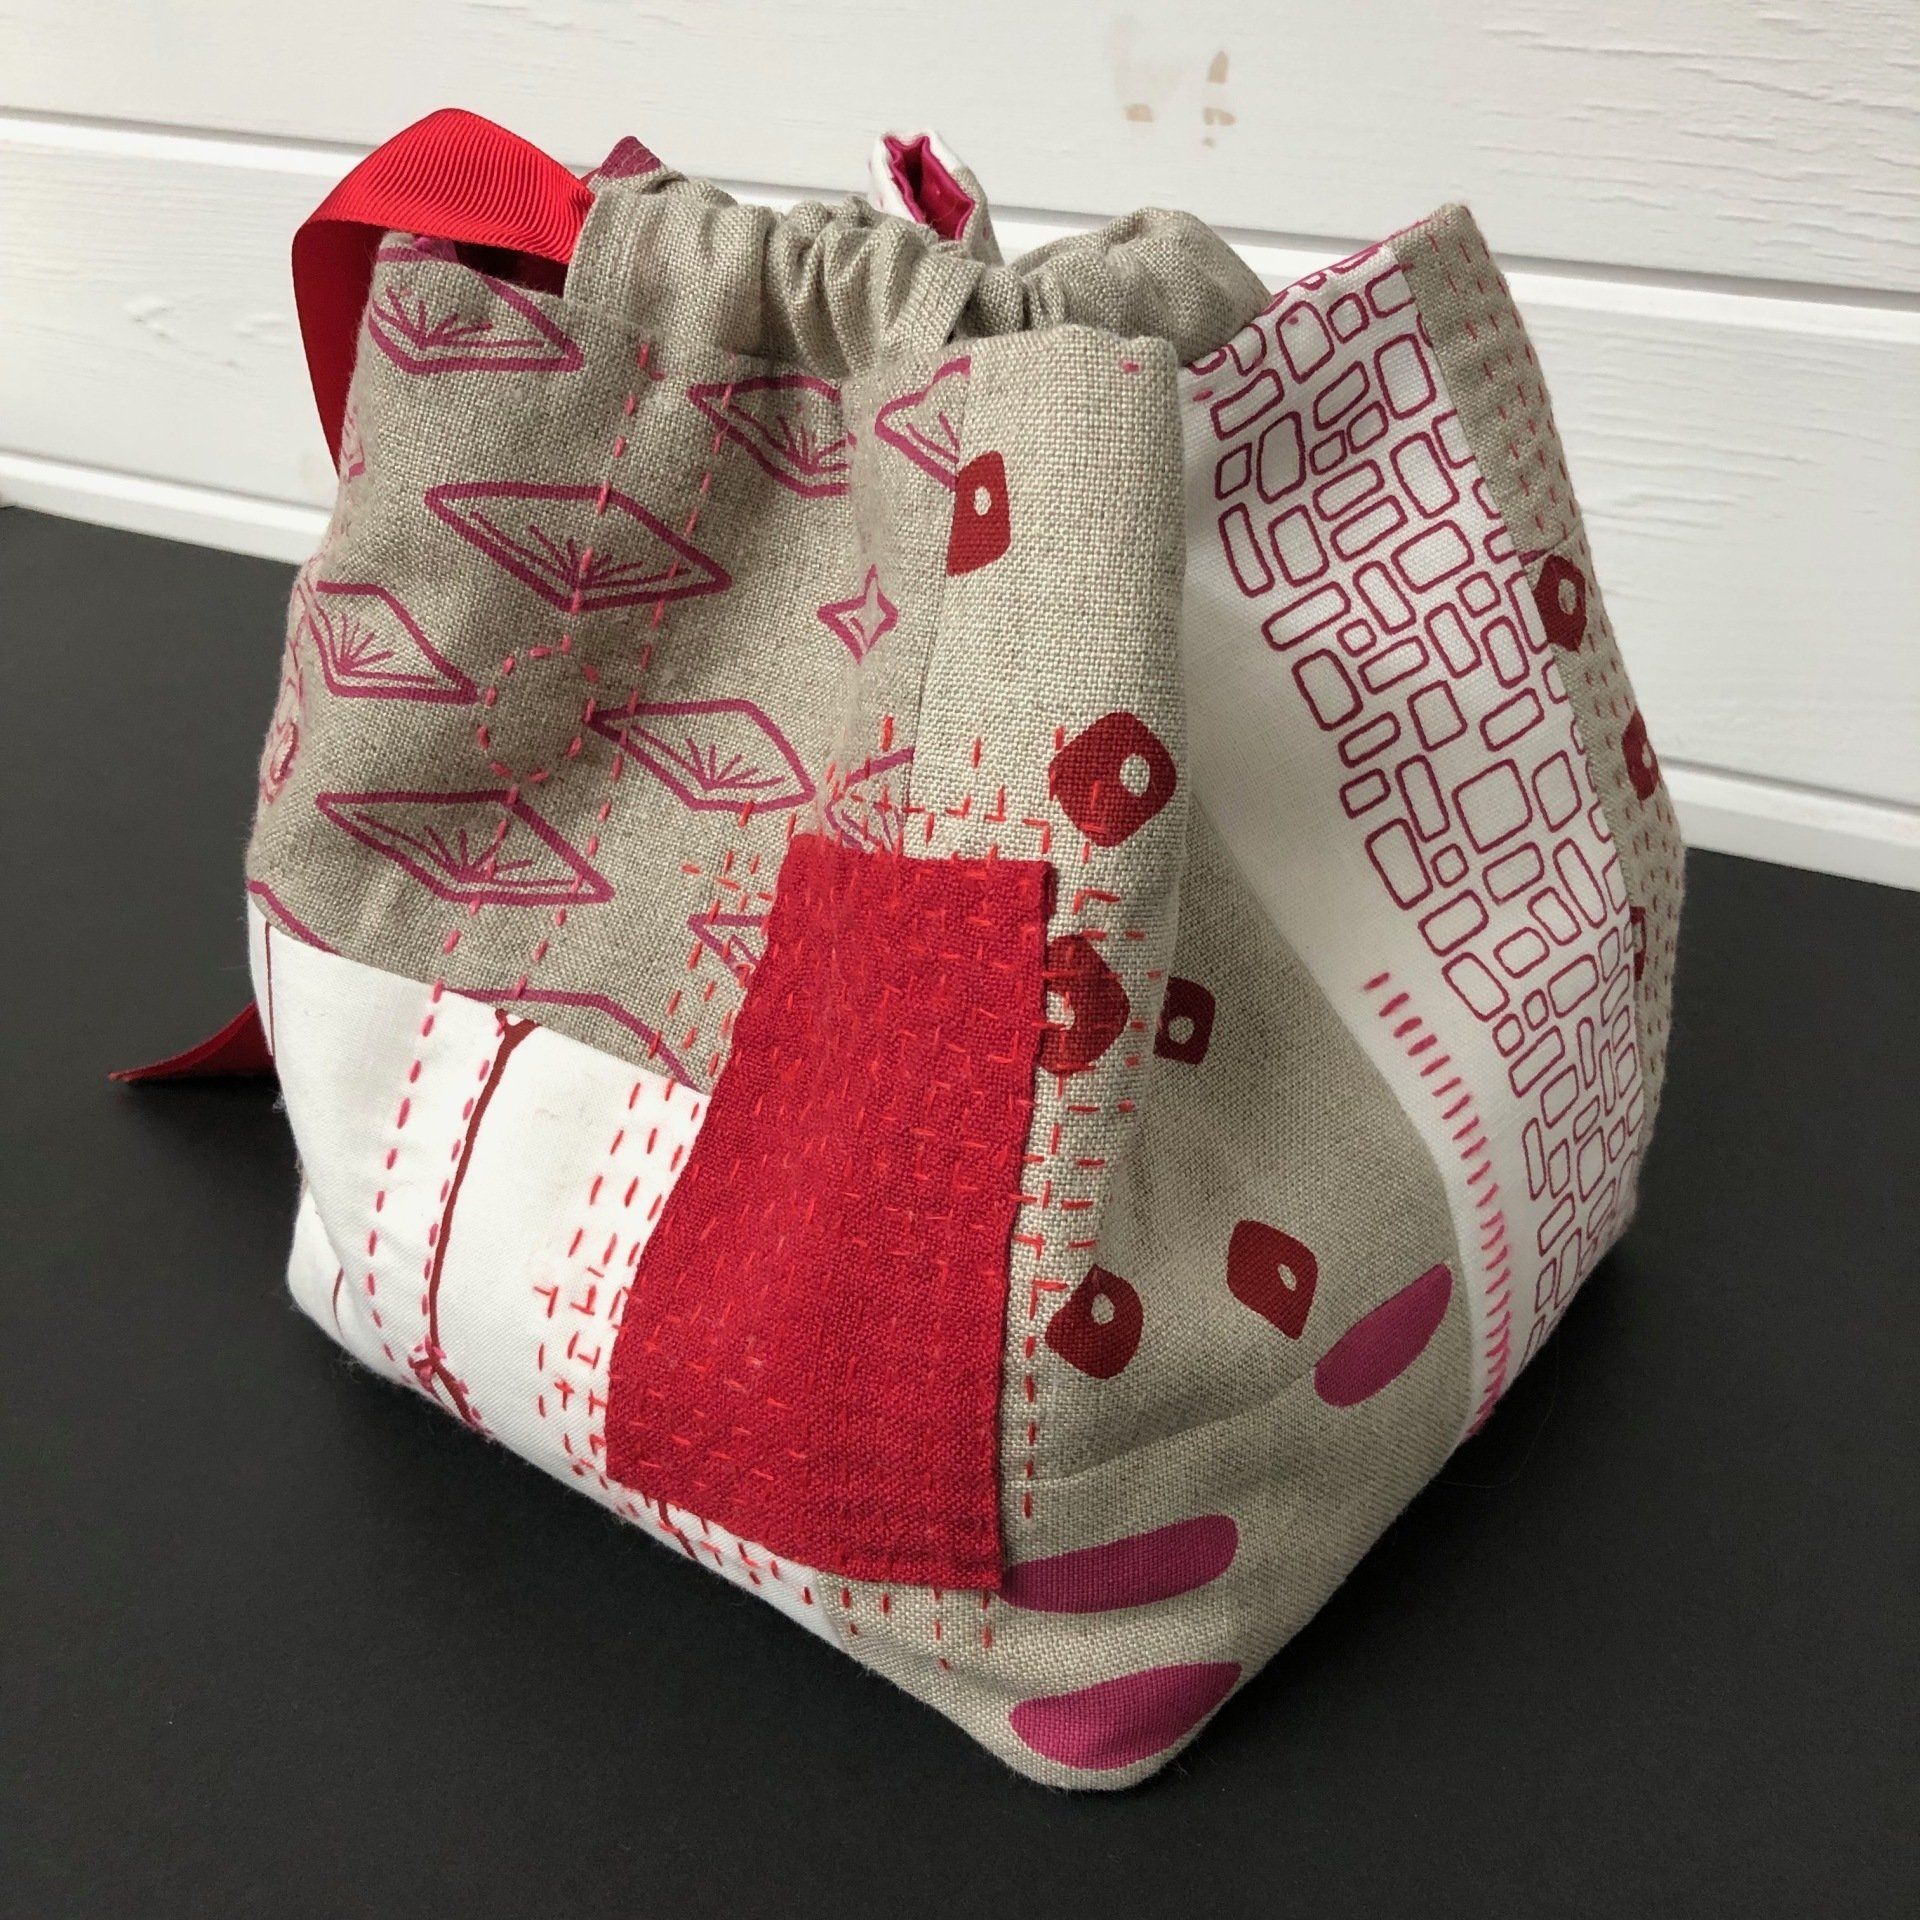
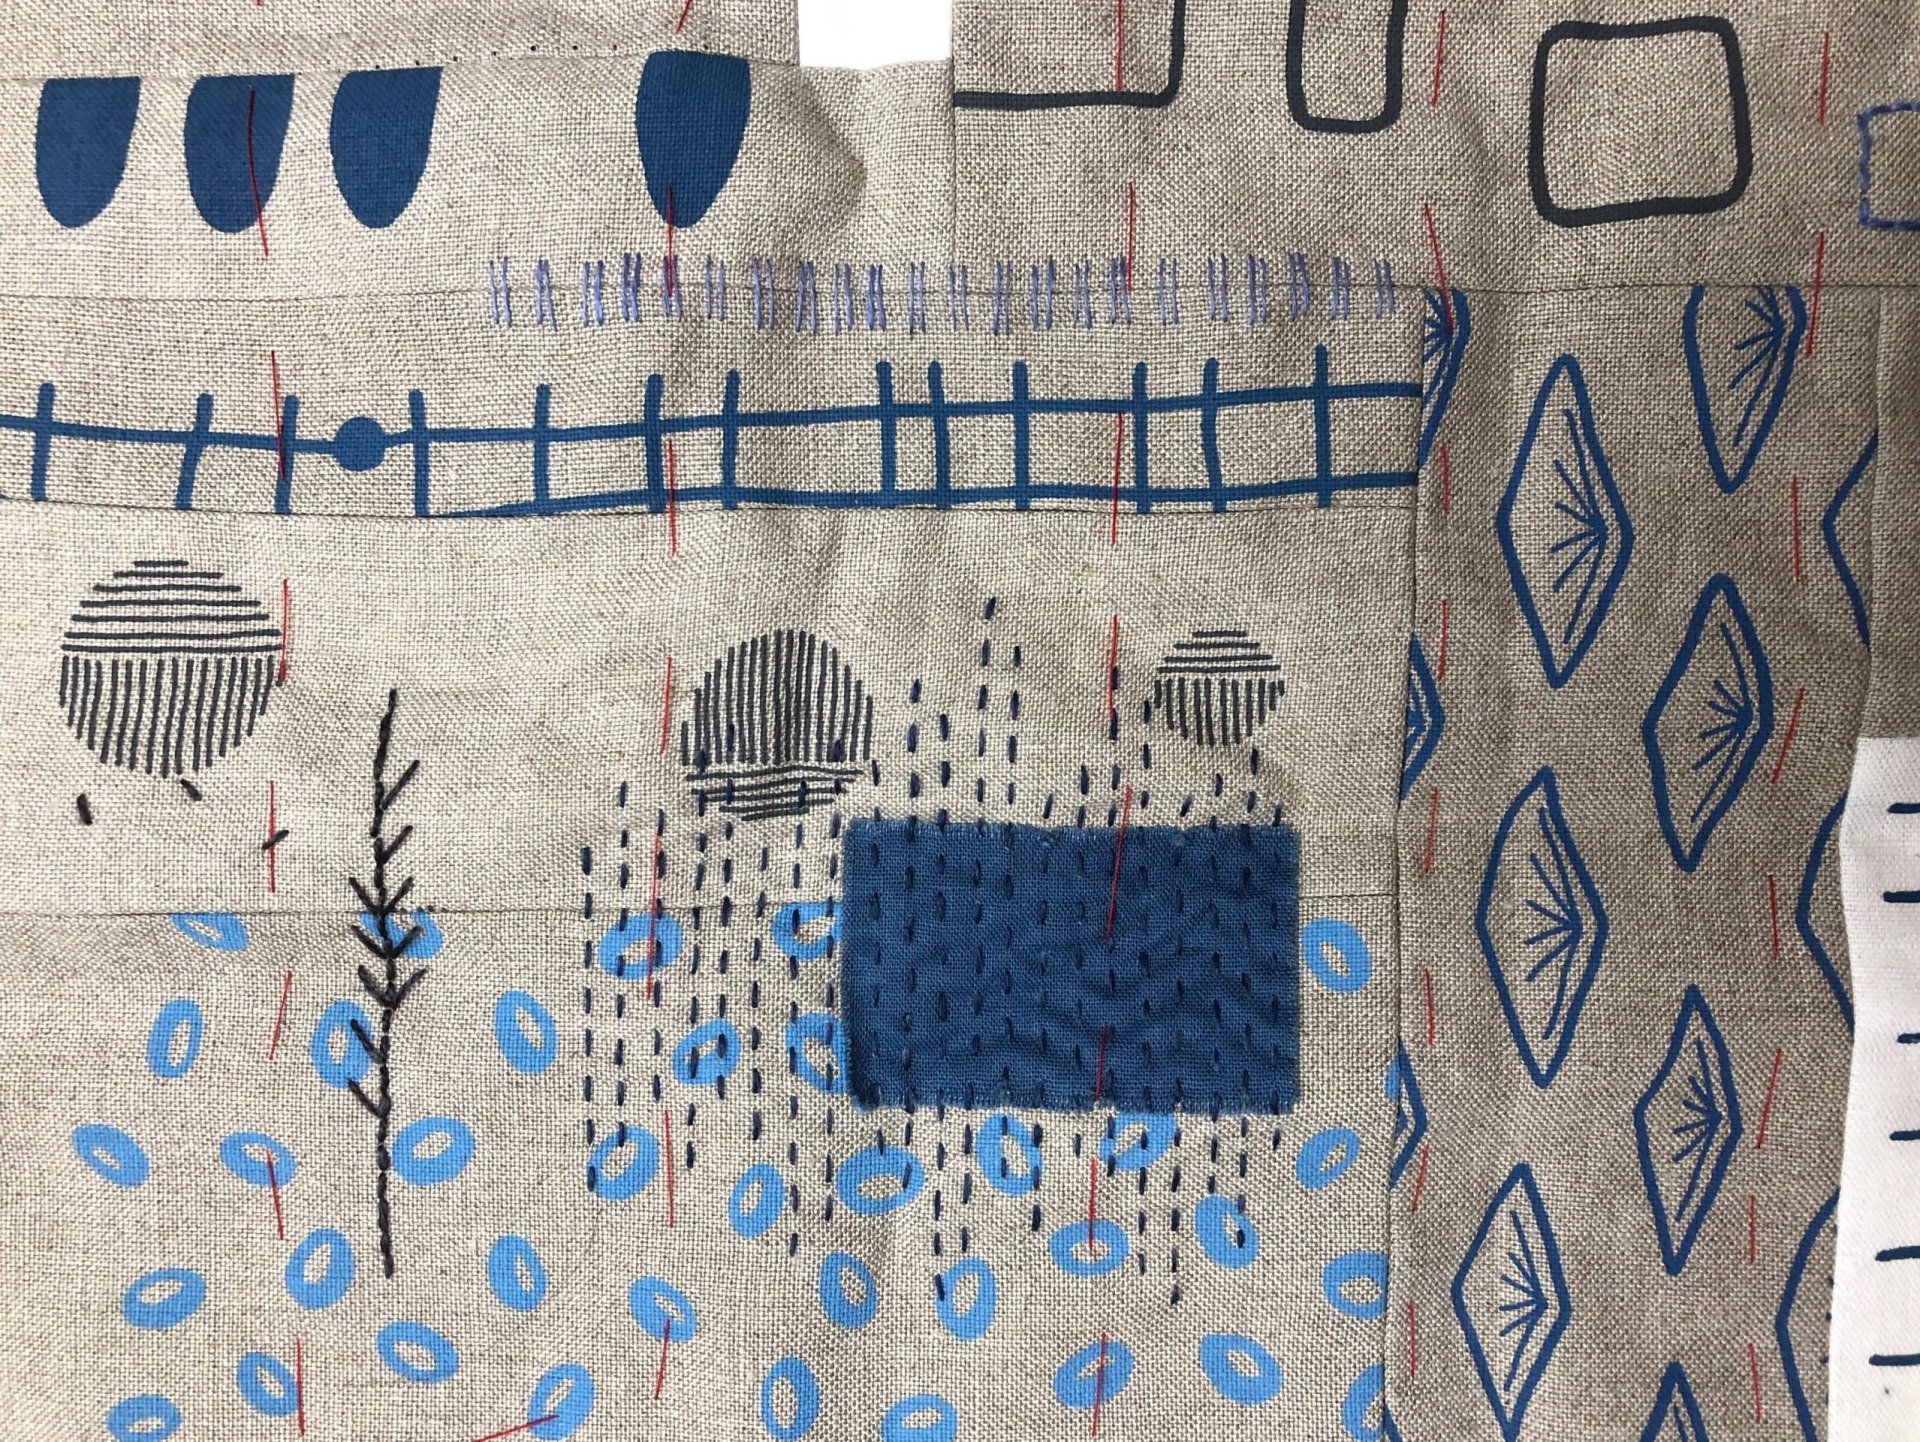
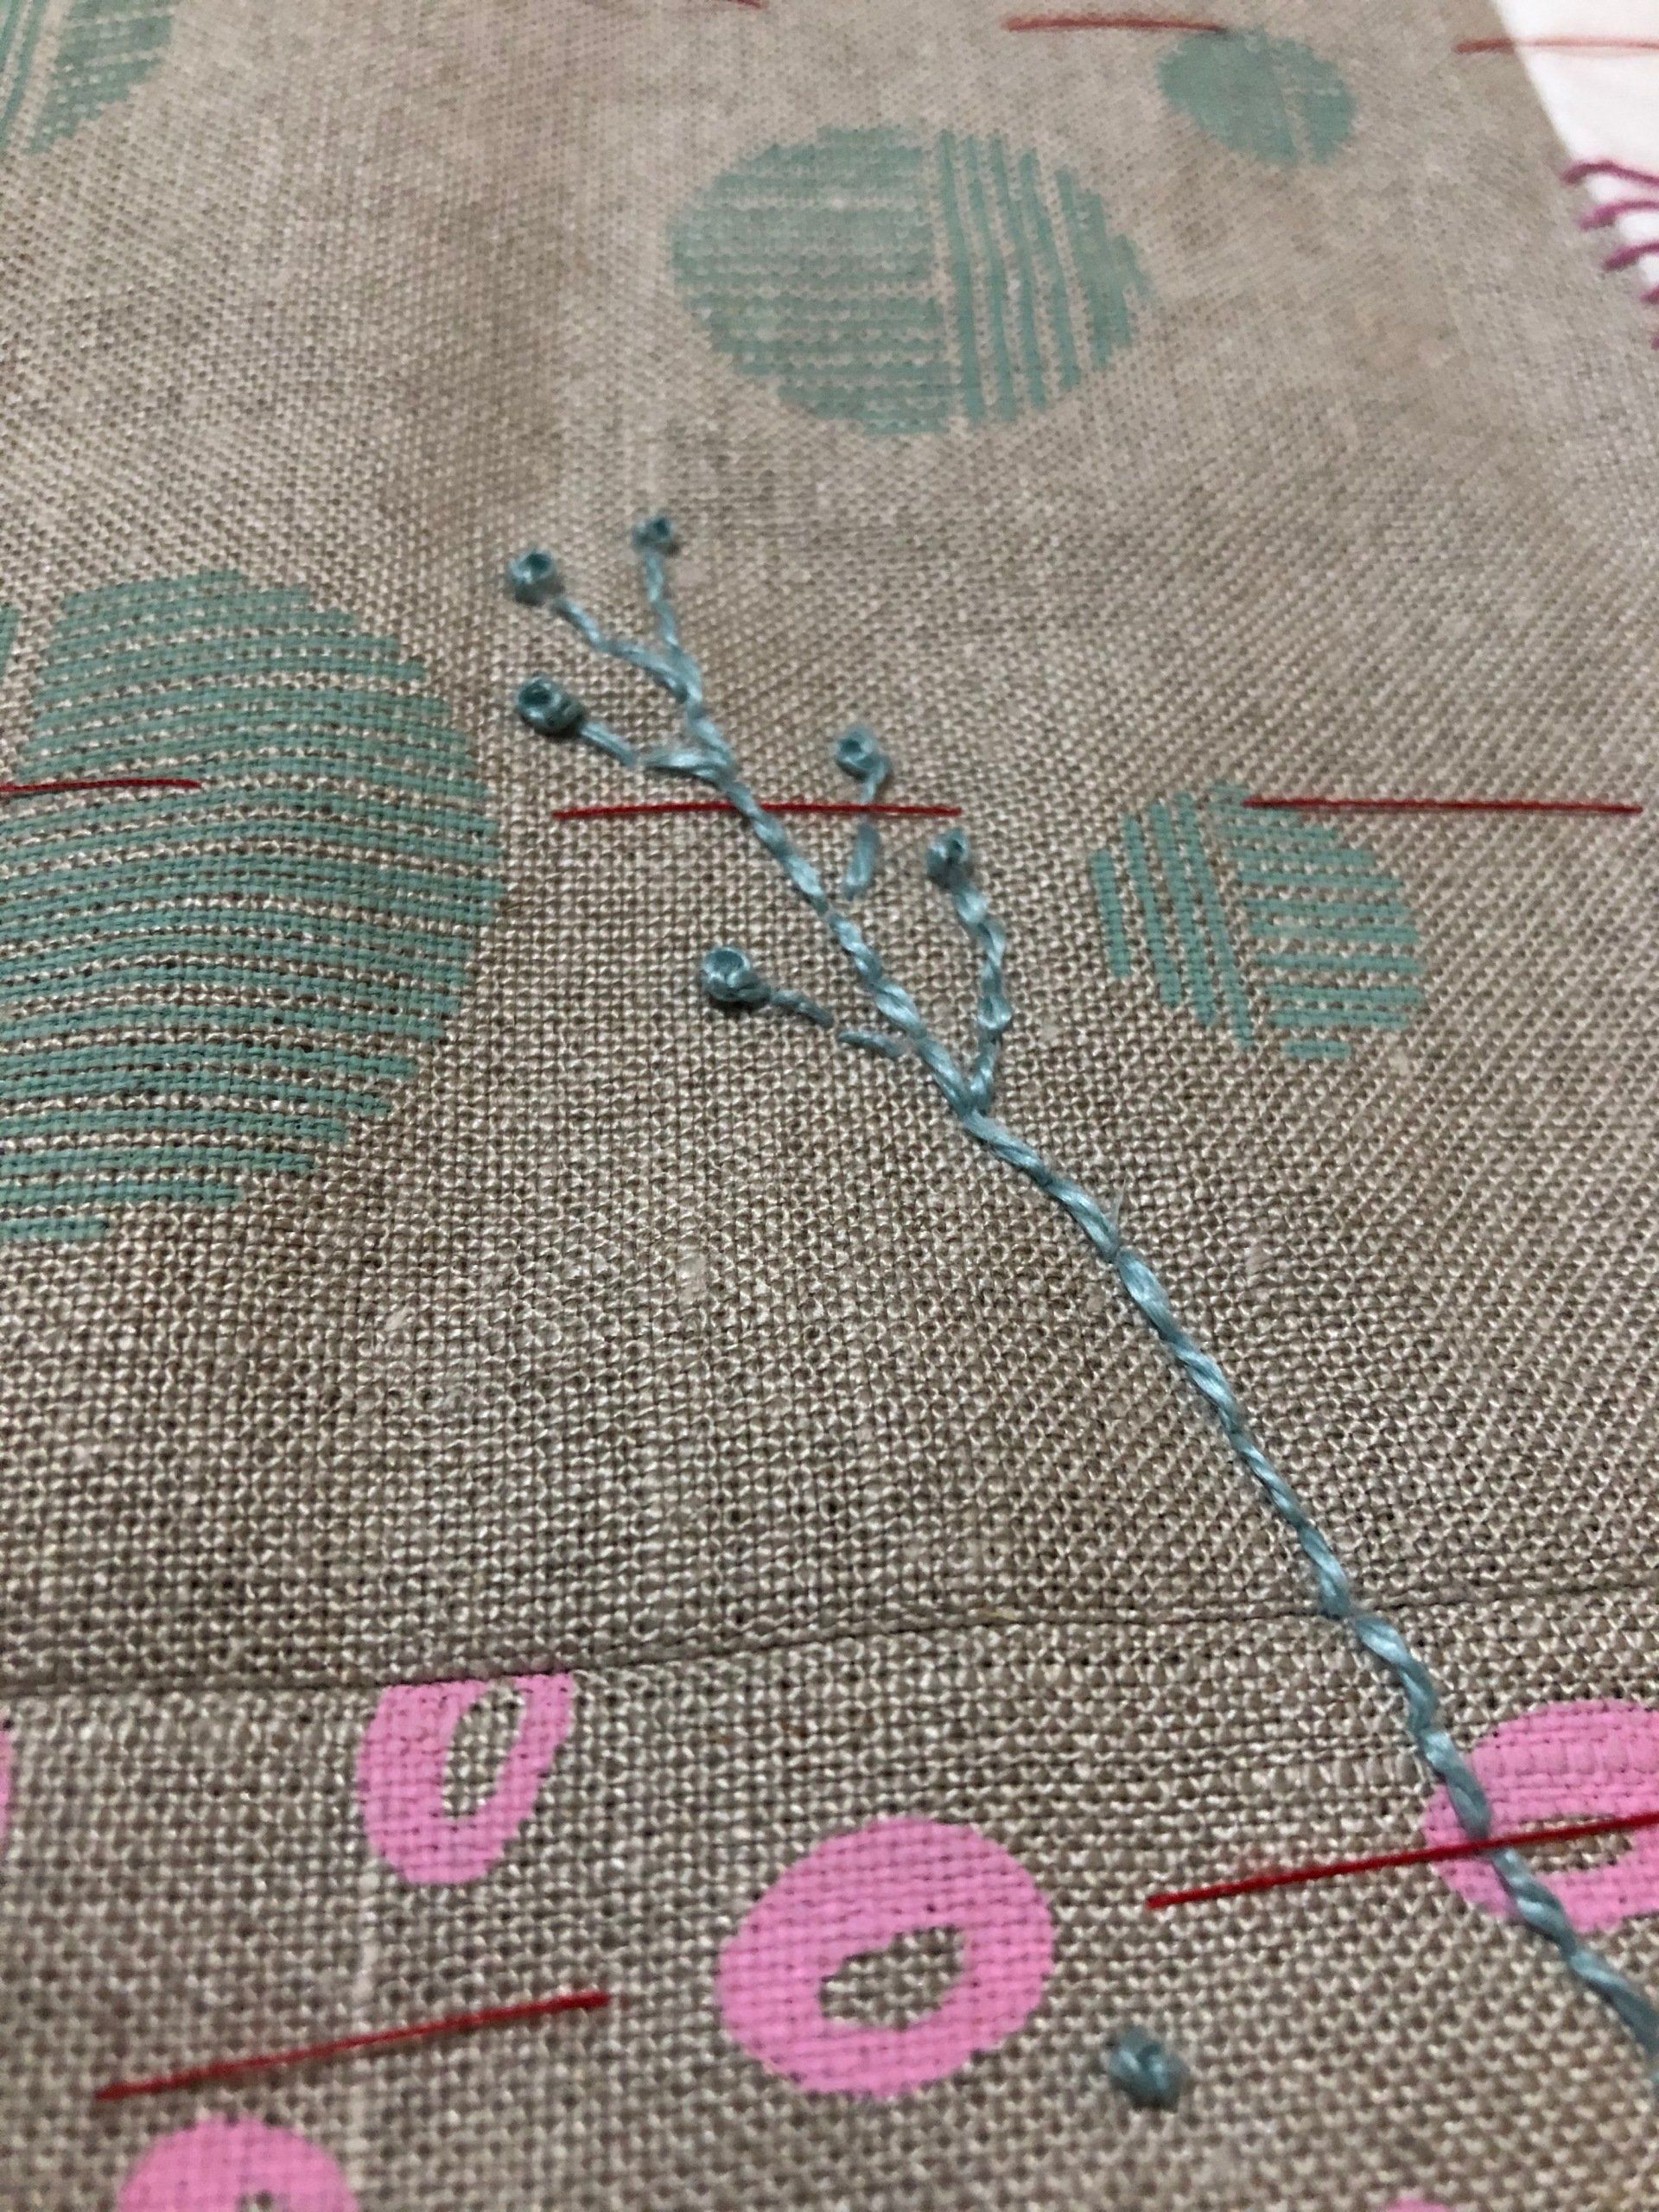
Add your own details such as flowers or leaves with backstitch to add something personal to your  projects. I've added some french knots to this stem and there are a scattering below to give the impression they may have fallen.


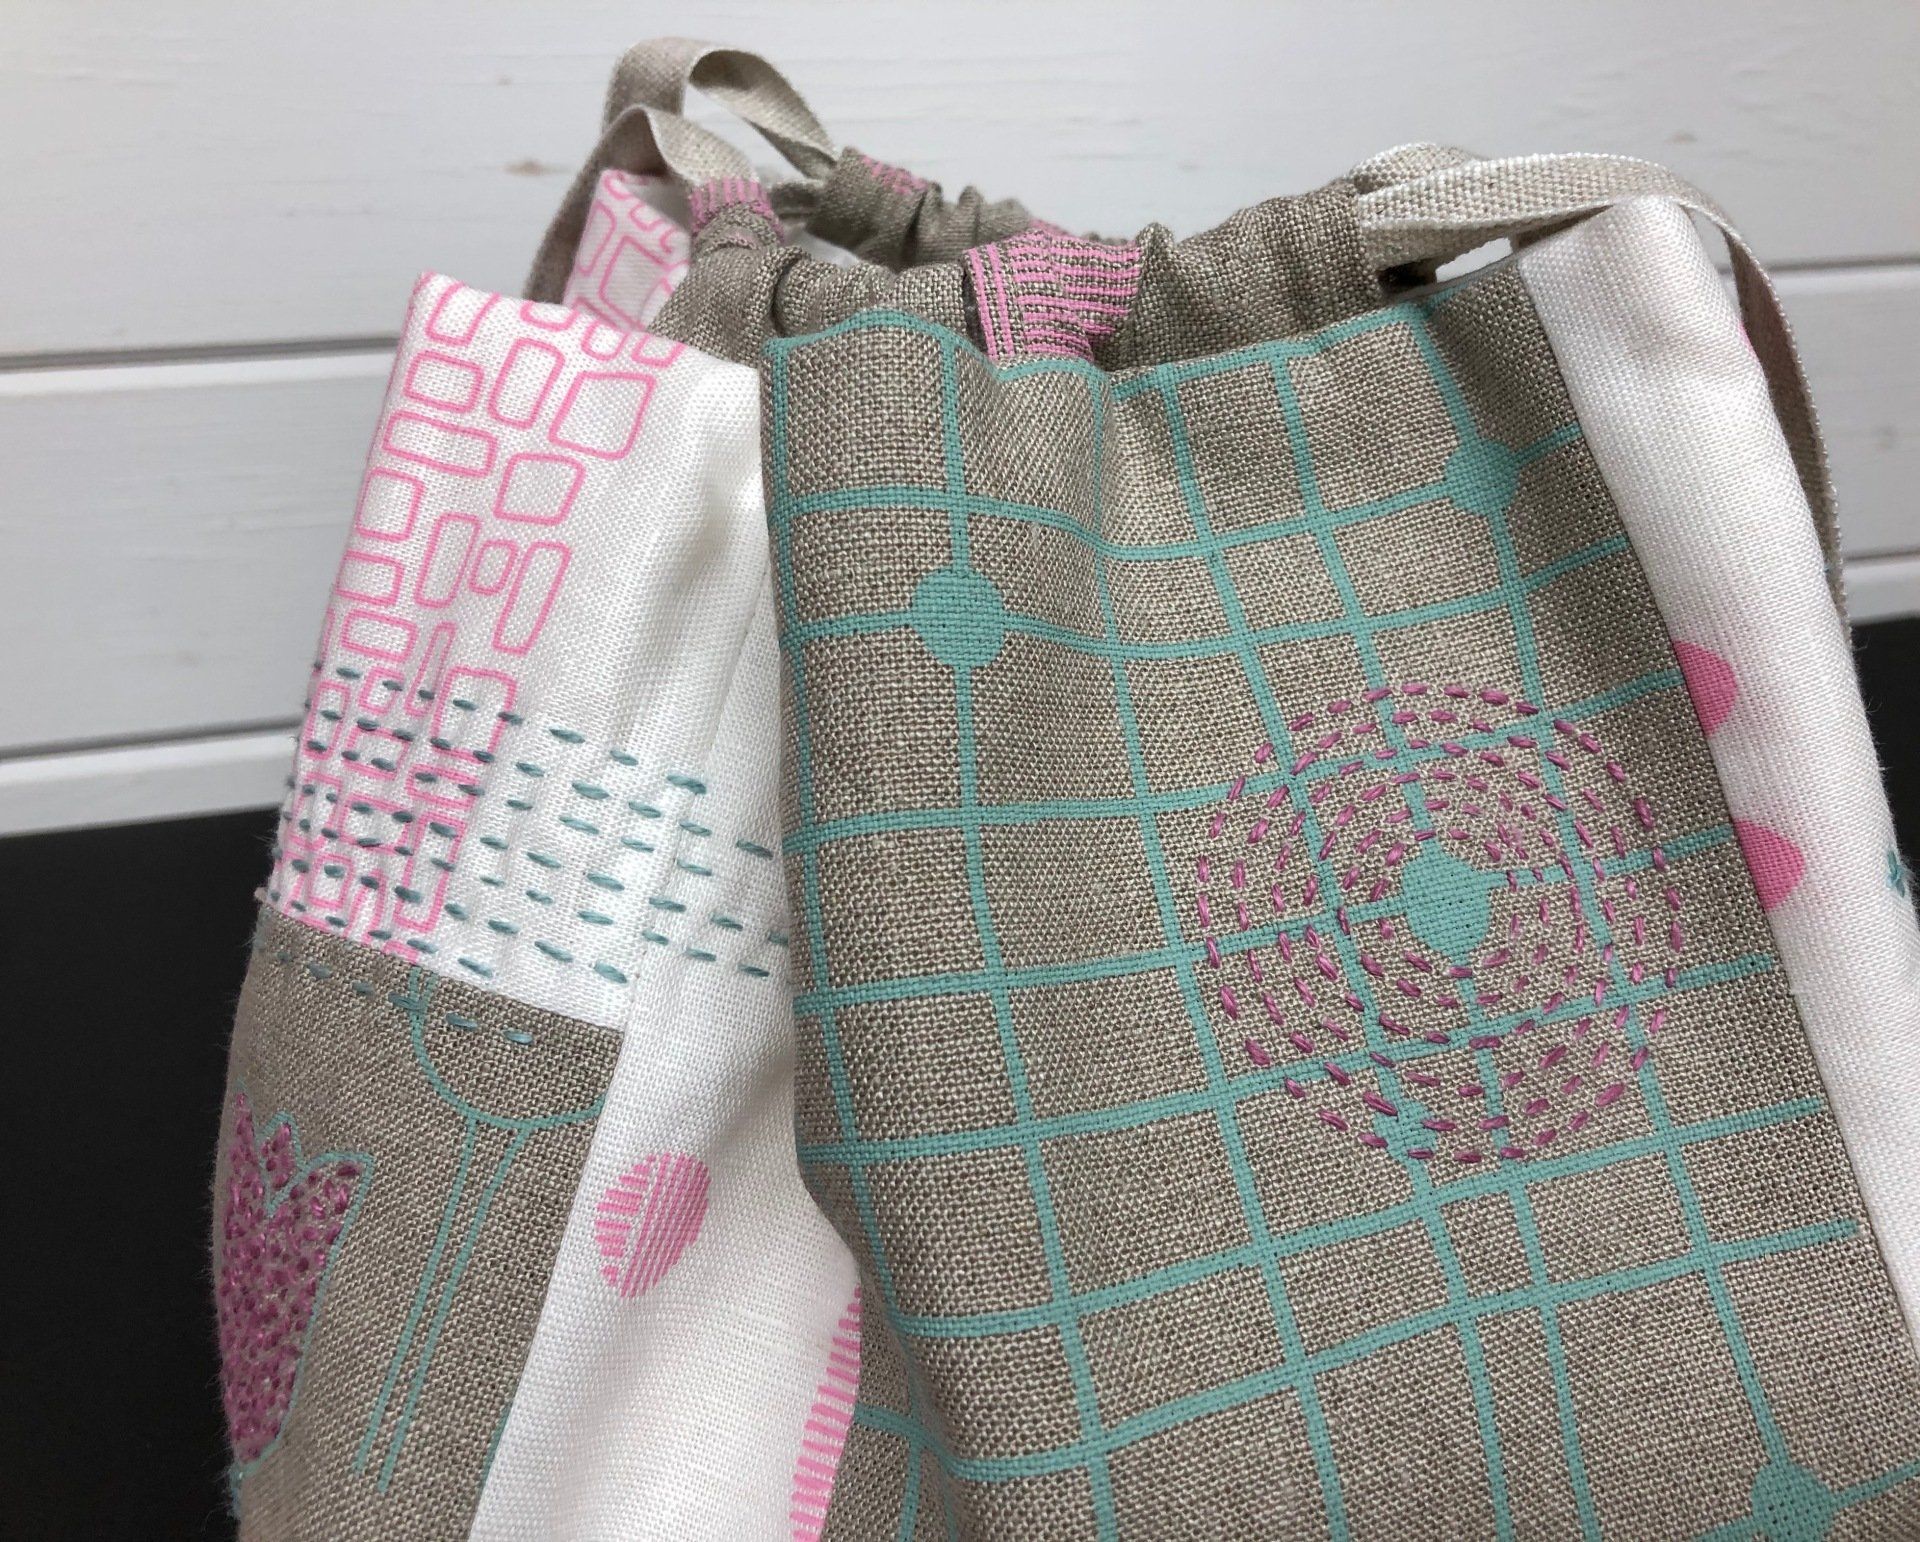
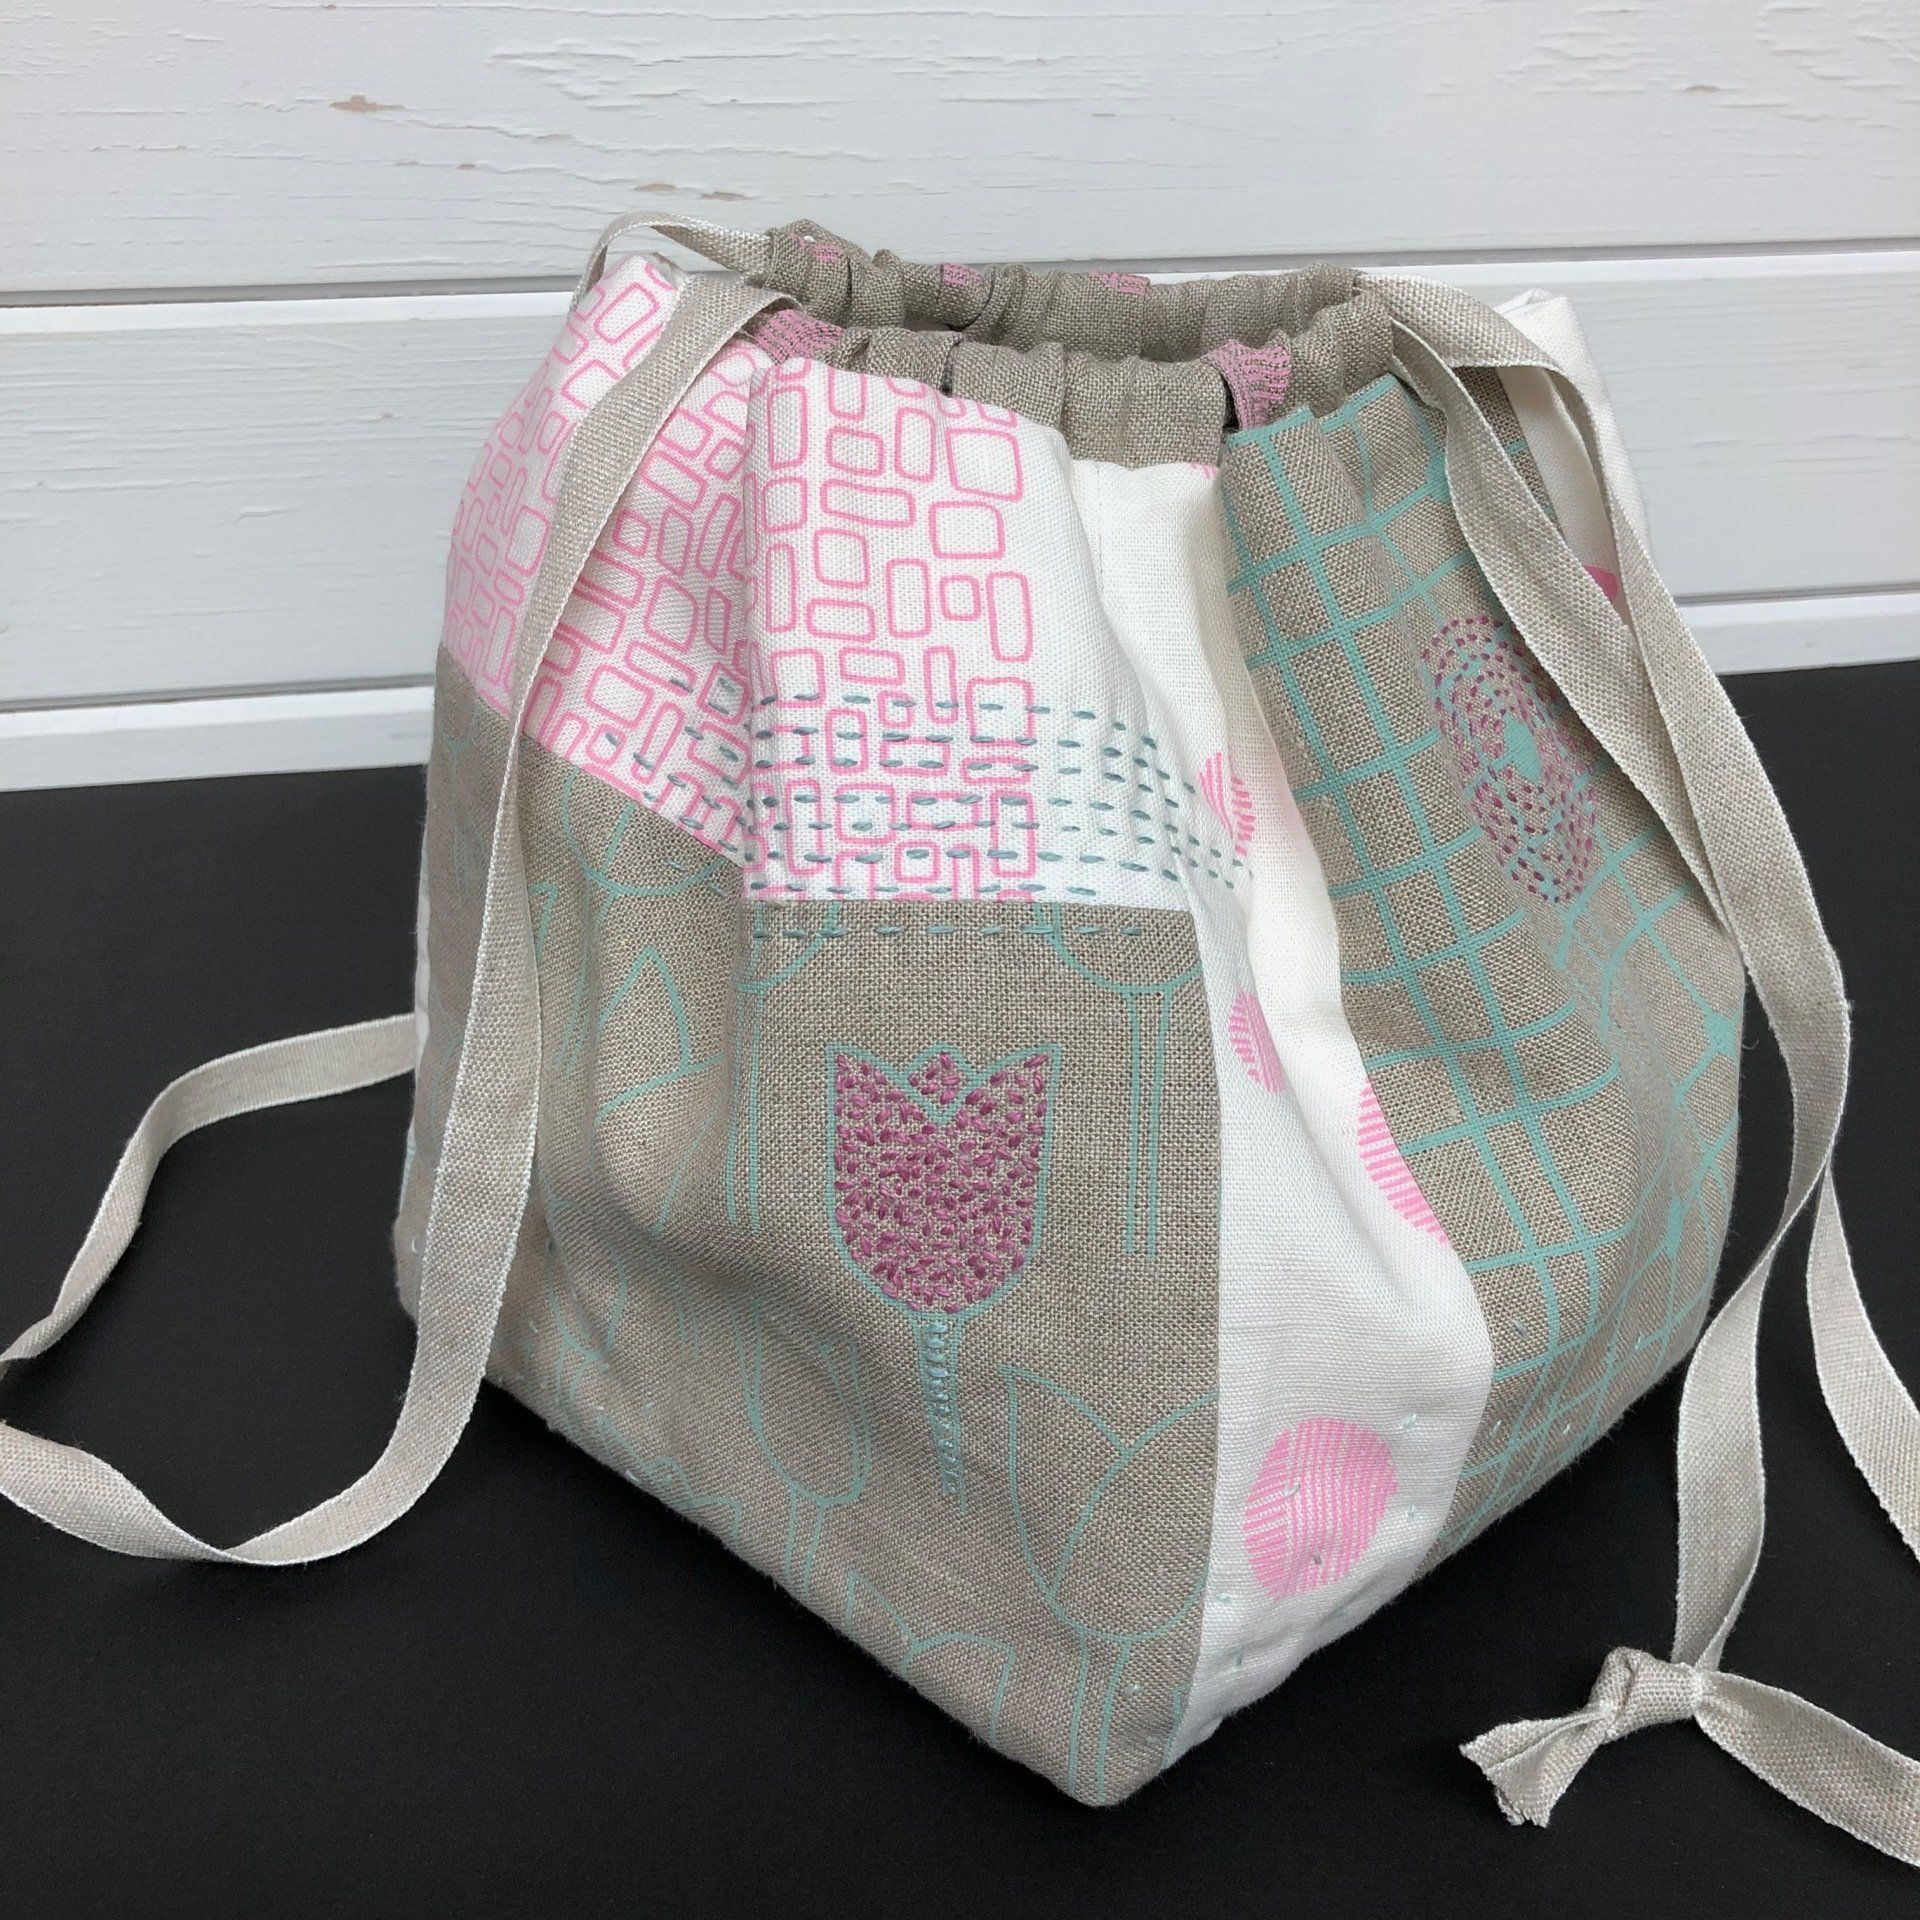
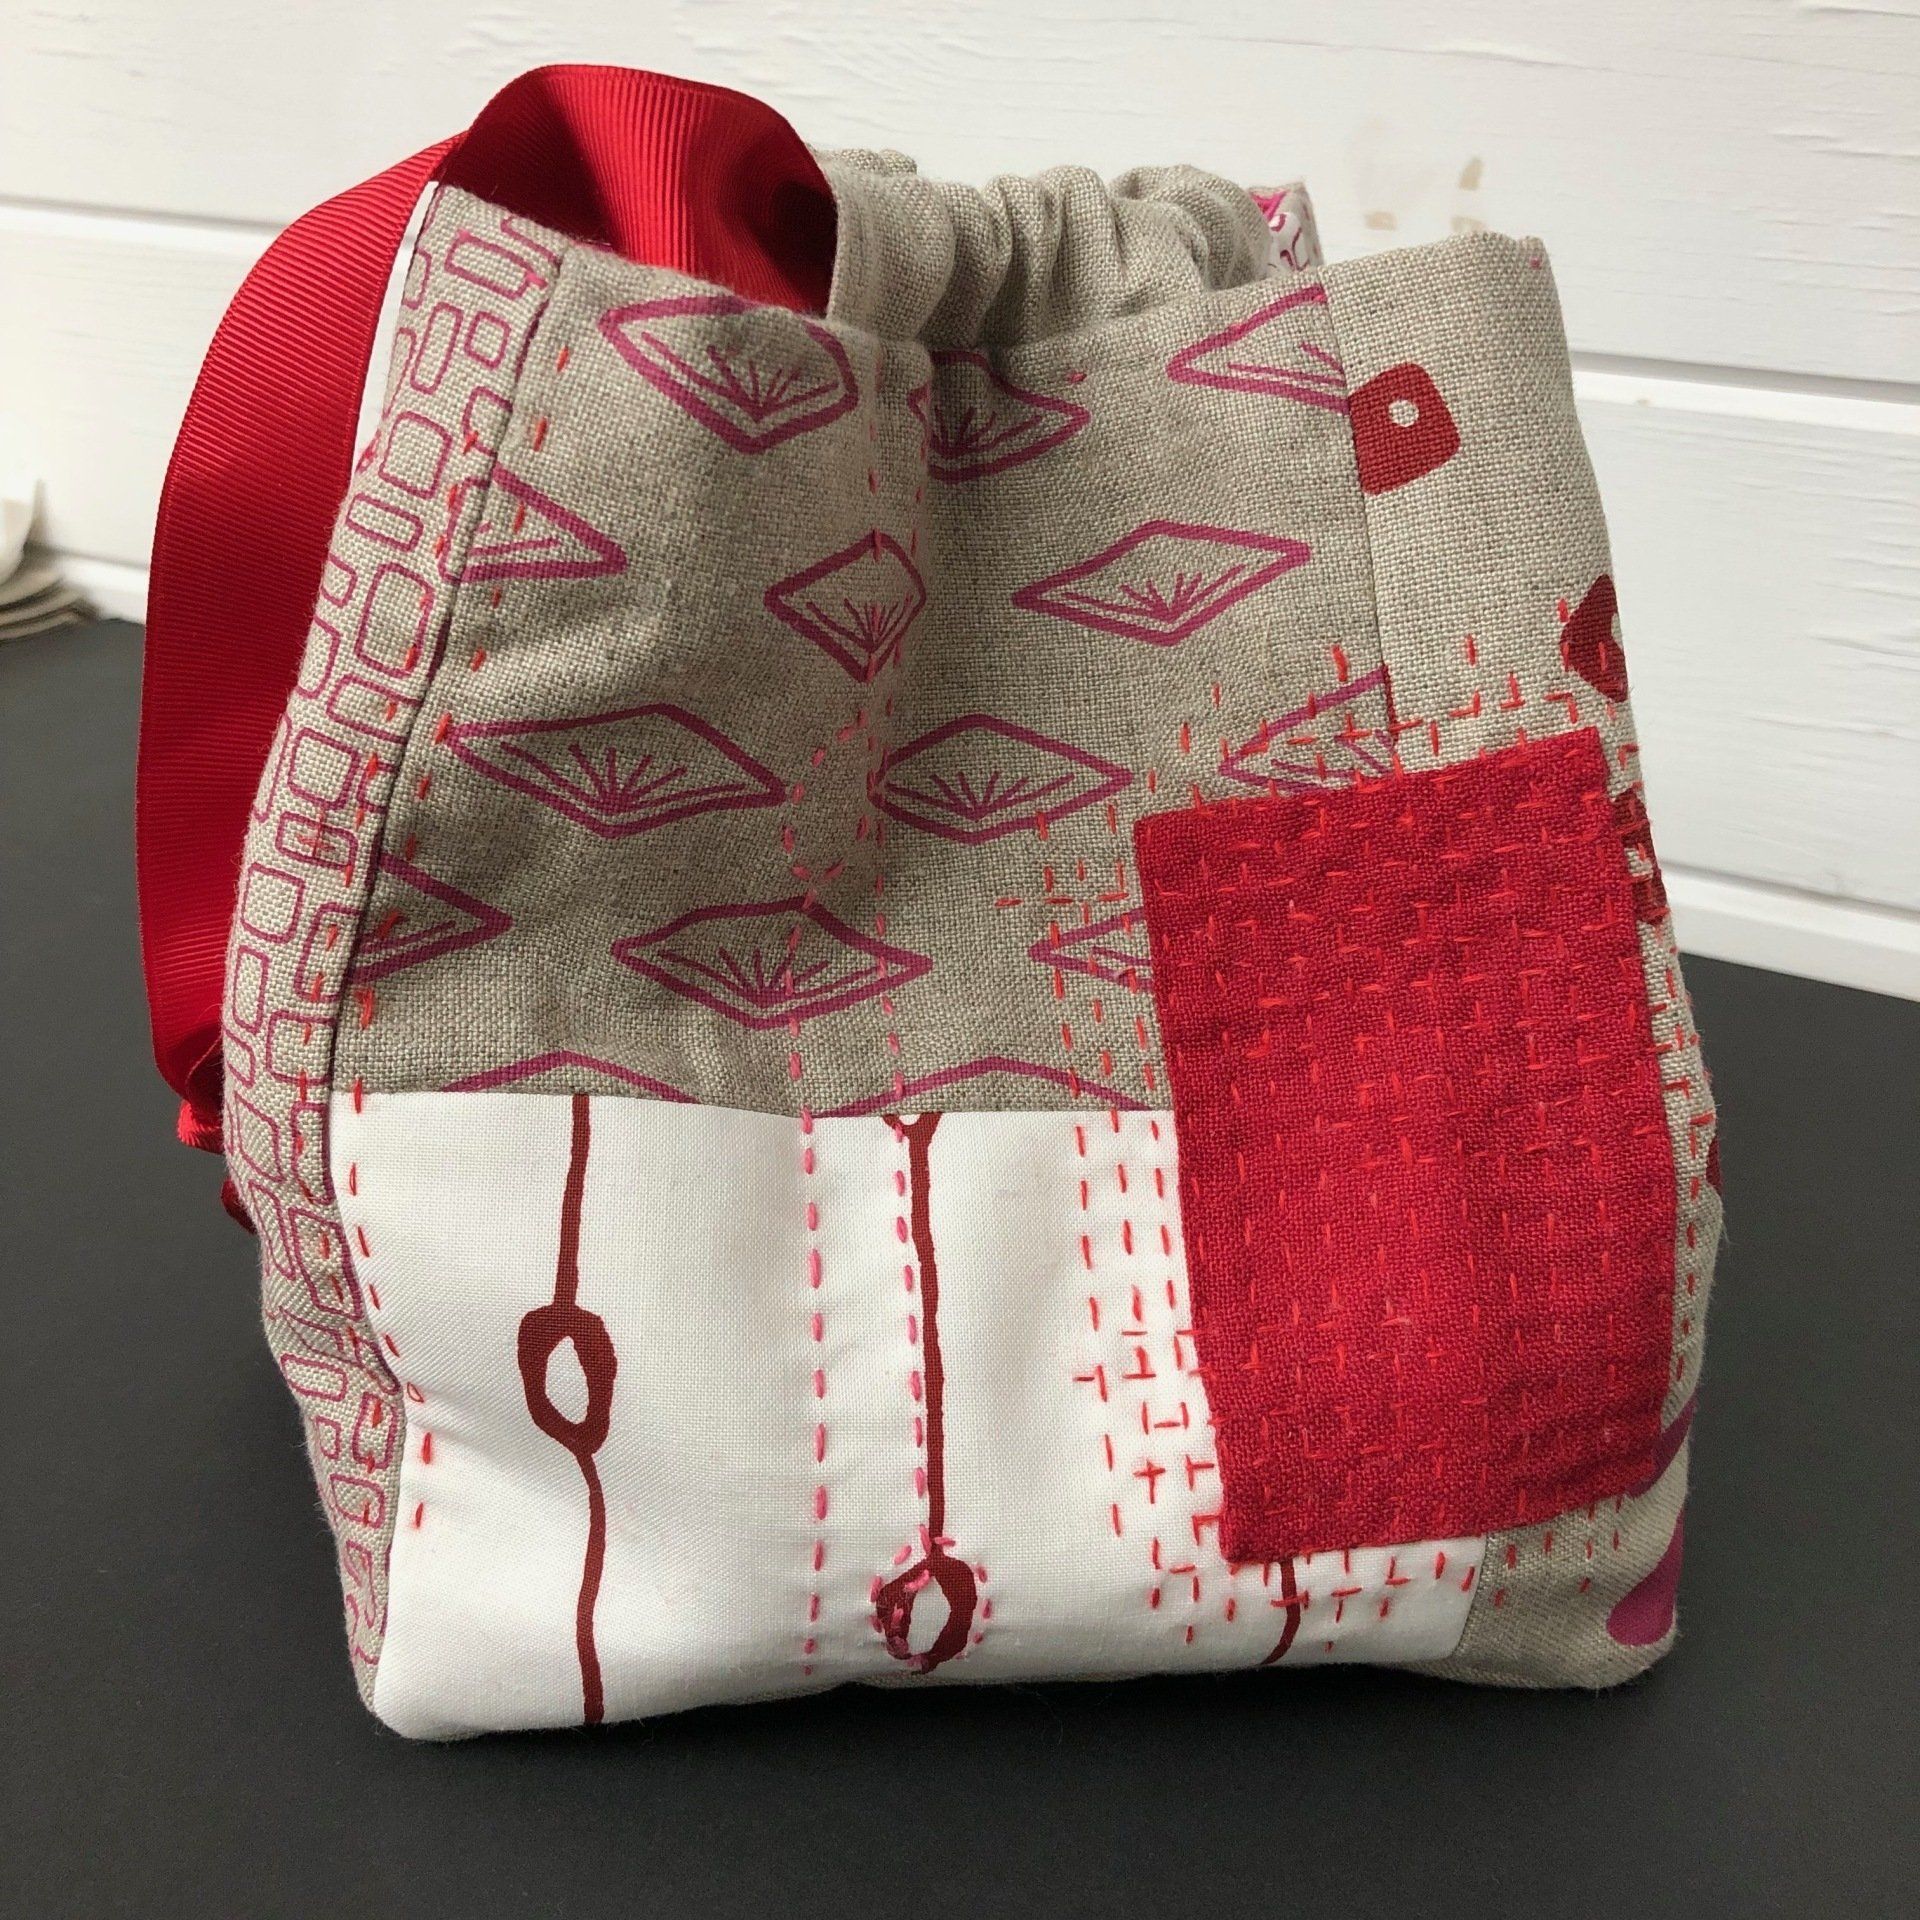
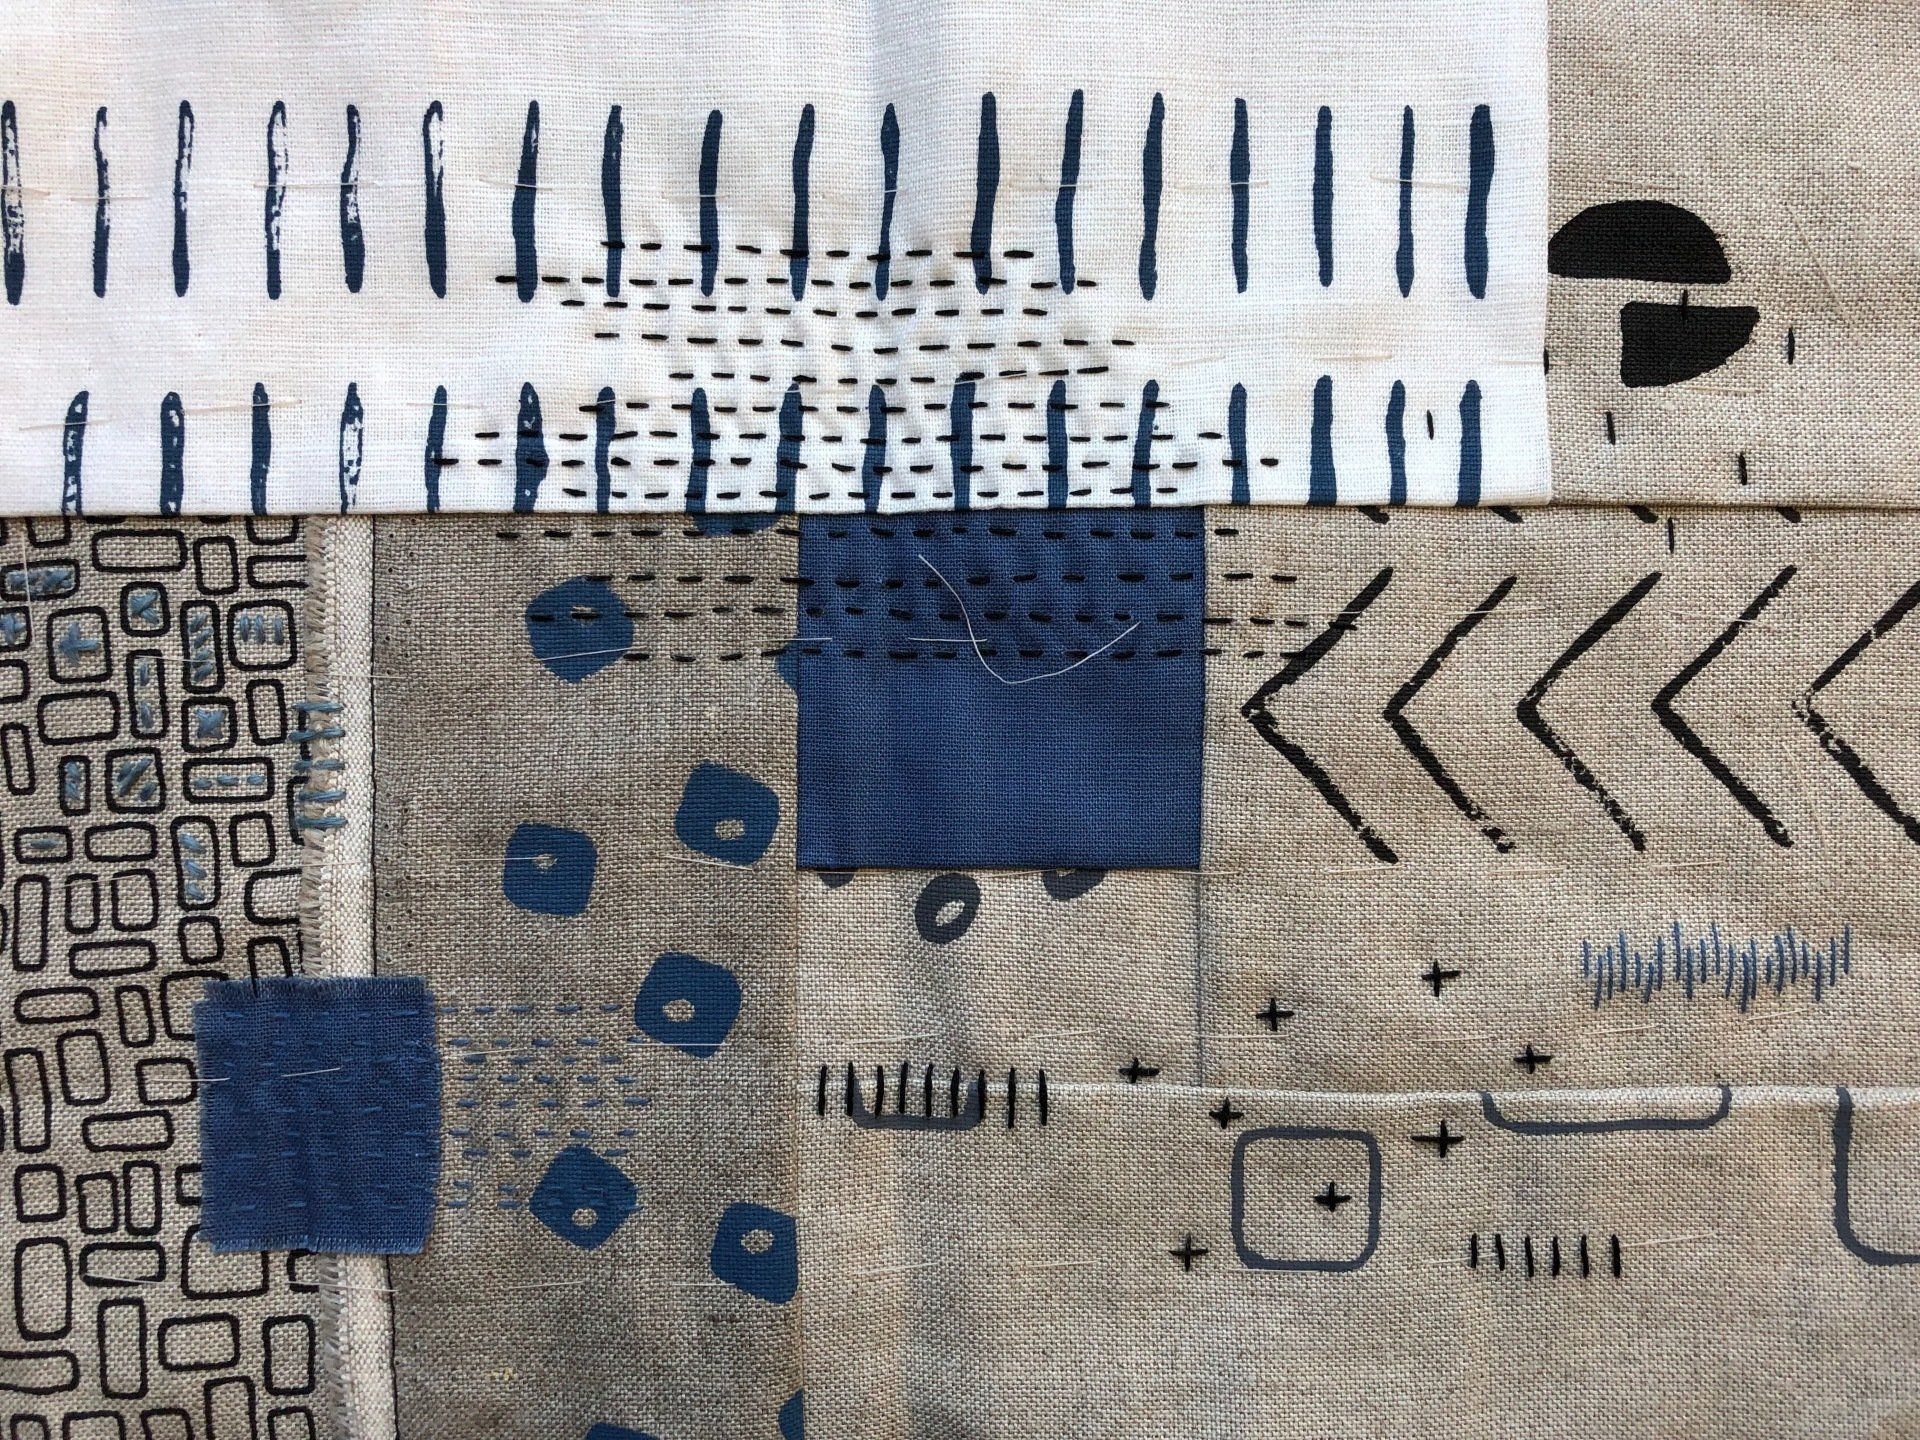
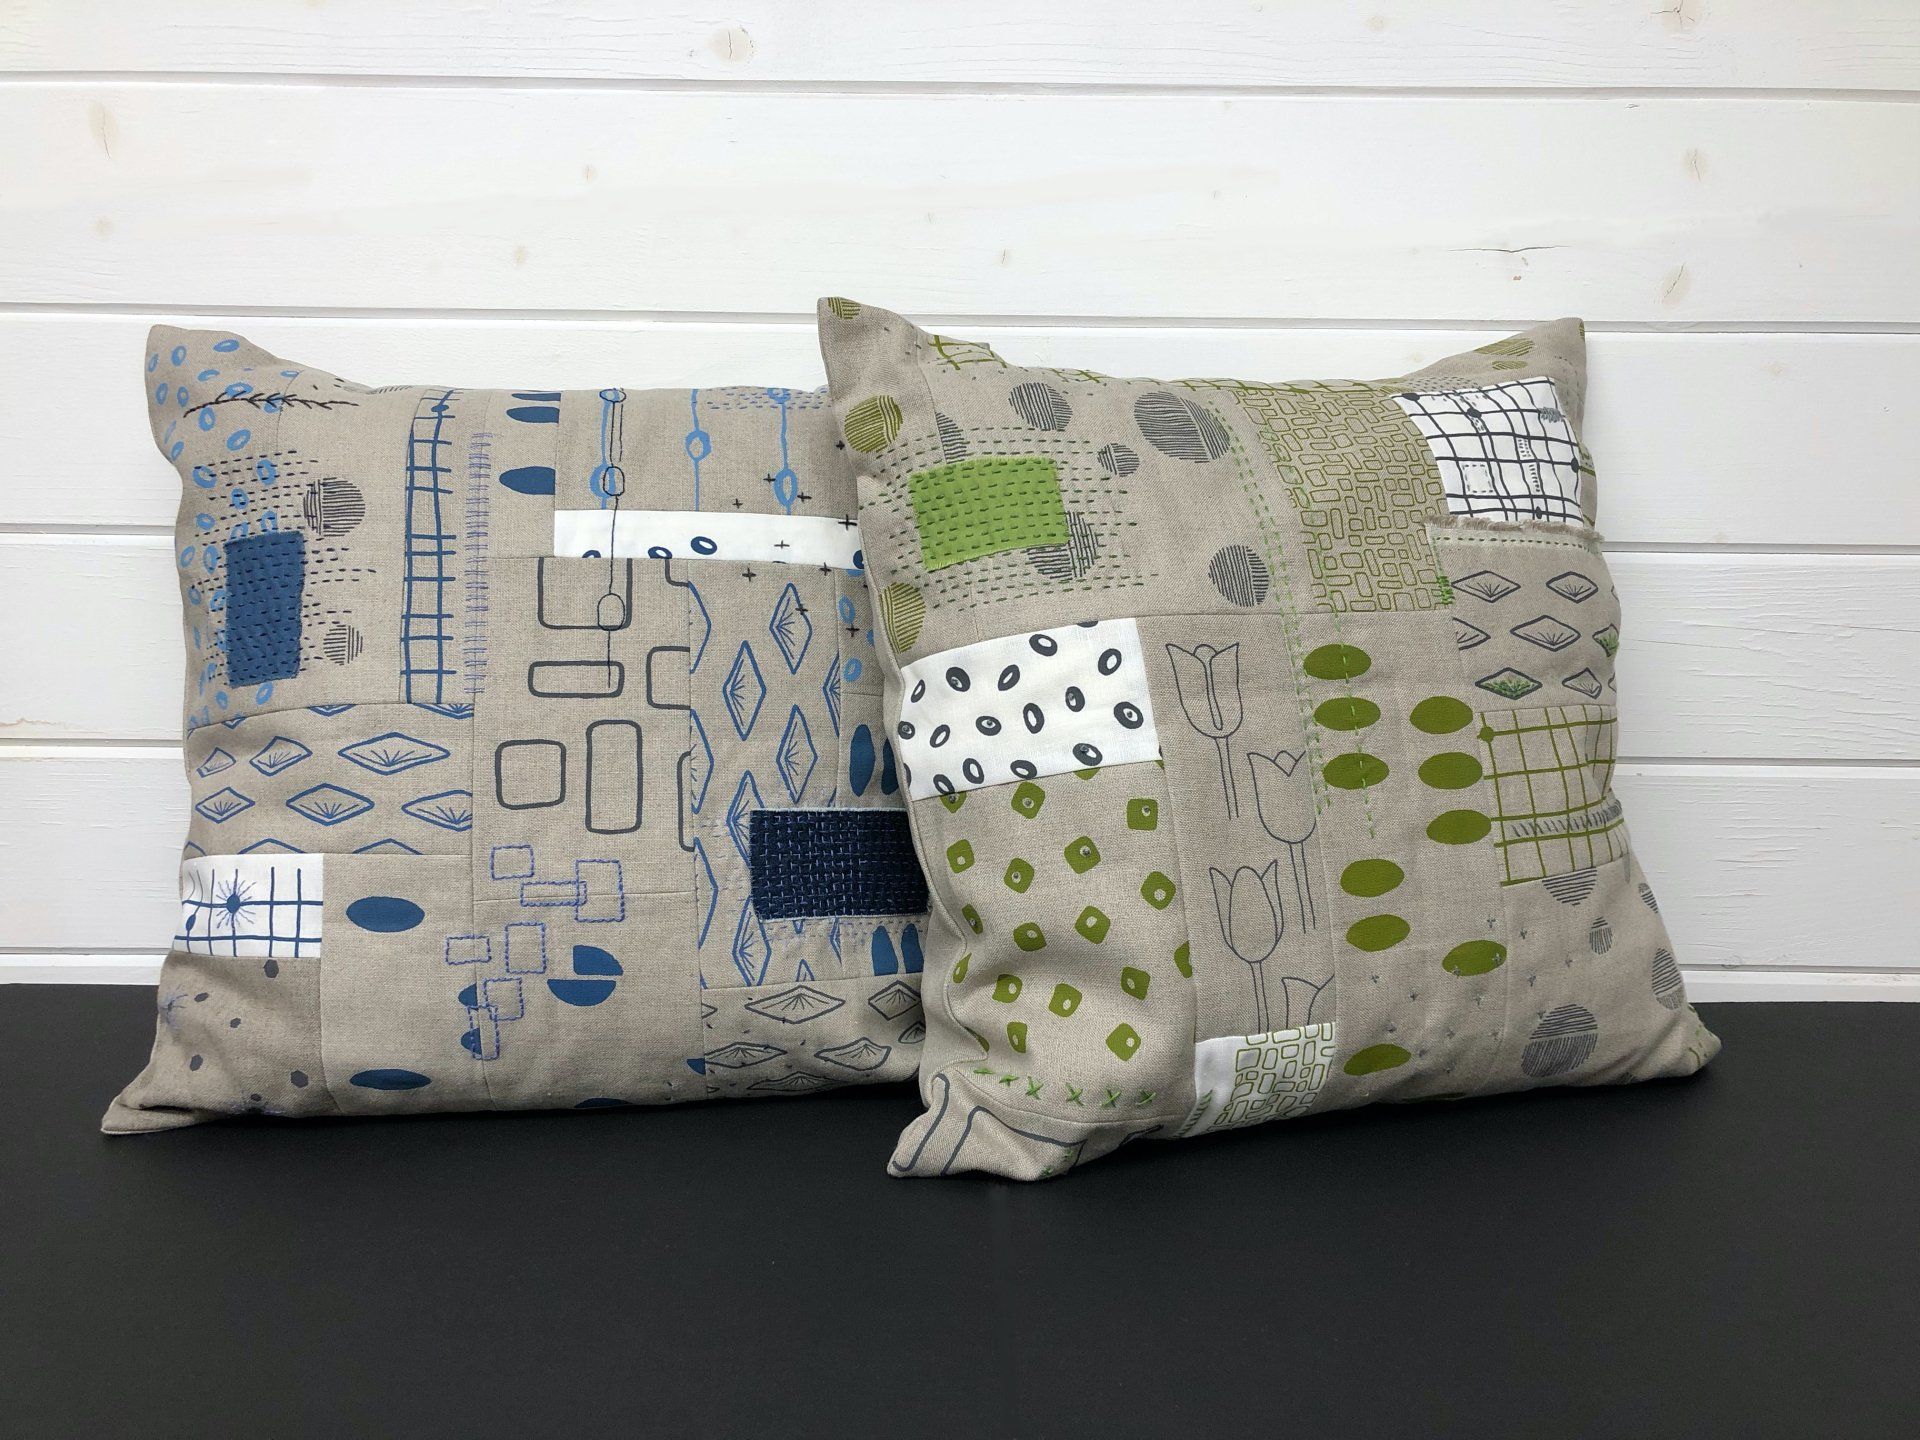
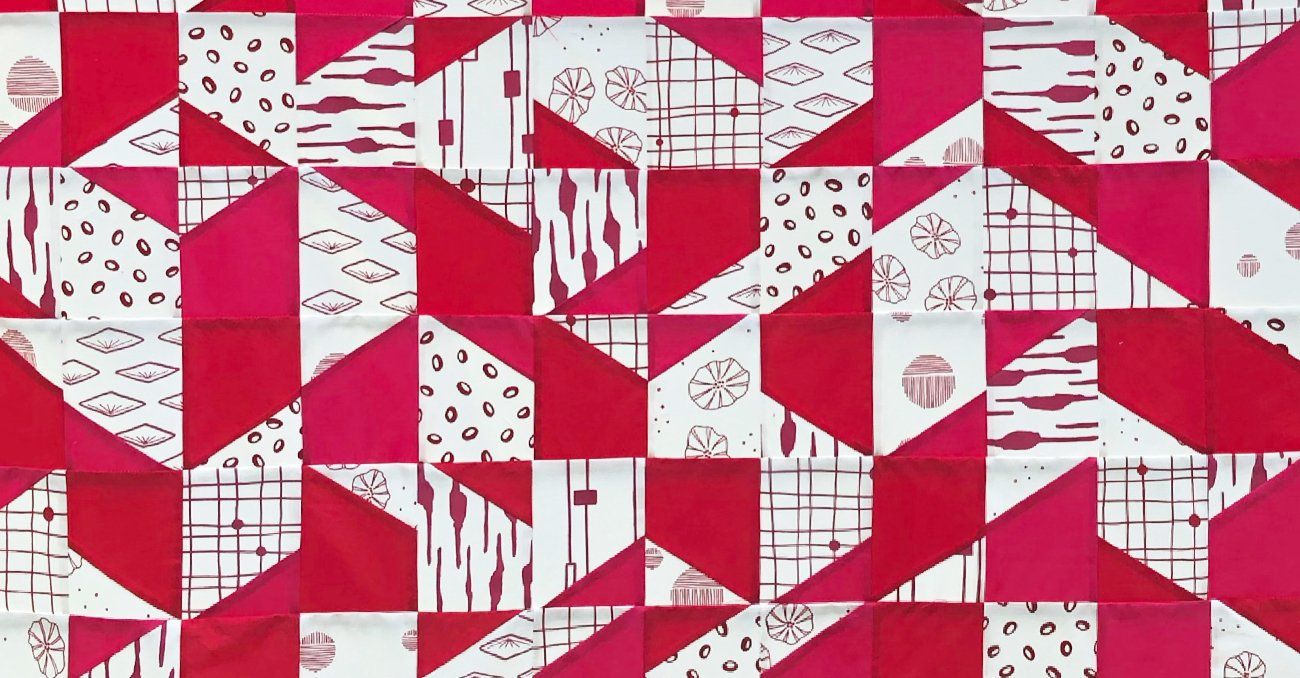
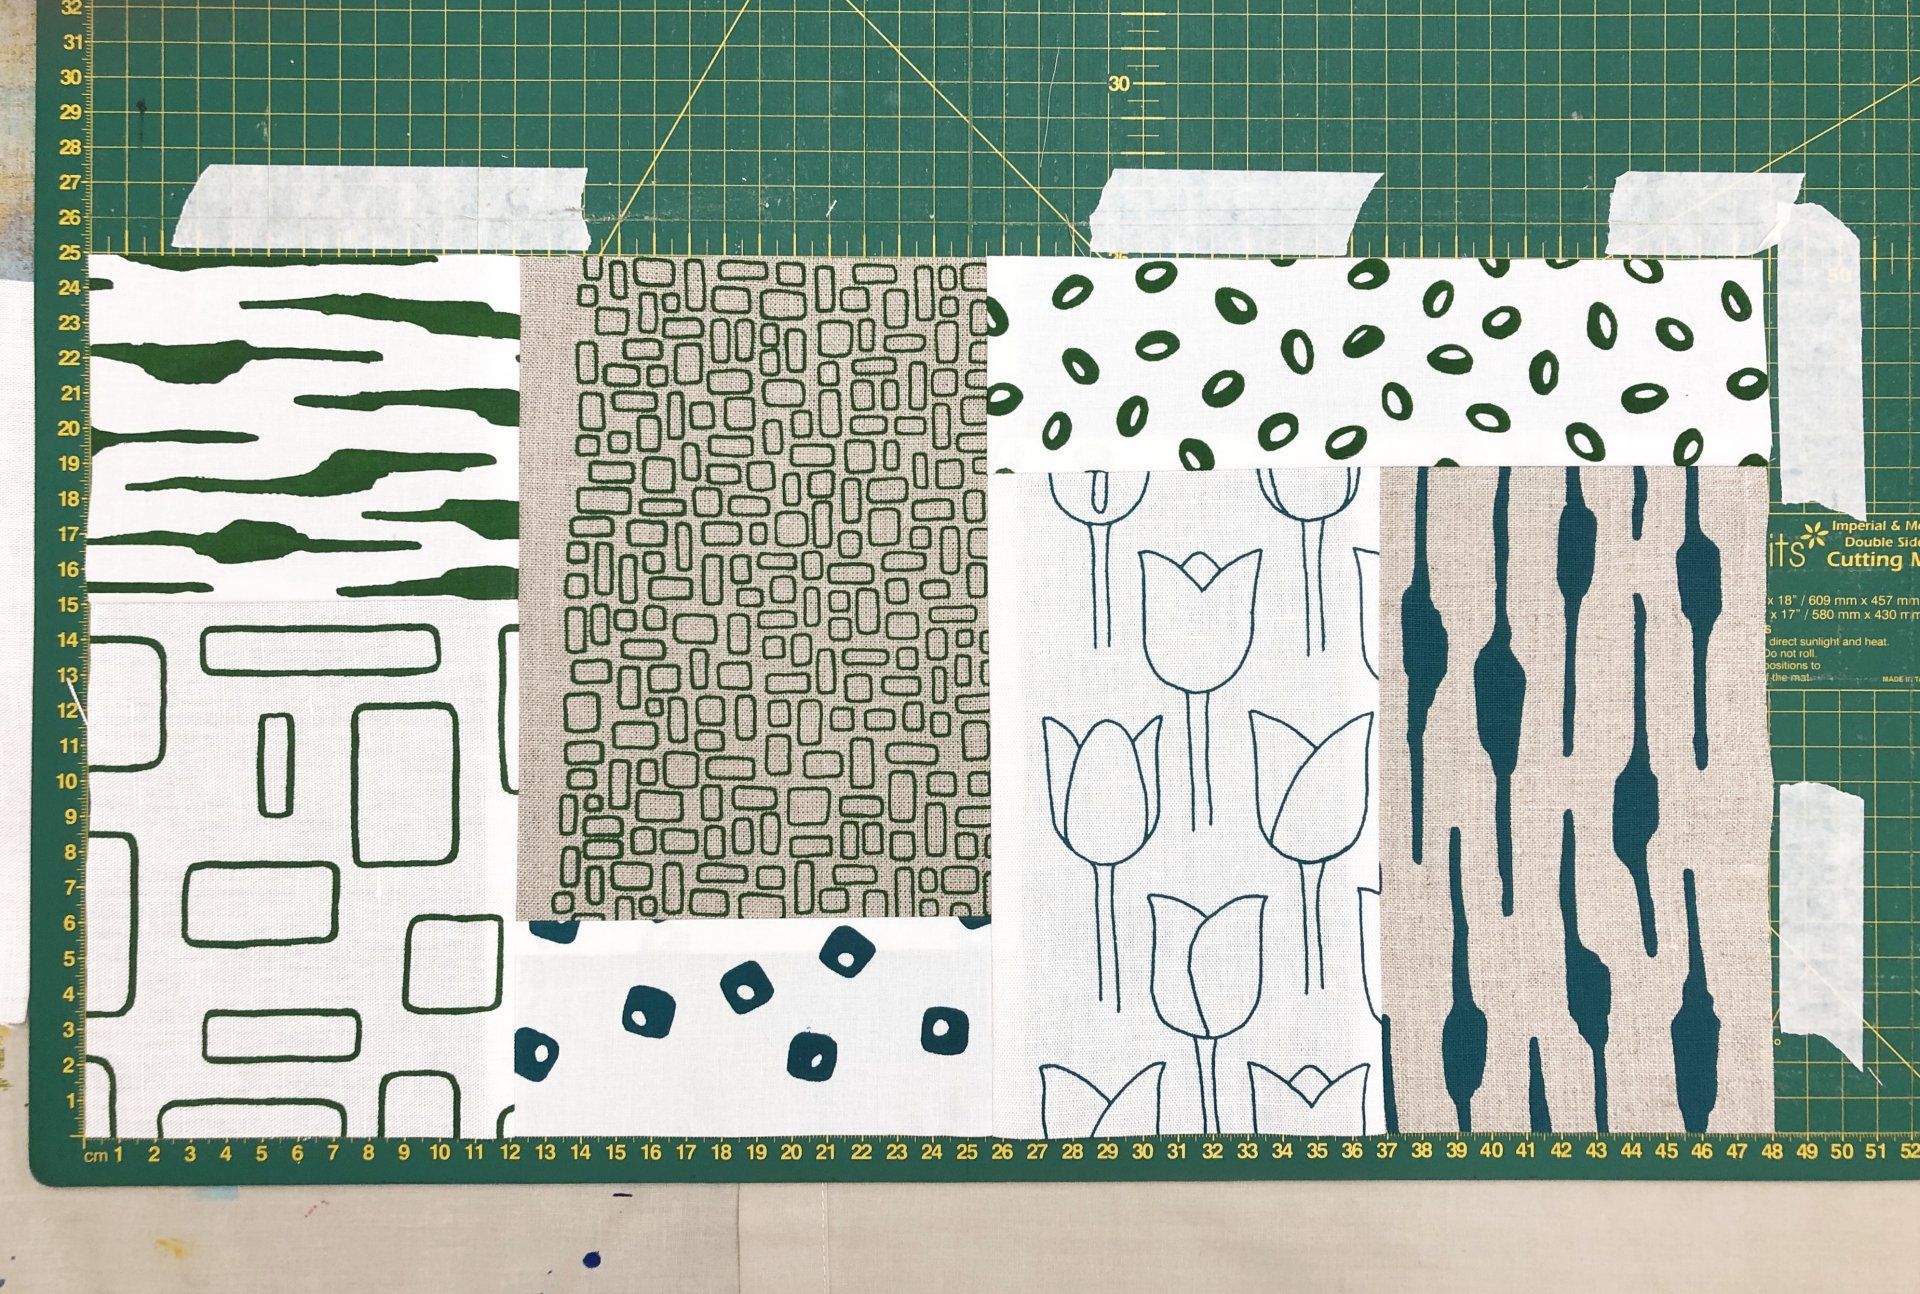
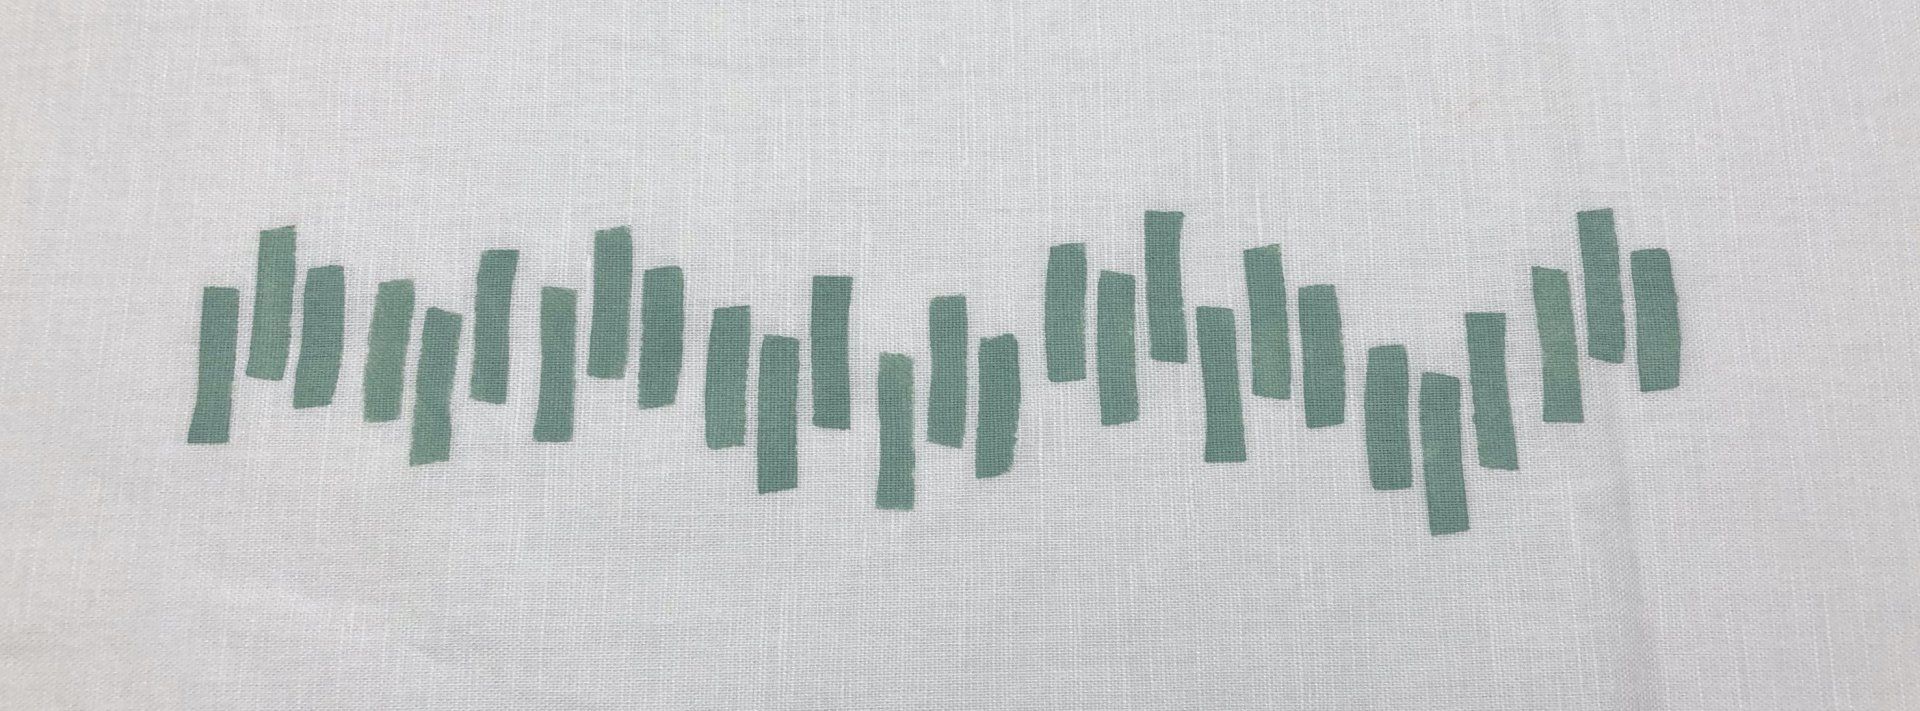
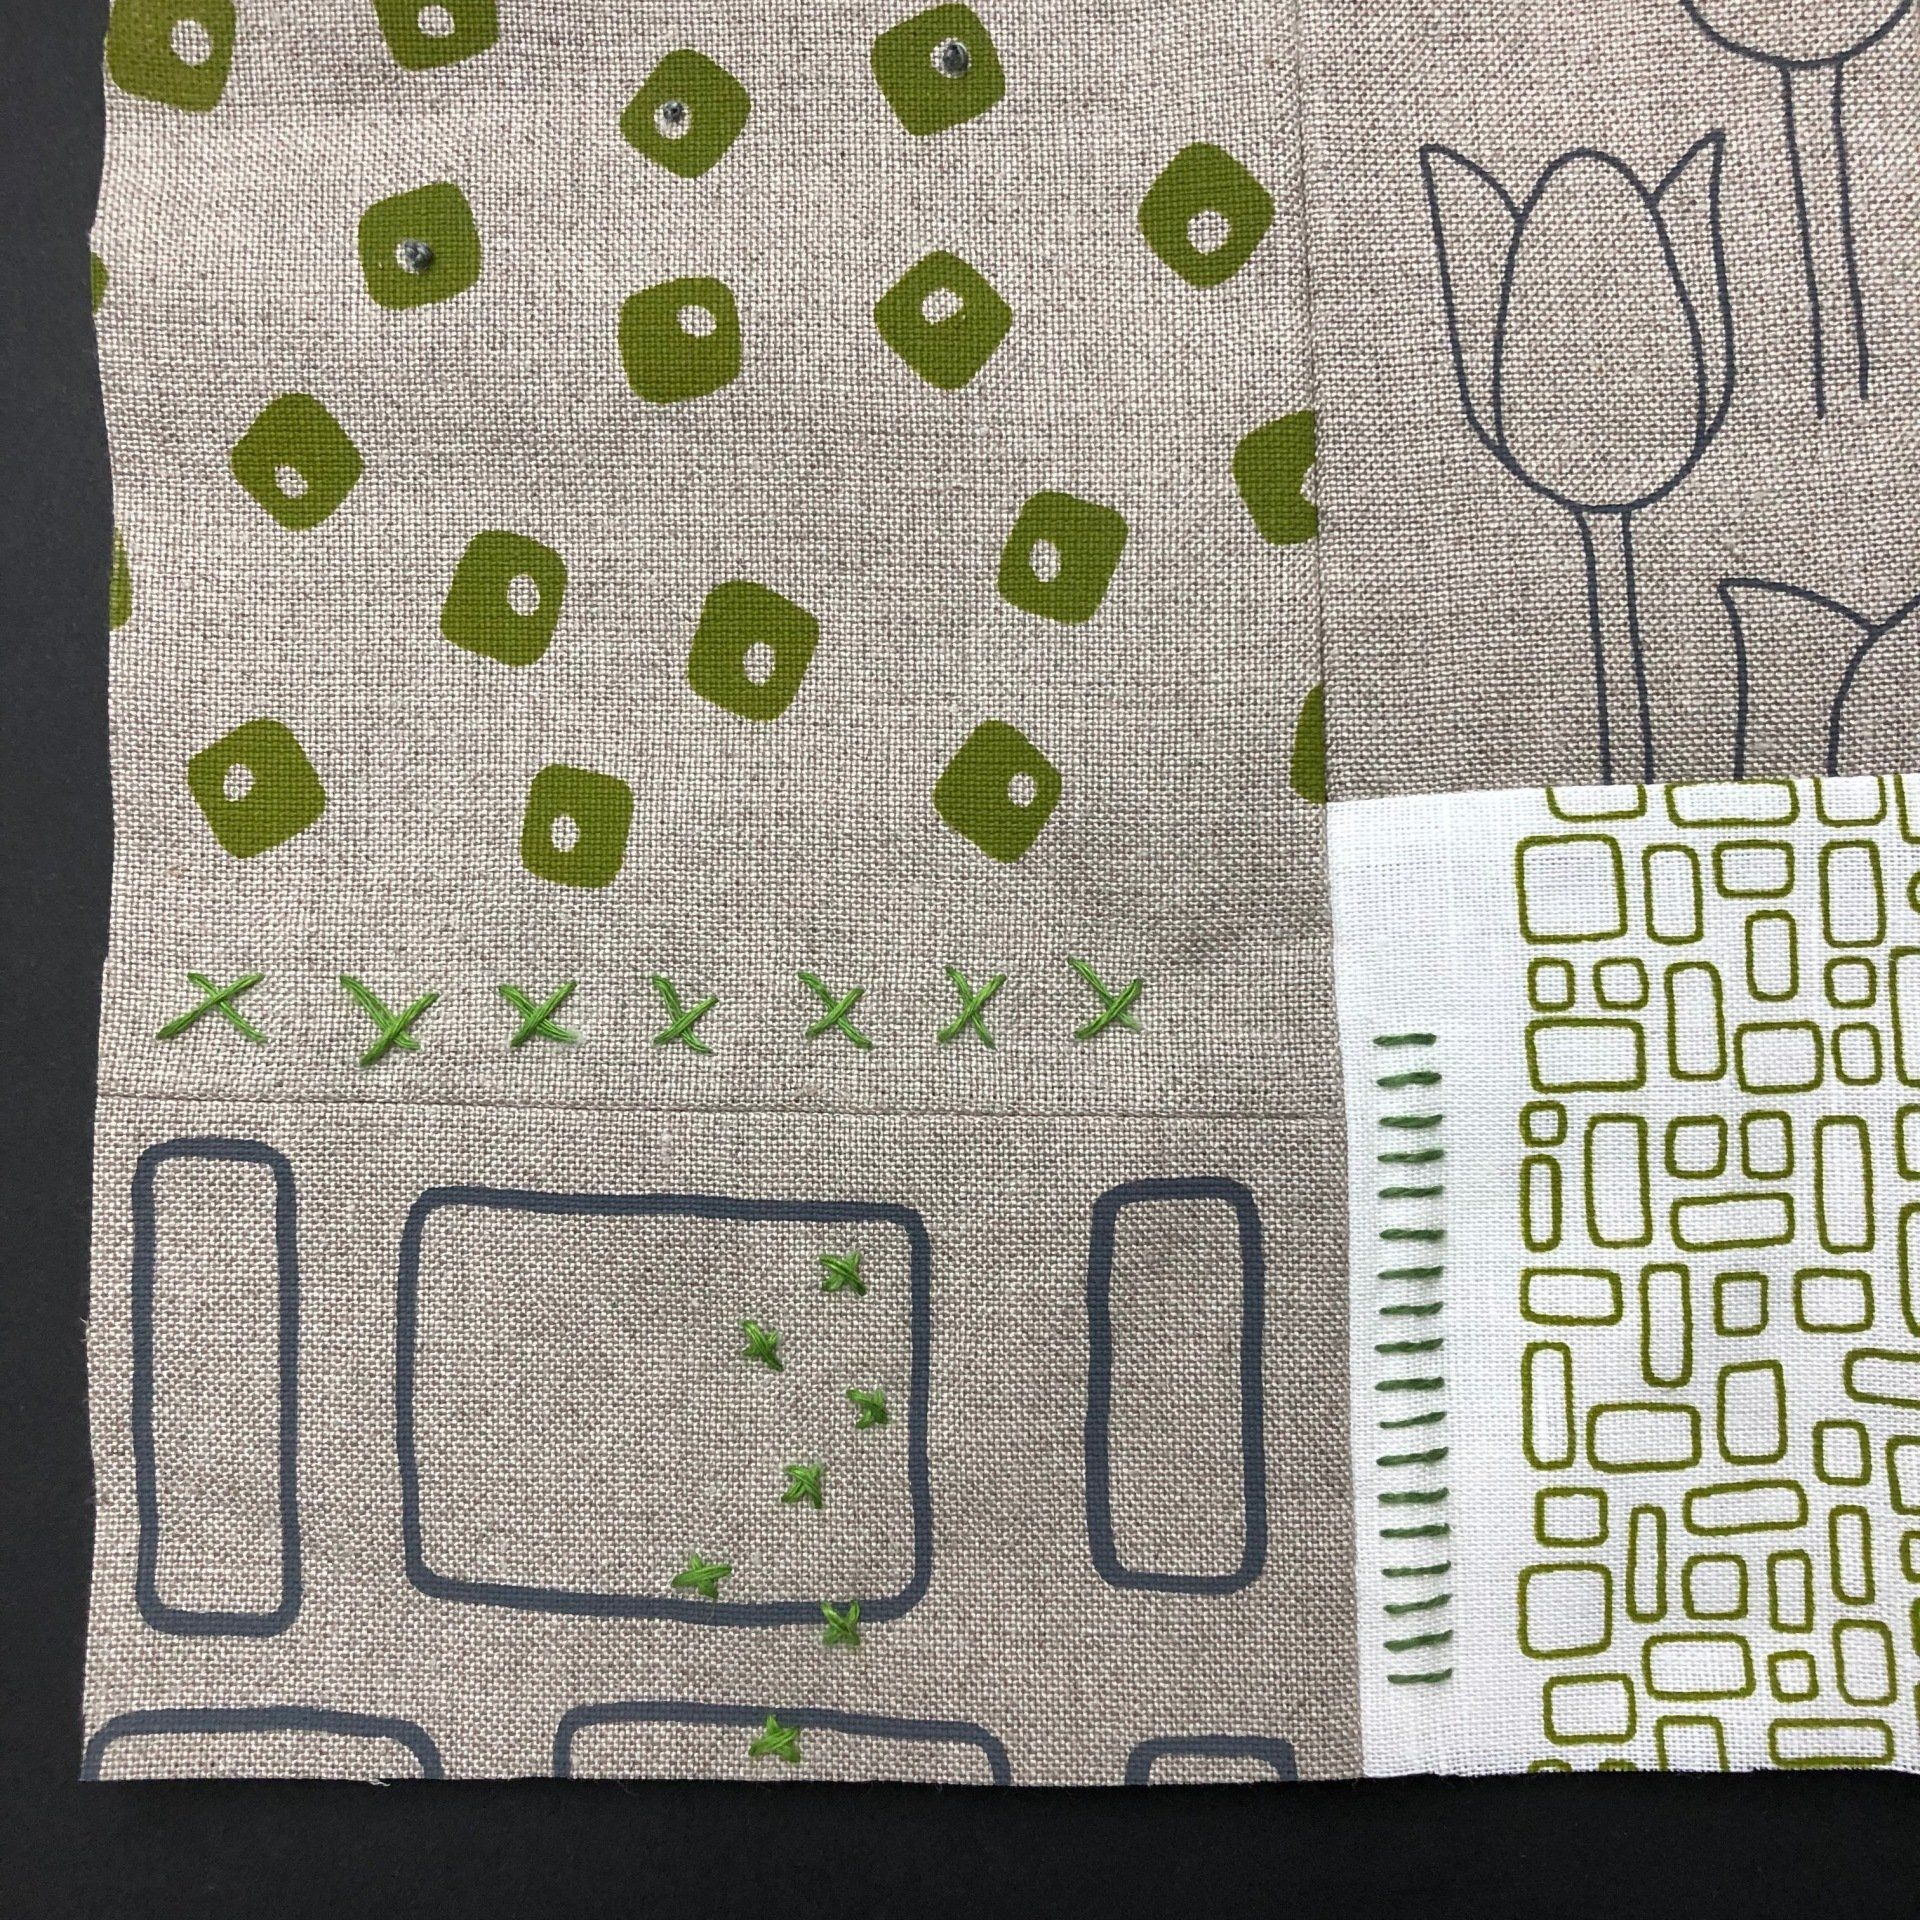
The use of colour will dramatically change the look of your project. You can use a contast colour so your stitches really stand out or choose different tones that compliment your work for a more subtle effect.


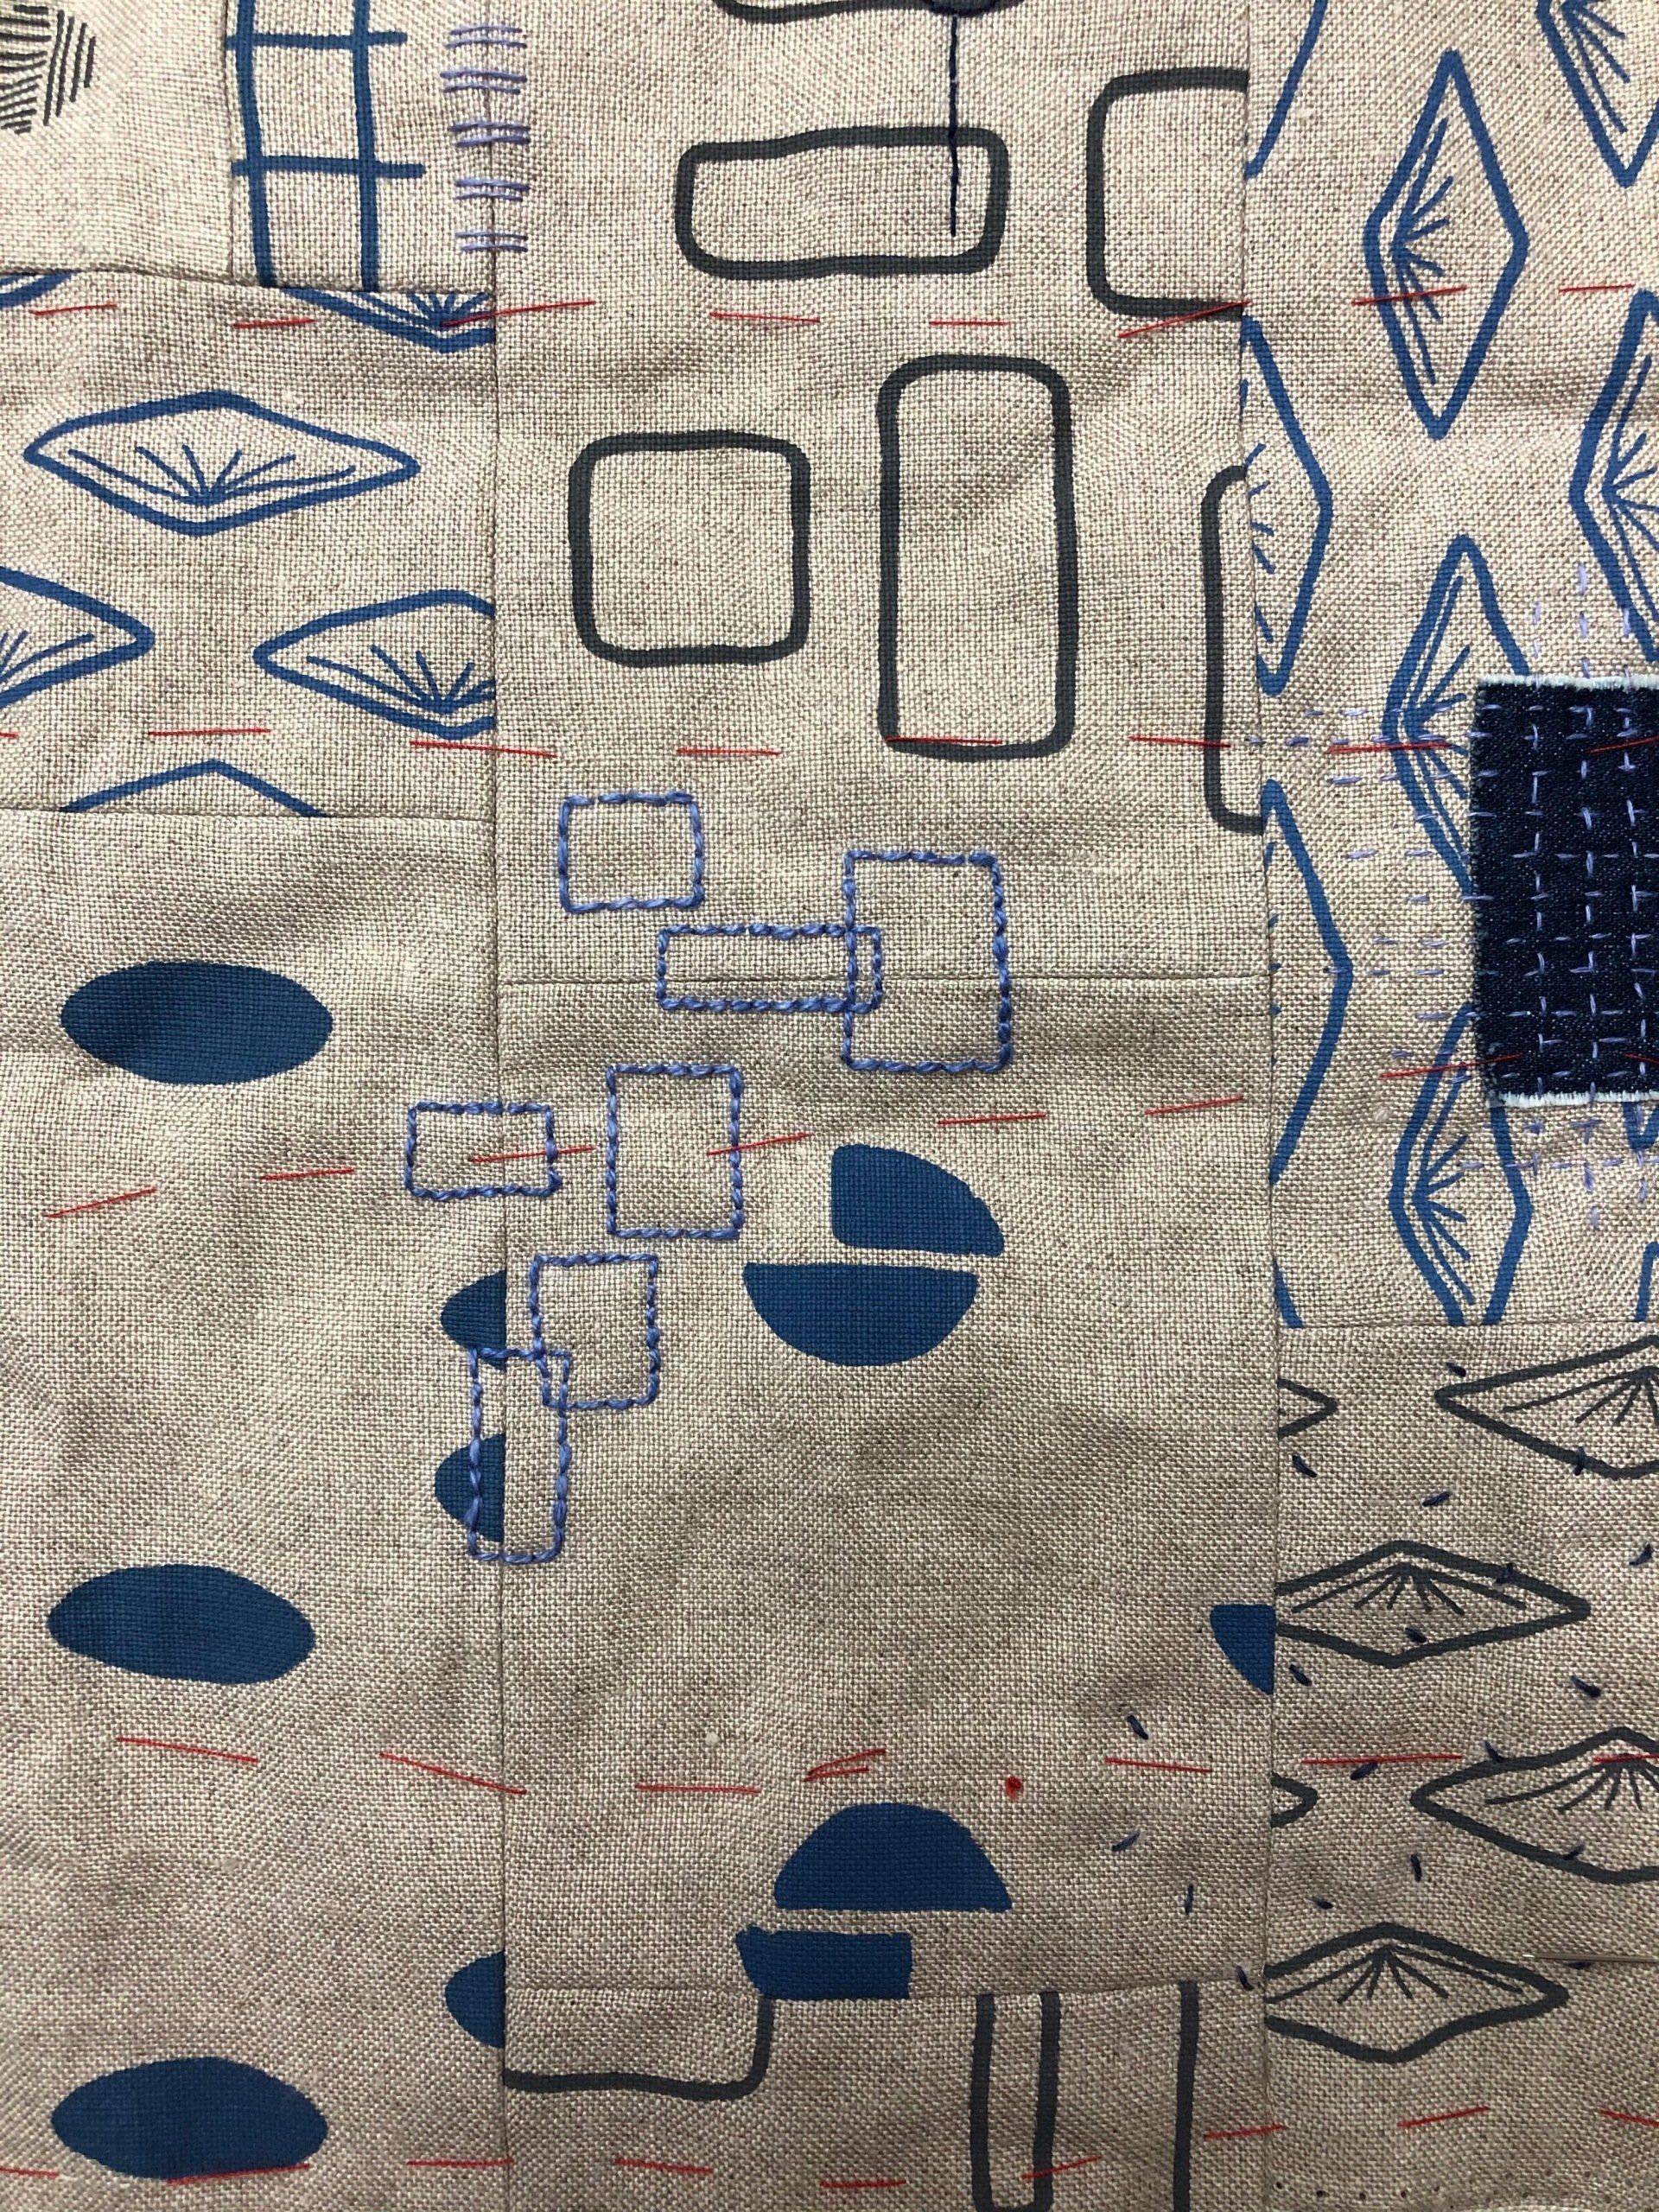
Use different weights of thread to add some variety and different textures to your work. I love to use vintage linen threads as they are quite chunky compared to more readily available threads. But I love to use them alongside finer, hand dyed threads too for some contrast.  Experiment and see what pleases you the most.


Kits for the Japanese Rice Pouches are now available in my Etsy shop, they're very roomy and make great project pouches.

You might want to add some snippets of fabric to your work, linen, denim or scraps from a previous project make an interesting addition. Simply position them, tack in place and add some Boro style running stitches to secure your patch. I like to leave the frayed edges showing, but you could turn the raw edge under if you prefer. I'm also fond of selvedges so often leave some of those showing too. 

If you're working with my fabrics, no need to restrict yourself to just using the printed area, there is an unprinted border on each of my panels, use this space too. You can leave it blank, giving the eye somewhere to rest, or add some stitches - maybe embroider a word or phrase you're drawn to.


I always love to make something that I will use and enjoy regularly. Why not put your skills to good use and make a new cushion cover. I have kits in my shop to make an improvisational pieced linen cushion cover which you can add your own slow stitching to.

However you choose to embellish your work, seek to enjoy the process rather than look for perfection. Wonky lines and stitches add to the charm and create an interesting piece. The more hand stitching you do, the more you will find your own rhythm and style which will help you grow as a stitcher.

So pop the radio or your favourite podcast on, pour yourself a cup of tea and enjoy some time with fabric and thread.

I always love to see what you're working on, so share your projects on social media with #ColetteMoscropTextiles and if you're looking for inspiration head there to see what other people are making.

share with a friend

by Colette 16 Feb, 2022
In this Free Turorial I'll show you how to make this simple, eye catching quilt with minimal waste.
by Colette 02 Mar, 2021
I'm often asked how to patchwork fabrics together to a specific size, such as when you may be making a purse / bag / Fabric Bucket etc. Using a solid piece of fabric is always an option, but it's more interesting to piece together your favourite fabrics to make your finished item more personal to you. I've put together this guide to help you, I often work in an improvisational style, as I like to play around with pattern and scale until I'm happy with the finished composition. * This tutorial does assume you know how to cut and trim fabrics with a cutting mat, acrylic ruler and rotary cutter, if you've not used these before, a quick web search will help you out. *
by Colette 14 Jul, 2020
Have you ever wanted to print your own fabric or clothing? I've collaborated with Cut Couture for this project and together we're going to show you how to print and make your own garment. Sue at Cut Couture has created a collection of pre-cut linen garments ready for you to sew up. With this unique concept there is no waste, as the cutting out is done for you, so you can just start making. I have put together this tutorial to show you how to stencil print onto fabric and Cut Couture have all you need to know about how to assemble these garments on their website. You can dye these kits, print on them, add some embroidery or appliqué... the only limit is your imagination! There are currently five styles to choose from, with more to come in the future. All of the kits are 100% linen which as you know is beautiful to wear, breathable and sustainable.
by Colette 11 Jun, 2020
This little drawstring bag is the perfect size for a book or your chargers / a kindle etc. I have made this using half of one of my screen printed panels , you can easily adjust the measurements based on the fabric you have to hand.
by Colette 24 Sept, 2019
I thought I'd share with you some images of the Japanese Rice Bag I made earlier in the year. This project was one of the most soothing I've worked on as it was such a simple make with beautiful results. I carefully chose my favoutite colours and prints, hand stitched in the garden over the summer and let my mind wander as I stitched freely, waiting to see what came next.
by Colette 08 Sept, 2019
I'm a big fan of simple blocks and shapes when it comes to quilting, I like to see the print of the fabric and I like to add a solid colour to give the eye somewhere to rest and create a strong statement. I've recently finished making 2 cushions using HST's and I thought I'd share my process with you. For both cushions I used fabric panels from my Etsy shop. You don't have to use the same prints or colours, choose something that will compliment your home decor.
by Colette 08 Sept, 2019
This bunting has pockets to fill with treats and festive challenges for your little ones on the run up to Christmas. You can make a long piece or break in into smaller sections depending on where you want to hang it in your home. You will need: 1 advent calendar panel 1.25m – 1.5m co-ordinating solid fabric (see point 8 below) Scissors / rotary cutter and mat / quilt ruler Thread Fabric marker – tailor’s chalk / fabric pencil, tape measure Cutting: cut along the red grid of your advent panel to give you 25 individual number squares. cut 25 squares of red fabric measuring 9.5 cm x 9.5cm cut 50 rectangles of fabric measuring 9.5cm x 14cm cut 4cm x length(s) you require for your bunting. (see point 8 below) If you want to decorate your number panels, do so before stitching up your bunting pockets, be sure to leave at least 1cm clear of the edges for seam allowance. 1 – right sides together, join a red square and a number square, stitching across the top edge with a 5mm seam allowance. 2 – from the wrong side, press the seam allowance towards the red fabric, then fold and press the red to the back of the number square. This will create the front of your pocket.
Share by: