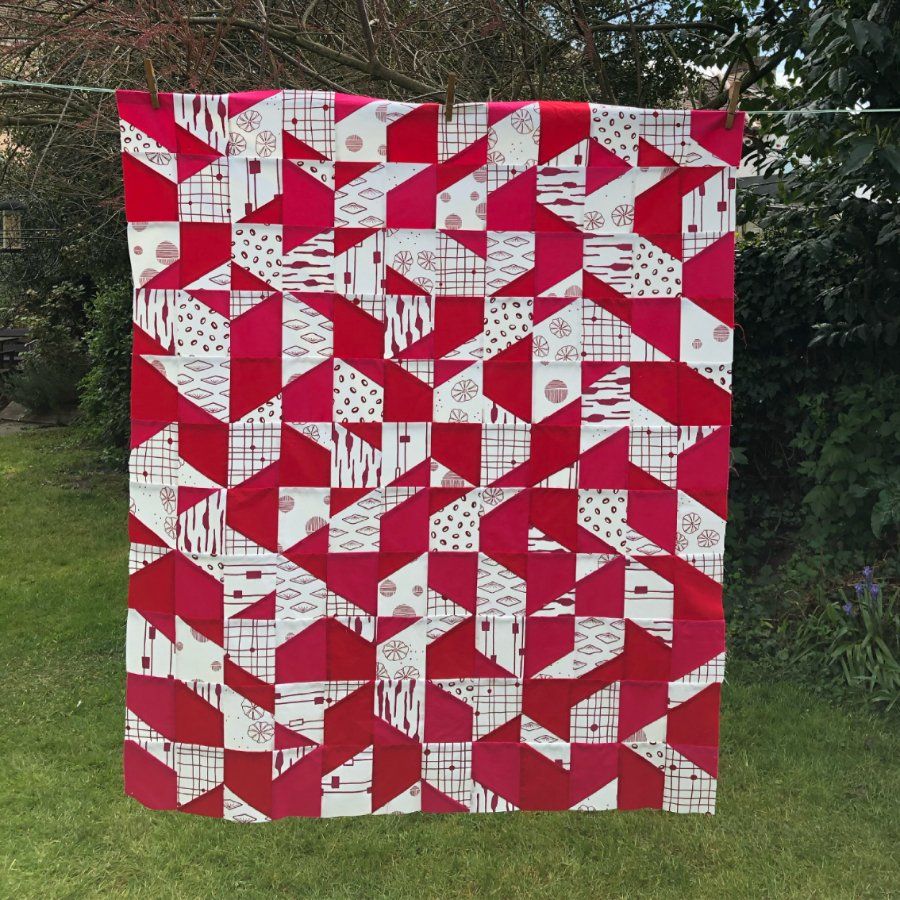
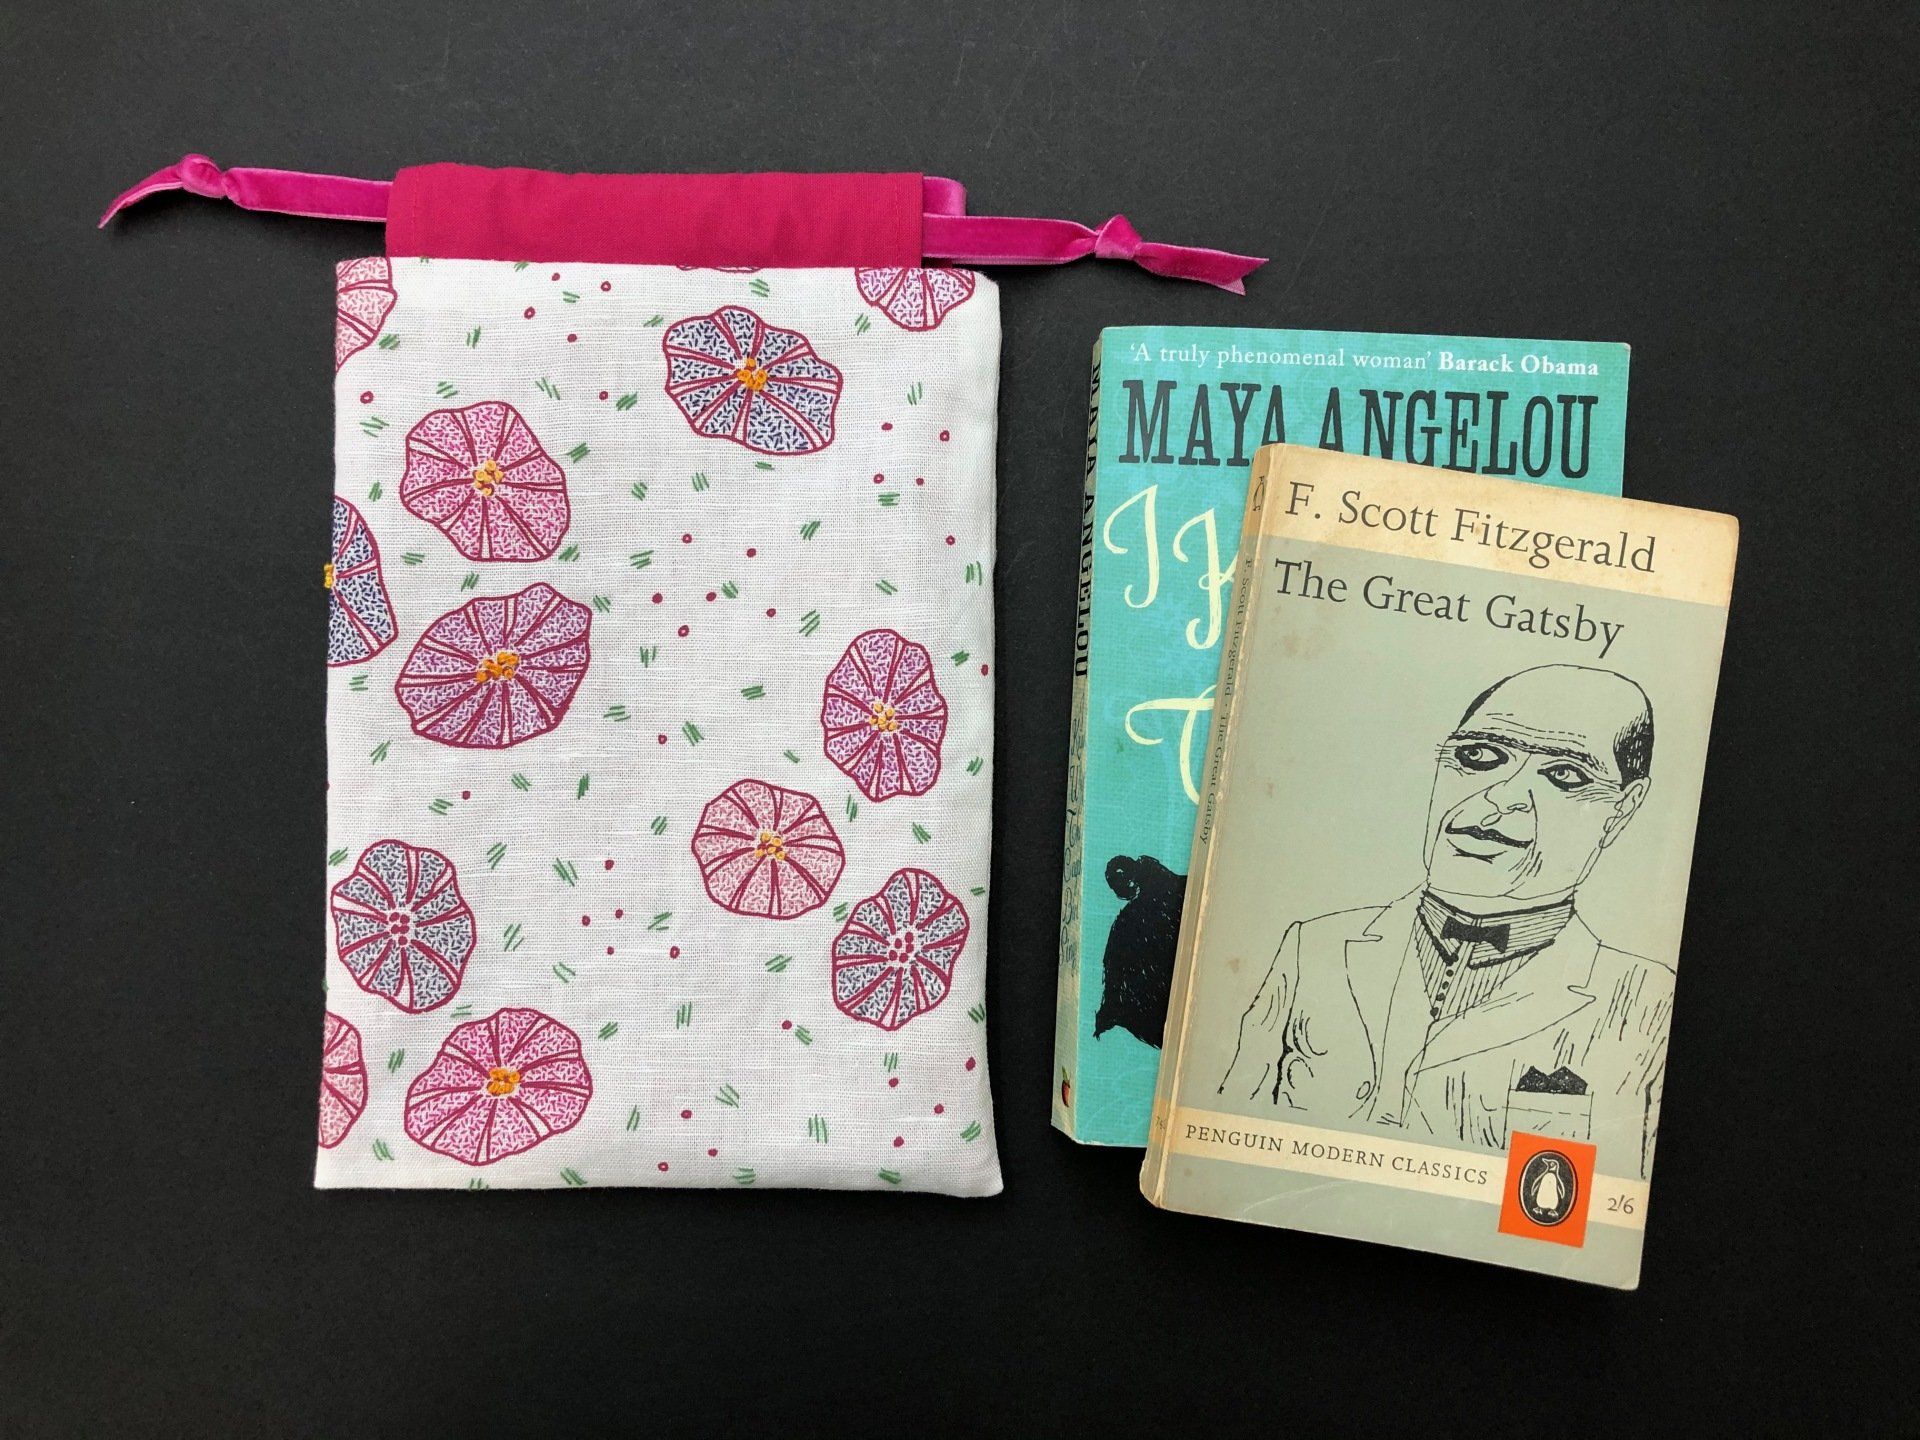
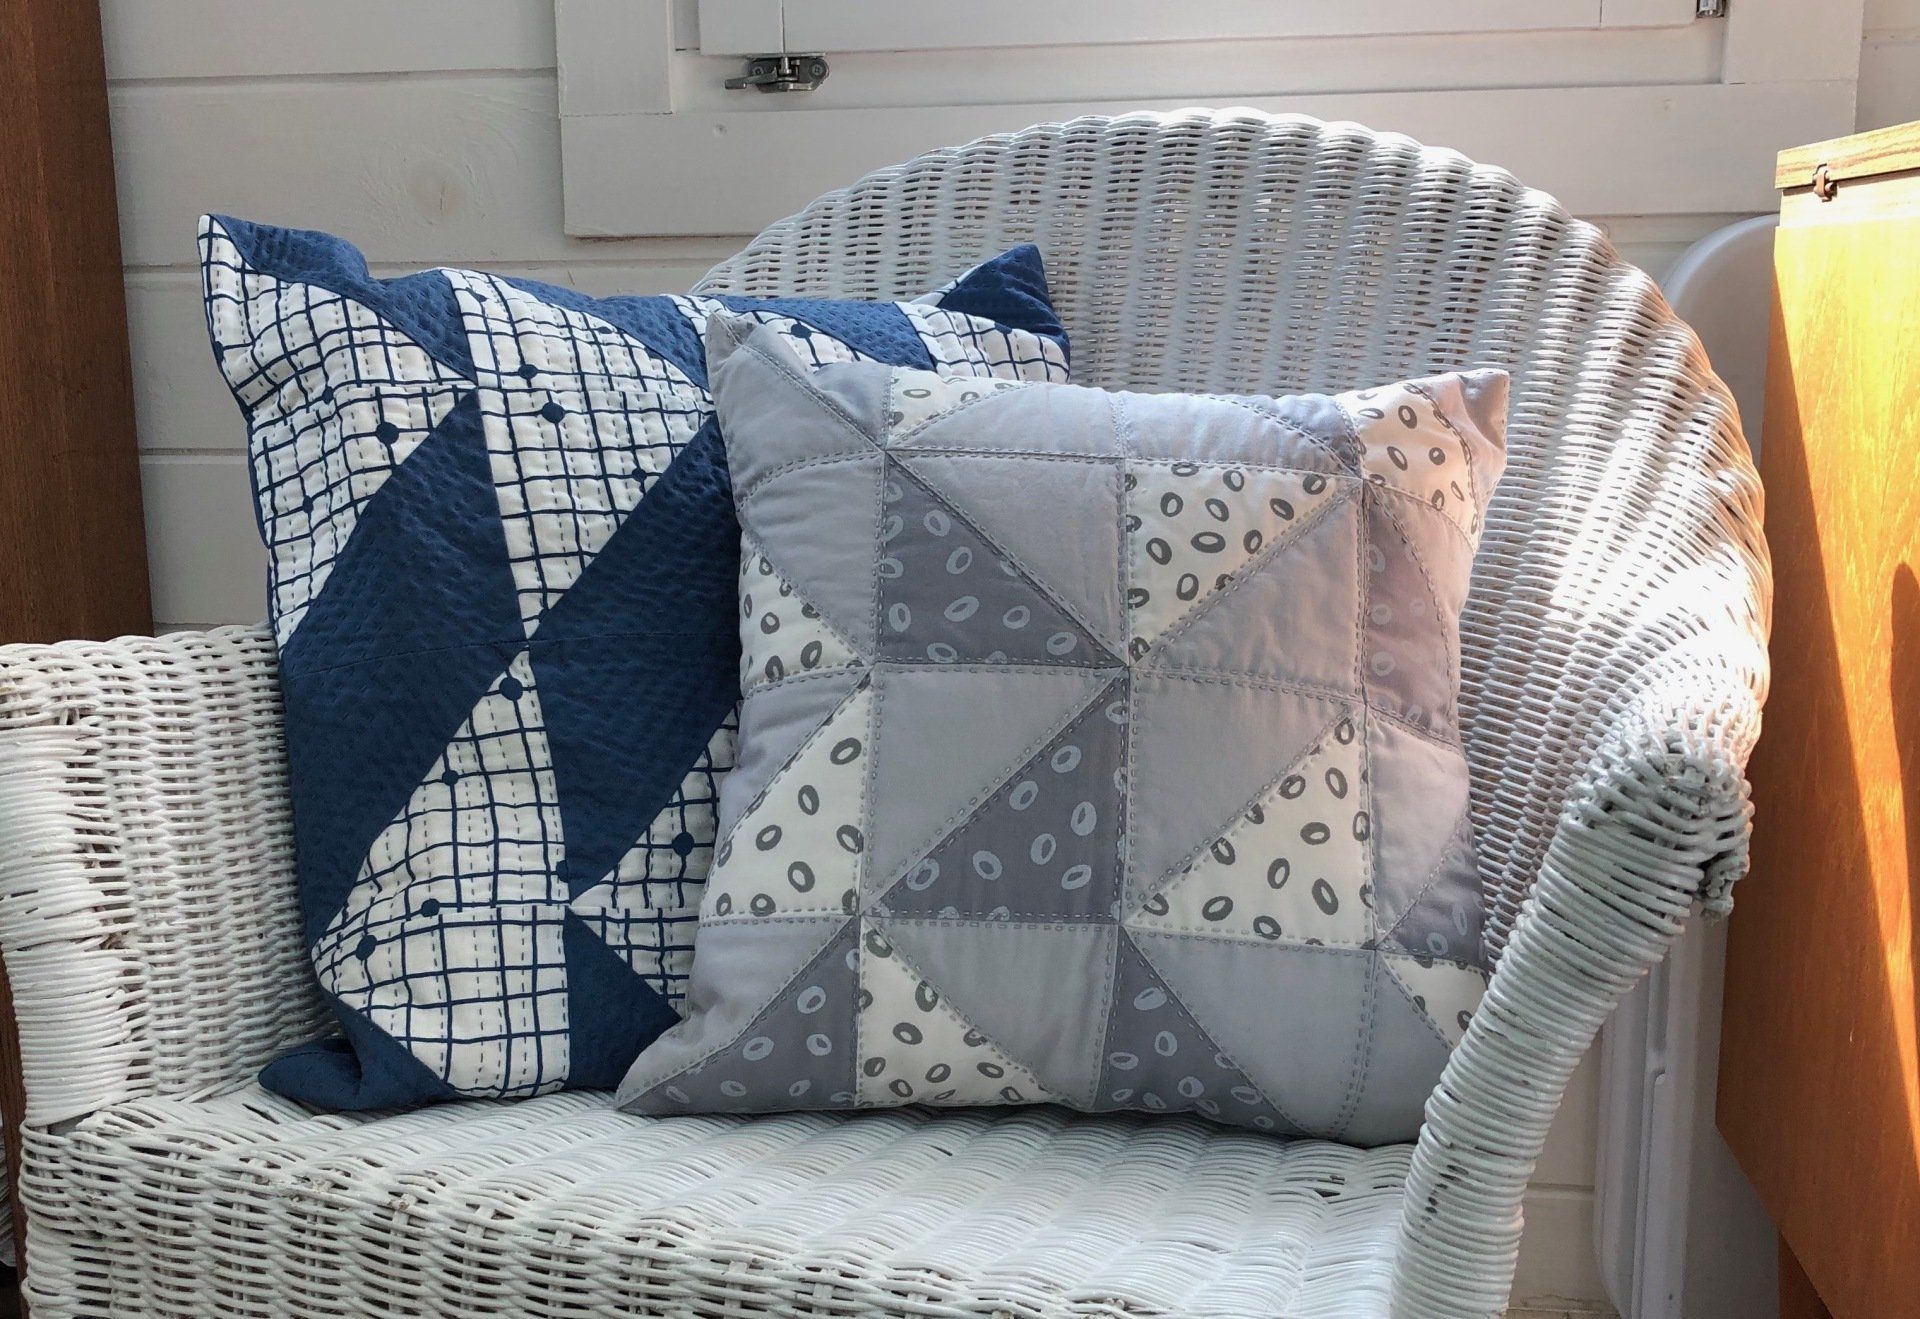
Shattered Cubism Quilt Tutorial
In this Free Turorial I'll show you how to make this simple, eye catching quilt with minimal waste.
This quilt is made with
Colette Moscrop
red and blush pink printed cotton fabrics, choose your favourite colours to make yours more personal. The quilt top measures 107.5 x 127cm / 42.5 x 50".
Fabrics you will need:
9 panels of Colette Moscrop printed cotton fabric, I've used 5 red ink, 4 blush ink, available
here.
.75m red solid fabric
.75m dark pink solid fabric
This tutorial presumes you have basic knowledge of quilting and piecing.
Sew all seams with .25" seam allowance.
Making Half Rectangle Triangles (HRTs)
Make just 1 HRT before you cut the rest of the blocks diagonally. This will help you understand the importance of cutting in different directions as detailed in the next section.
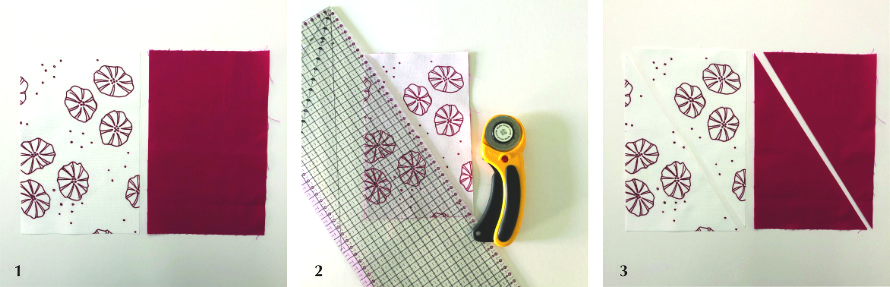
- With a rotary cutter and quilt ruler cut out 5.5" x 8.5" rectangles, you need 18 red and 17 pink, then cut 35 printed rectangles at 5.5" x 8.5".
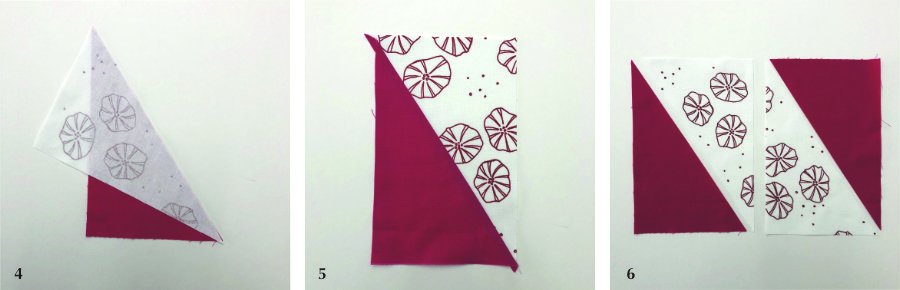
- Working with 1 printed rectangle and 1 solid rectangle stacked on top of each other, from point to point, cut diagonally throught the rectangle to make two triangles.
- Separate the triangles and pair them, 1 print and 1 solid together. These will make 2 HRTs.
4. Place the printed triangle on top of the solid triangle and align the points. Sew the two pieces together, taking care not to stretch the fabric as it is cut on the cross. Let the machine feed the fabric through, no need to pull, just guide it.
5. Open out and press the seam to the solid fabric.
6. Trim off the 'ears' at the corners.
Colour Pairing
Once you have cut all your print and solid rectangles, pair up the colours, mixing them to create visual interest. Spending time doing this now will make it easier when it comes to planning the quilt layout.
For example, have - a pink print and a red solid,
- a pink print and a pink solid
- a red print and a pink solid and
- a red print and a red solid
Once you have paired these together, aim to cut around 50% of these print / solid pairs in each direction diagonally (details in the next section).
e.g. If you have 4 rectangles of a red 'moon' print, put 2 with red solids and 2 with pink solids. Then cut 1 of each pairs in each direction diagonally.
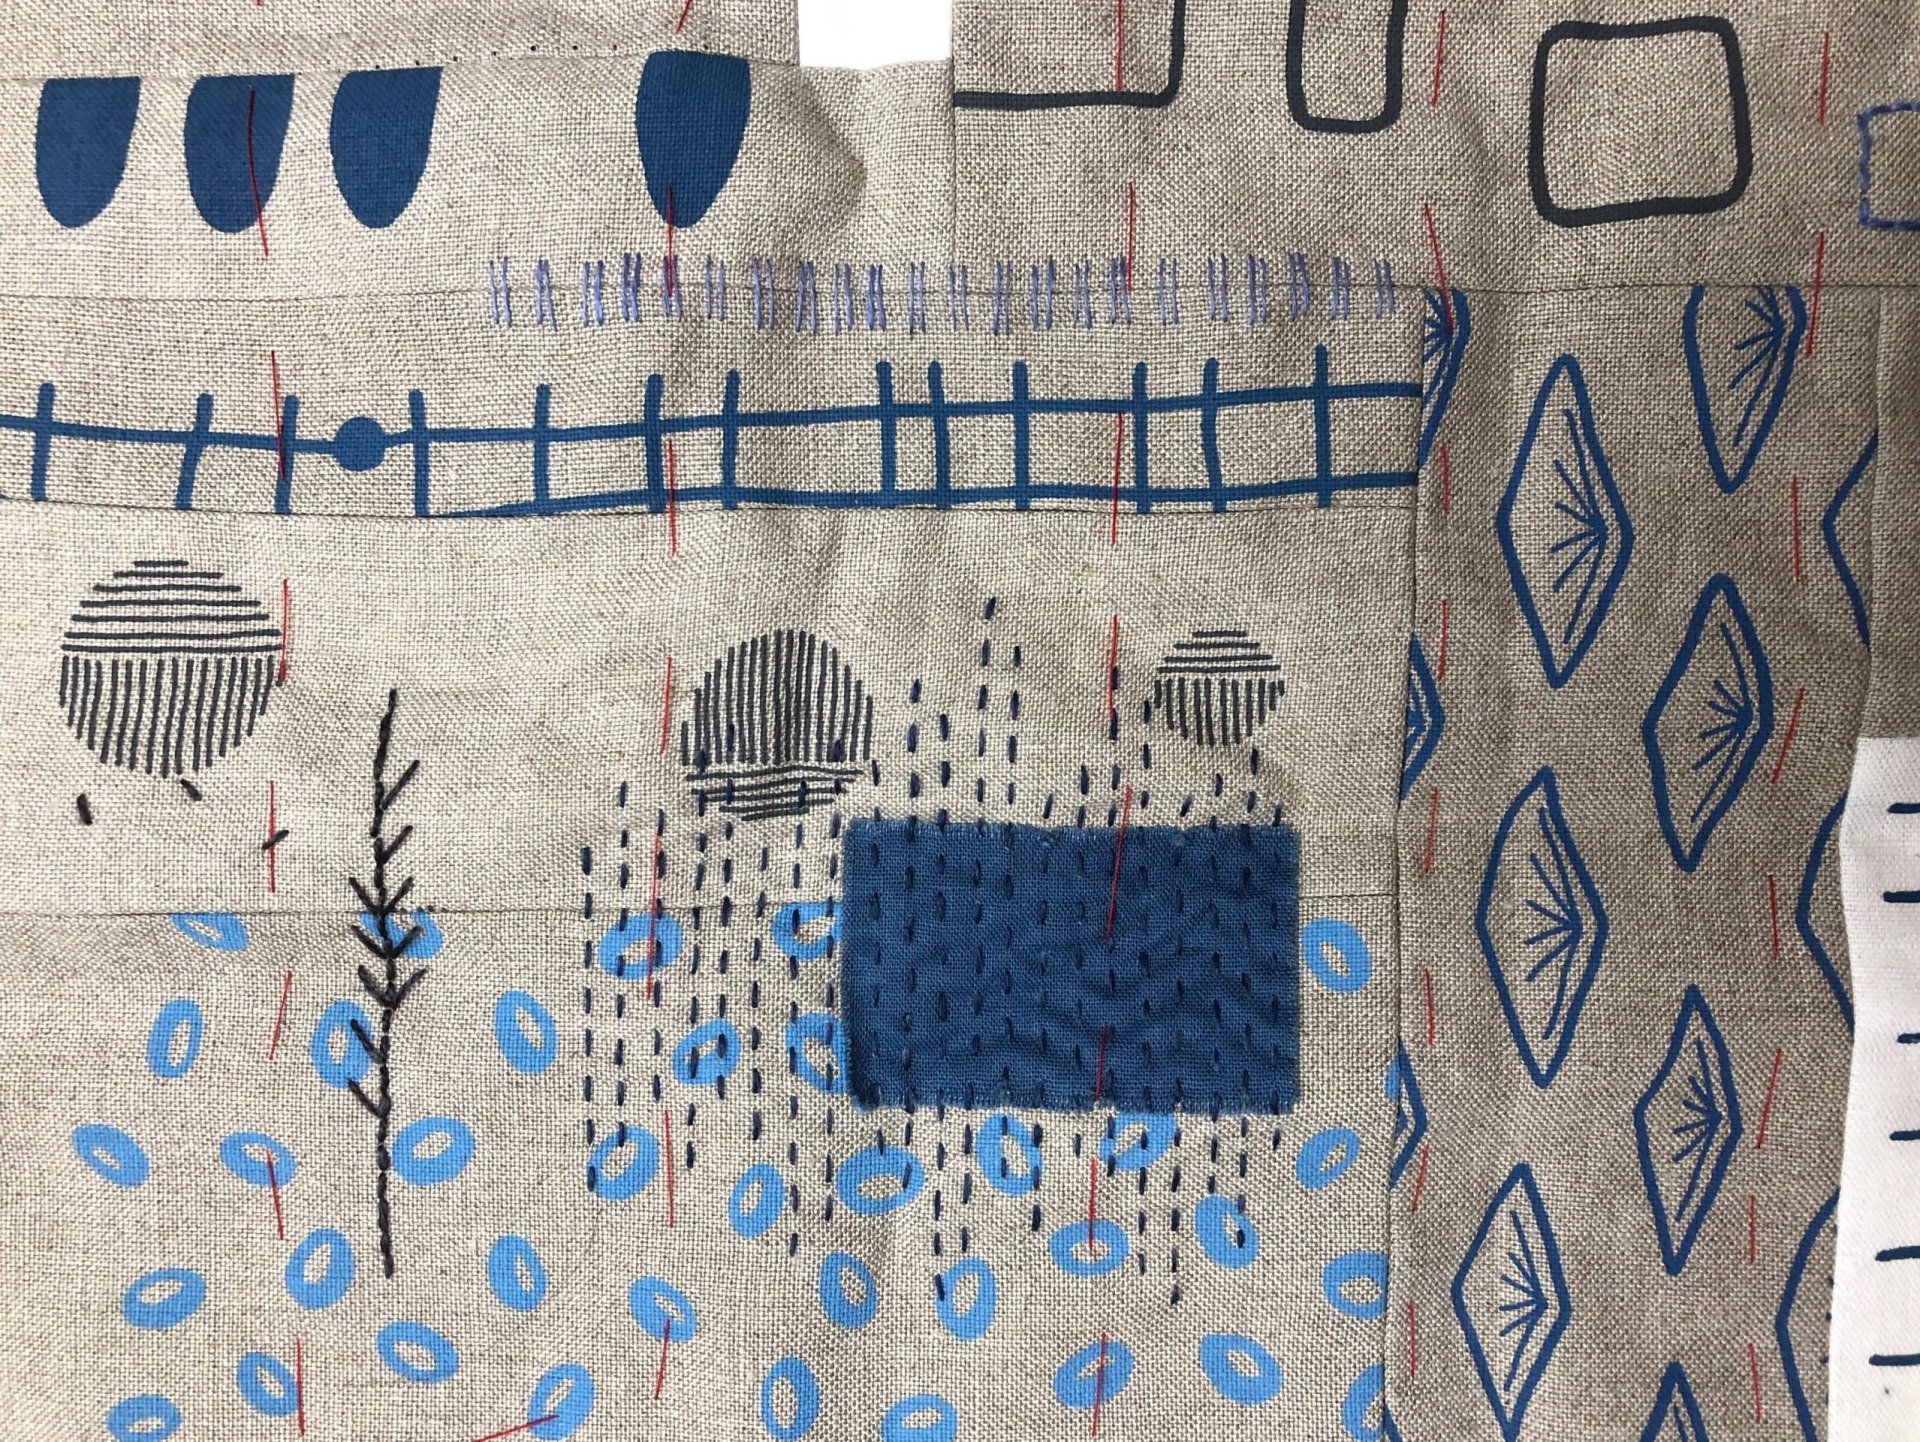
Direction of Diagonals
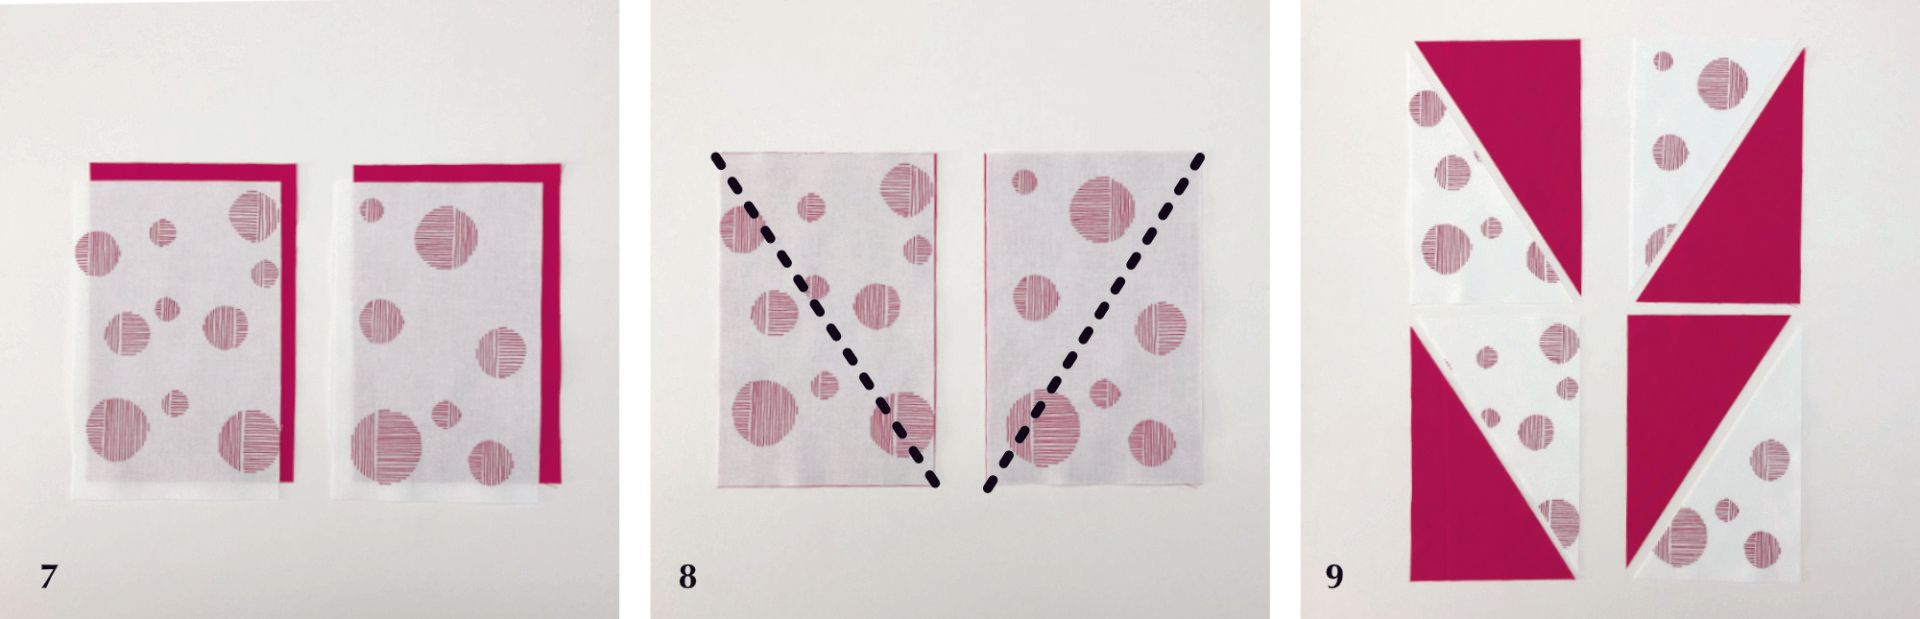
Image 8 shows you how to cut your triangles diagonally in both directions, aim for about 50% of your print / solid pairs cut in each direction. This will create the shattered effect across the finished quilt. Repeat this across each set of colour combinations.
(see above)
7. Take 2 prints and 2 solids.
8. Lay your print directly on top of your solid. Cut your triangles diagonally in both directions.
9. Pair the prints and solids together, the left diagonal \ makes the left HRTs. The right diagonal / makes the right HRTs. Sew together as before.
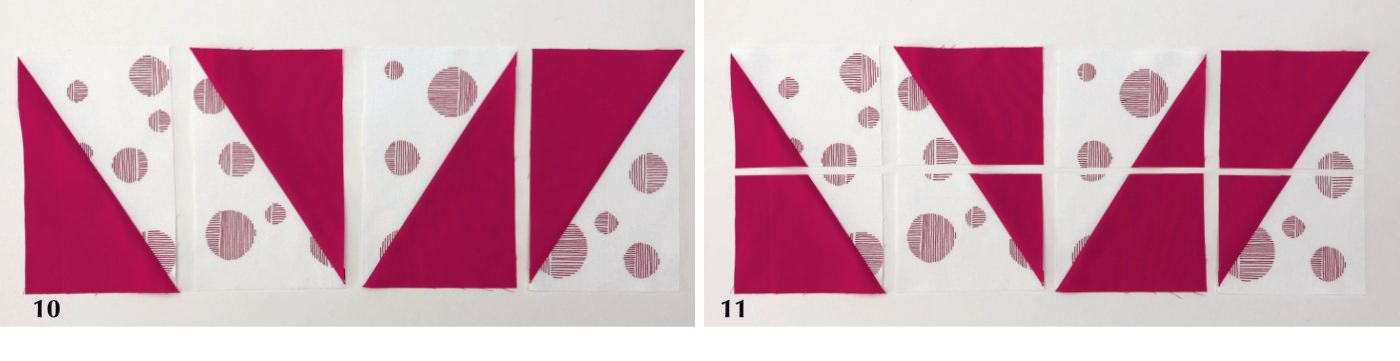
10. Sew together your HRTs as before, press and trim off the 'ears'.
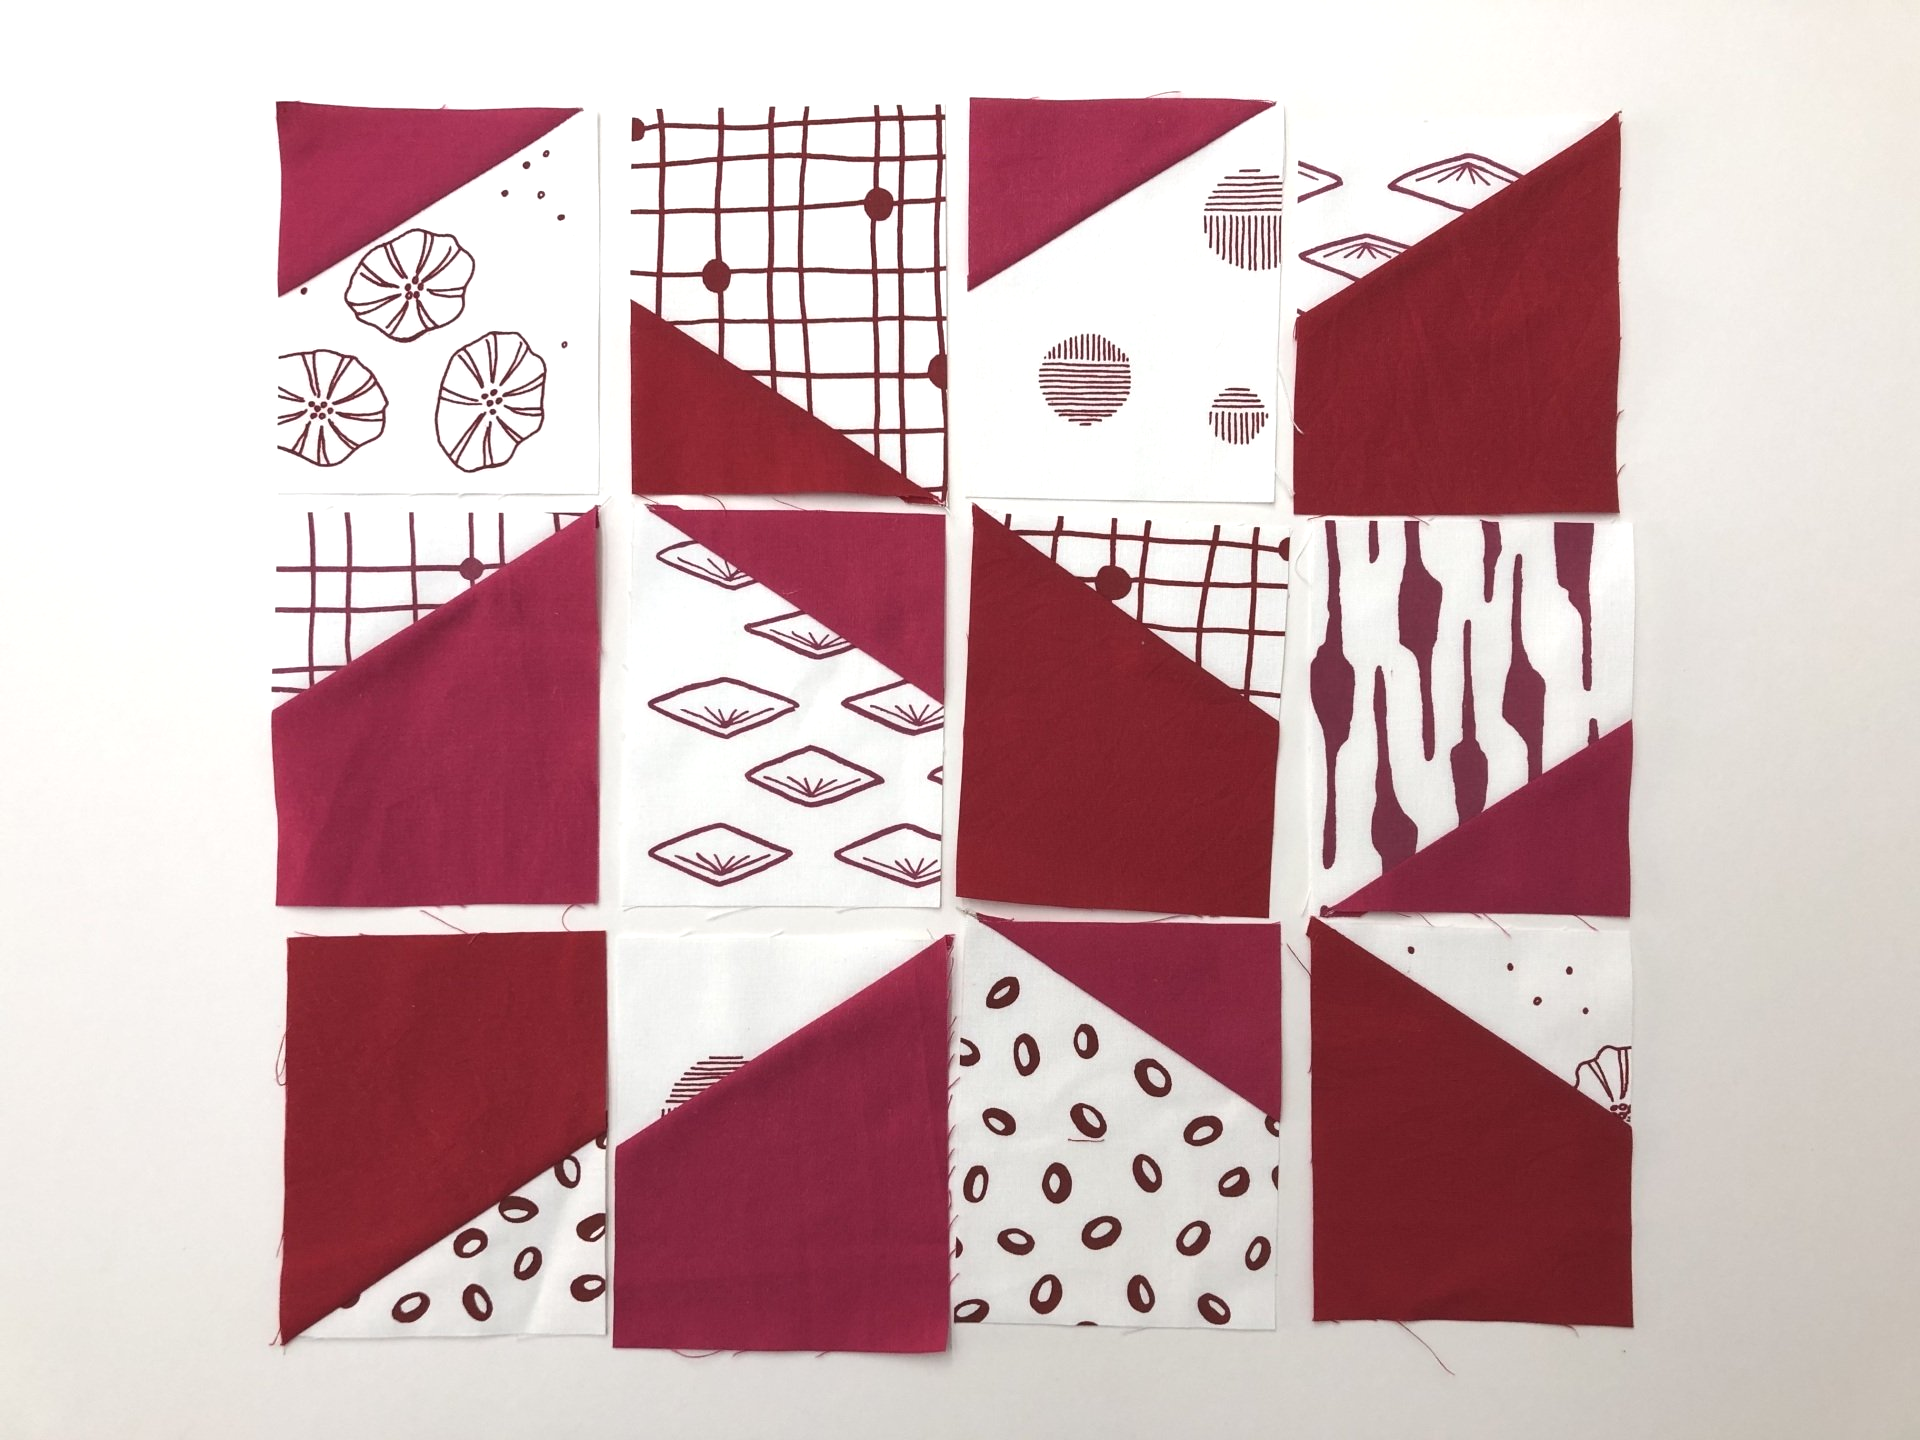
11. With a quilt ruler and rotary cutter, cut the HRTs in half.
Rotate the pieces 90 degrees and you have your 'shattered' pieces.
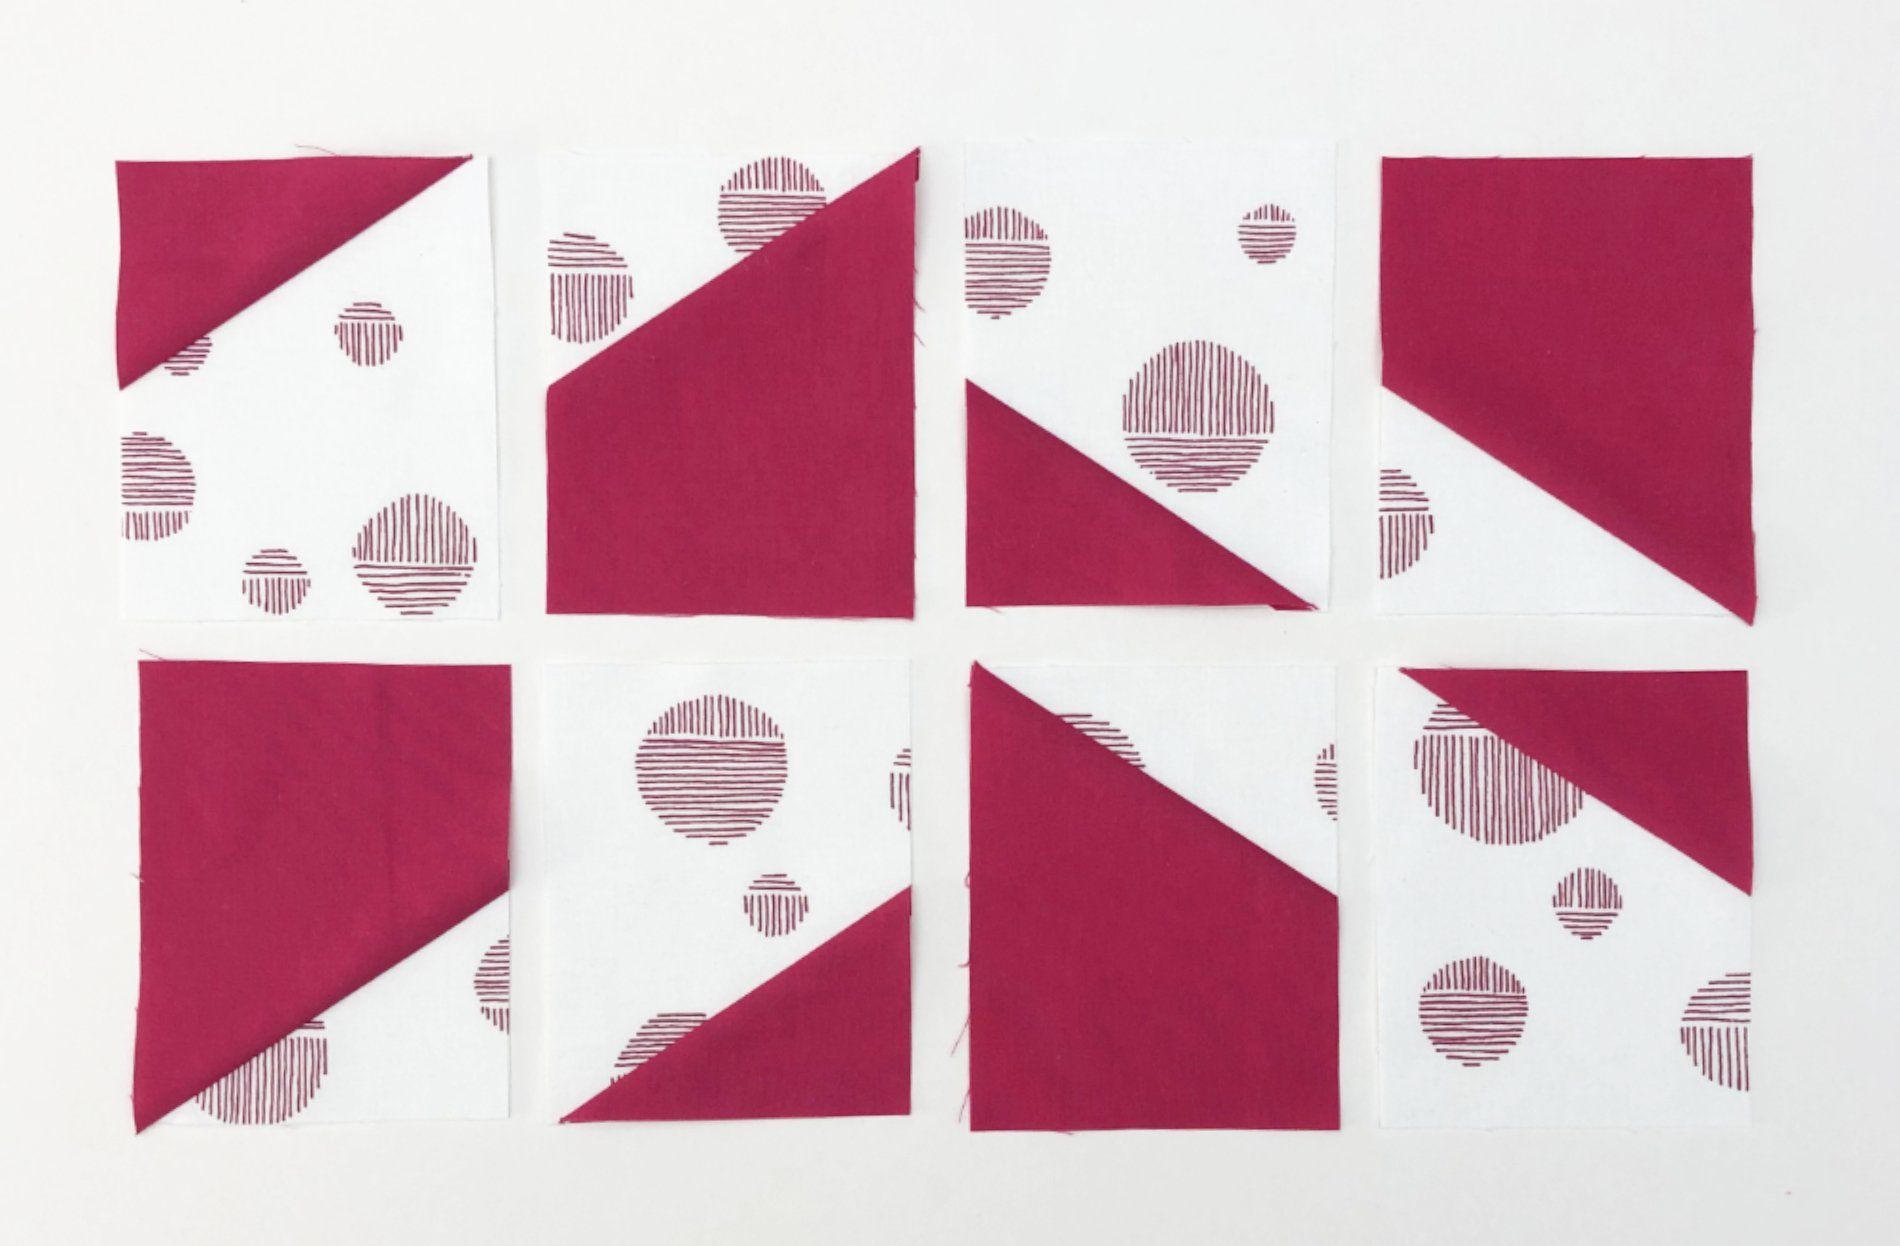
Once you have cut all of your HRTs in half, you should have 70 smaller 'shattered' rectangles. Turn these on their side and you can begin to work on your layout.
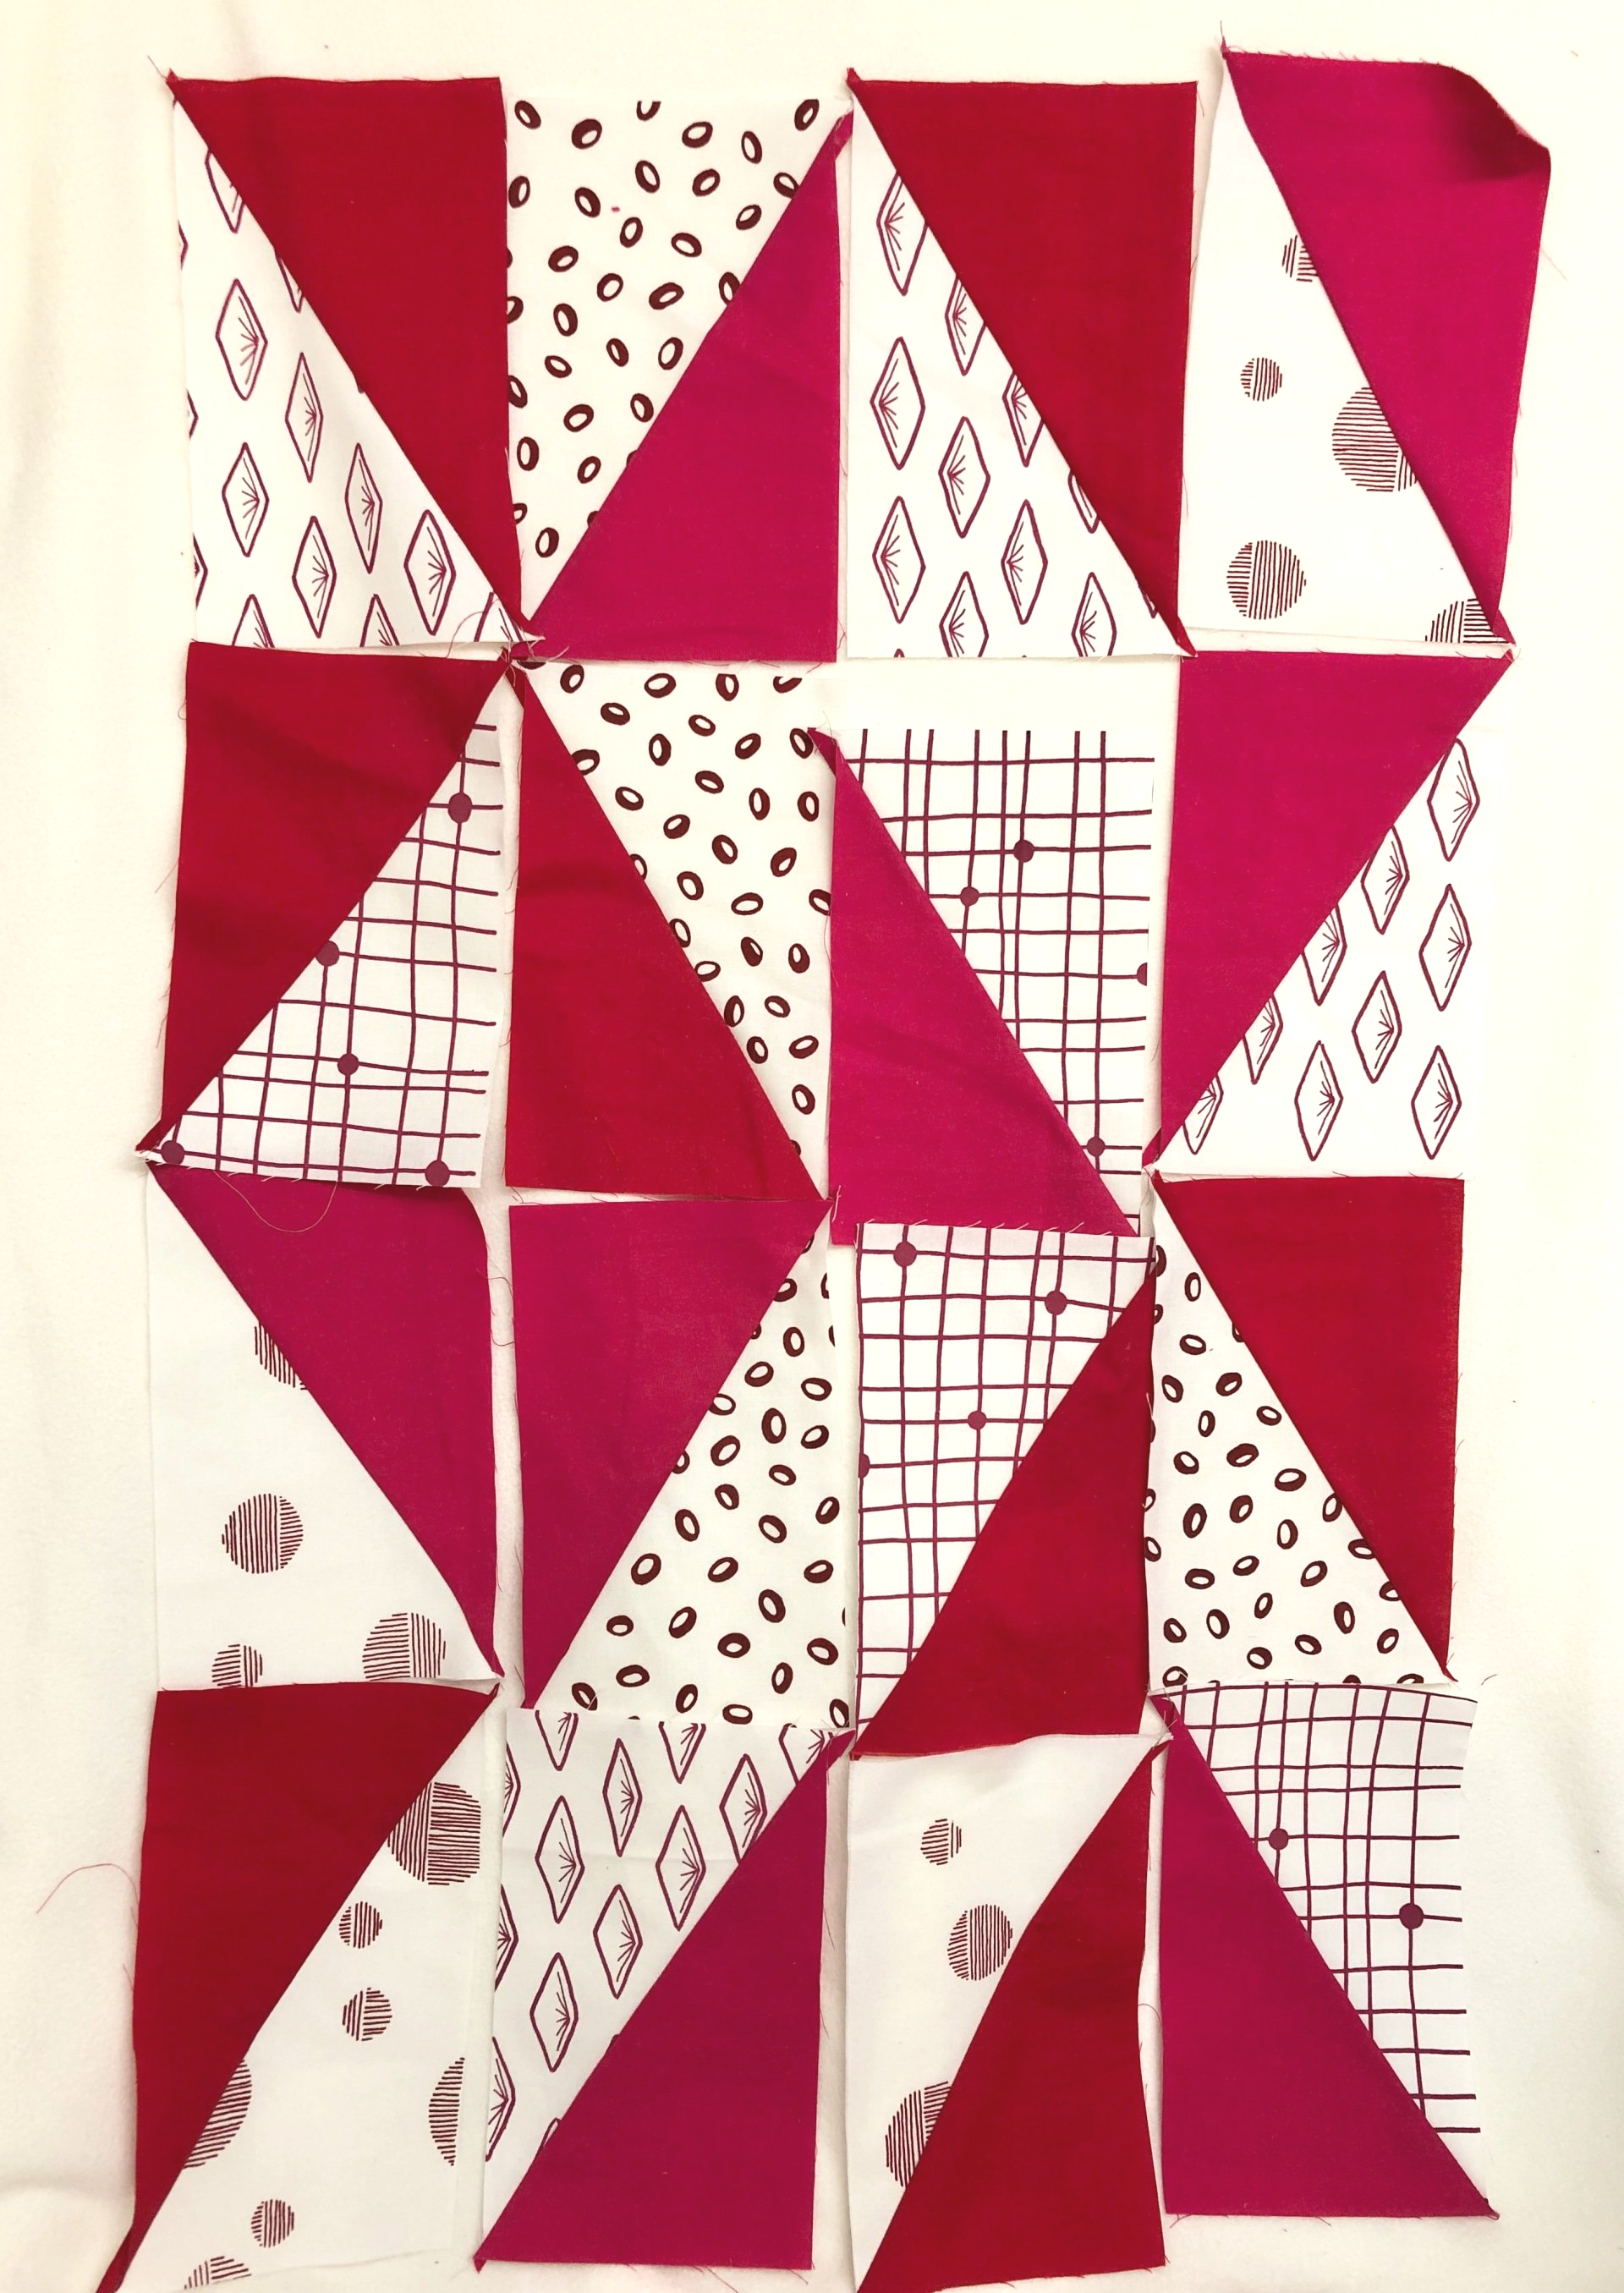
Assembling the Quilt Top
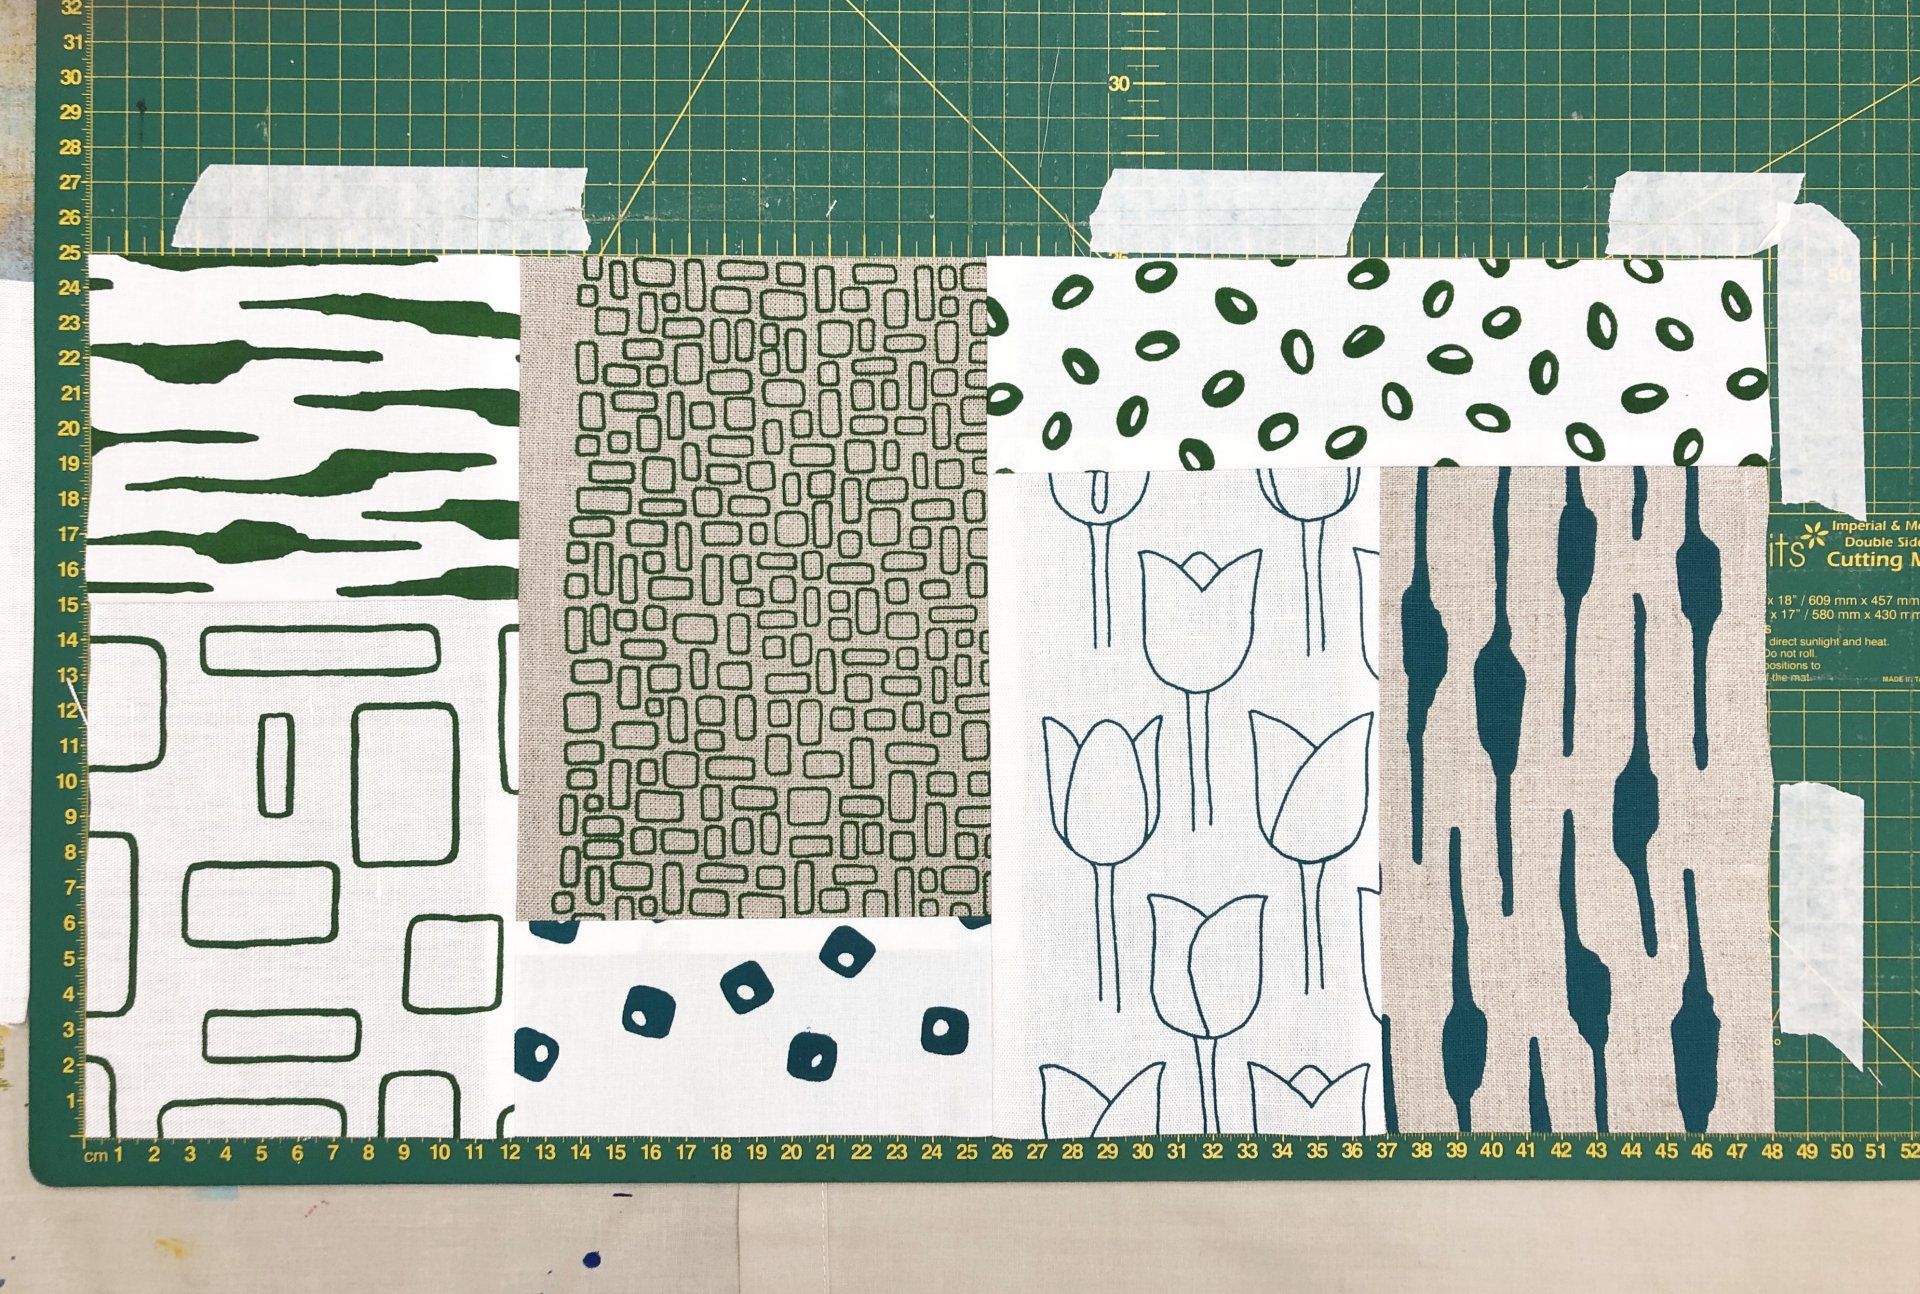
Work in rows, starting from what will be the top of your quilt. Spread out 12 pieces. To keep the overall effect balanced, rotate the angled pieces, vary the colour placements and try to avoid putting matching patterns together. The solid fabric can make the 'shattered rectangle' appear heavy, try to avoid putting too many of these in the same area.
Once you are happy with your first row, lay a second row beneath this, keeping the patterns, angles and colours balanced as before. You have many prints and colour combinations to choose from, so experiment and keep the layout flowing. Take a photo on your smart phone to get a different view, seeing the shapes through a lens can give you a different perspective.
Once the second row is laid out, join together the first row. Press all of these seam in the same direction. Label this as row 1 and place back above row 2.
Lay out row 3 as before. Then sew together row 2, pressing the seams in the opposite direction of row 1.
Repeat this process until you have 11 rows. As you get closer to the end, you will have a smaller selection of colours and prints to choose from. You may want to lay out the last two or three rows to ensure you are happy with the overall balance before you stitch the rows together.
Once all of your rows are joined together, you can sew row 1 and 2 together, then add row 3. Continue until all rows are connected. Press all of these seams in the same direction.
Now you have a Shattered Cubism Quilt top. Quilt and finish as you choose, please share your progress with #ShatteredCubismQuilt or send me a photo, I'd love to see your versions.